Follow Us On Facebook!
Home
Why Autism
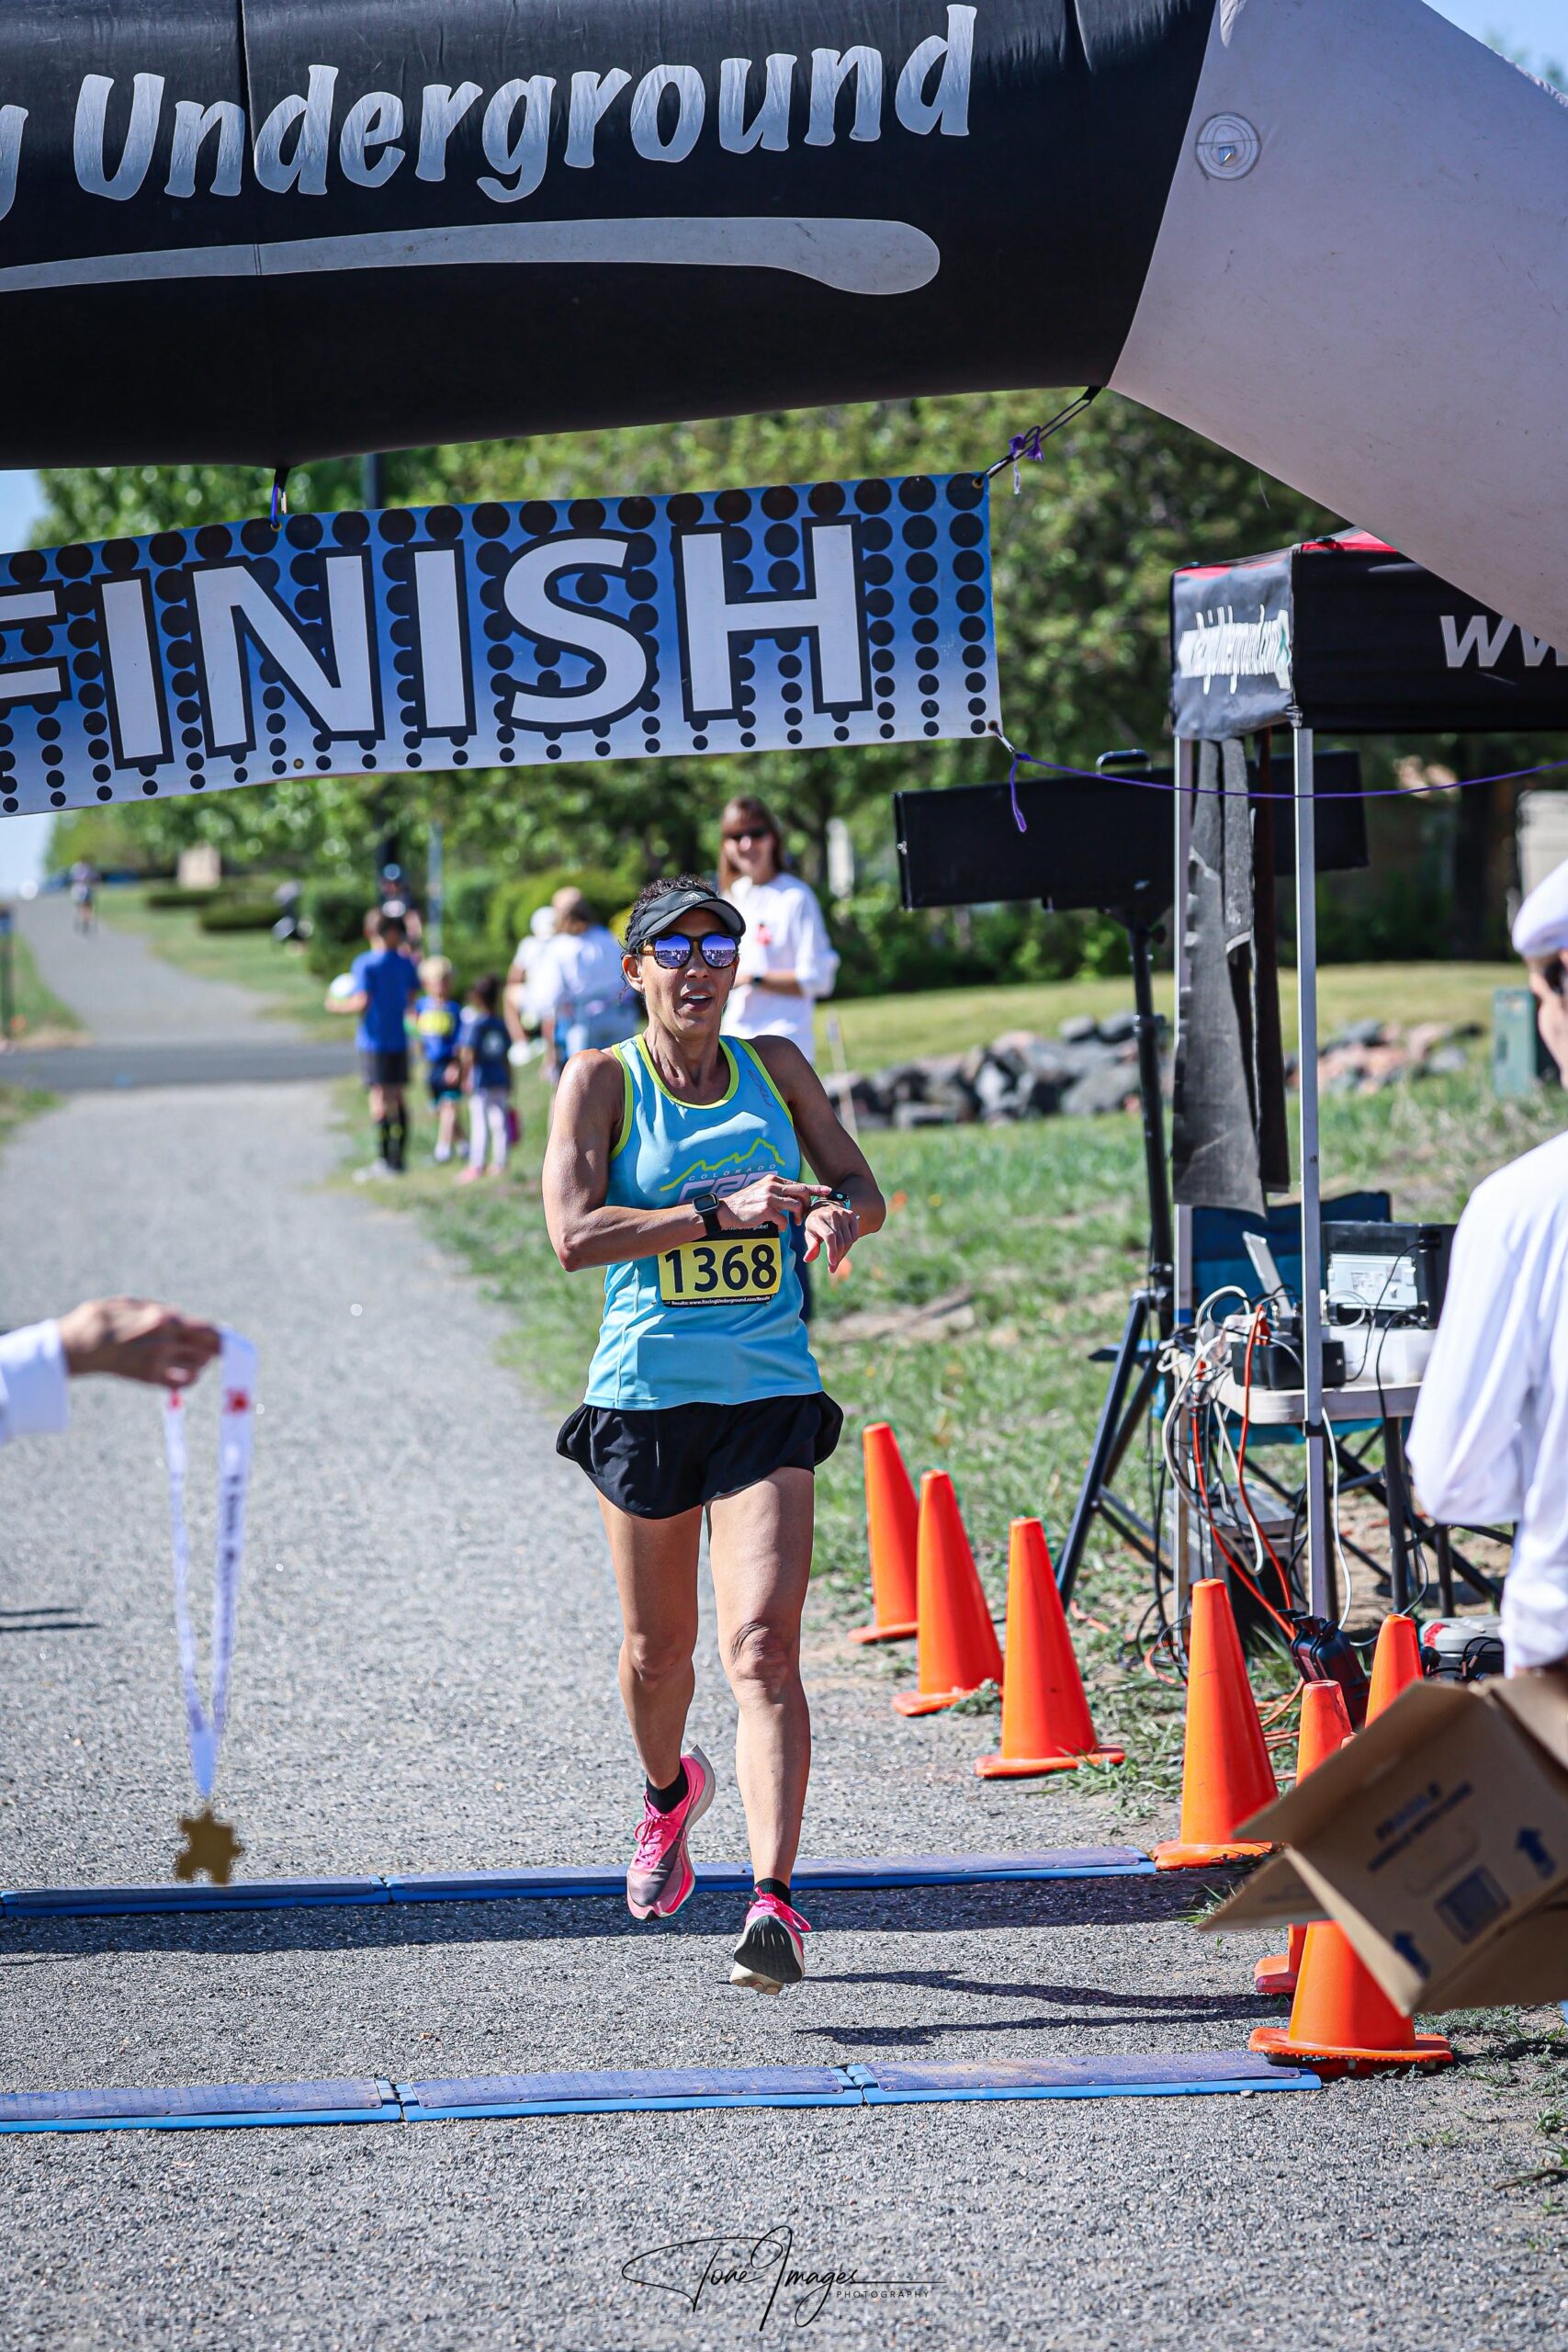
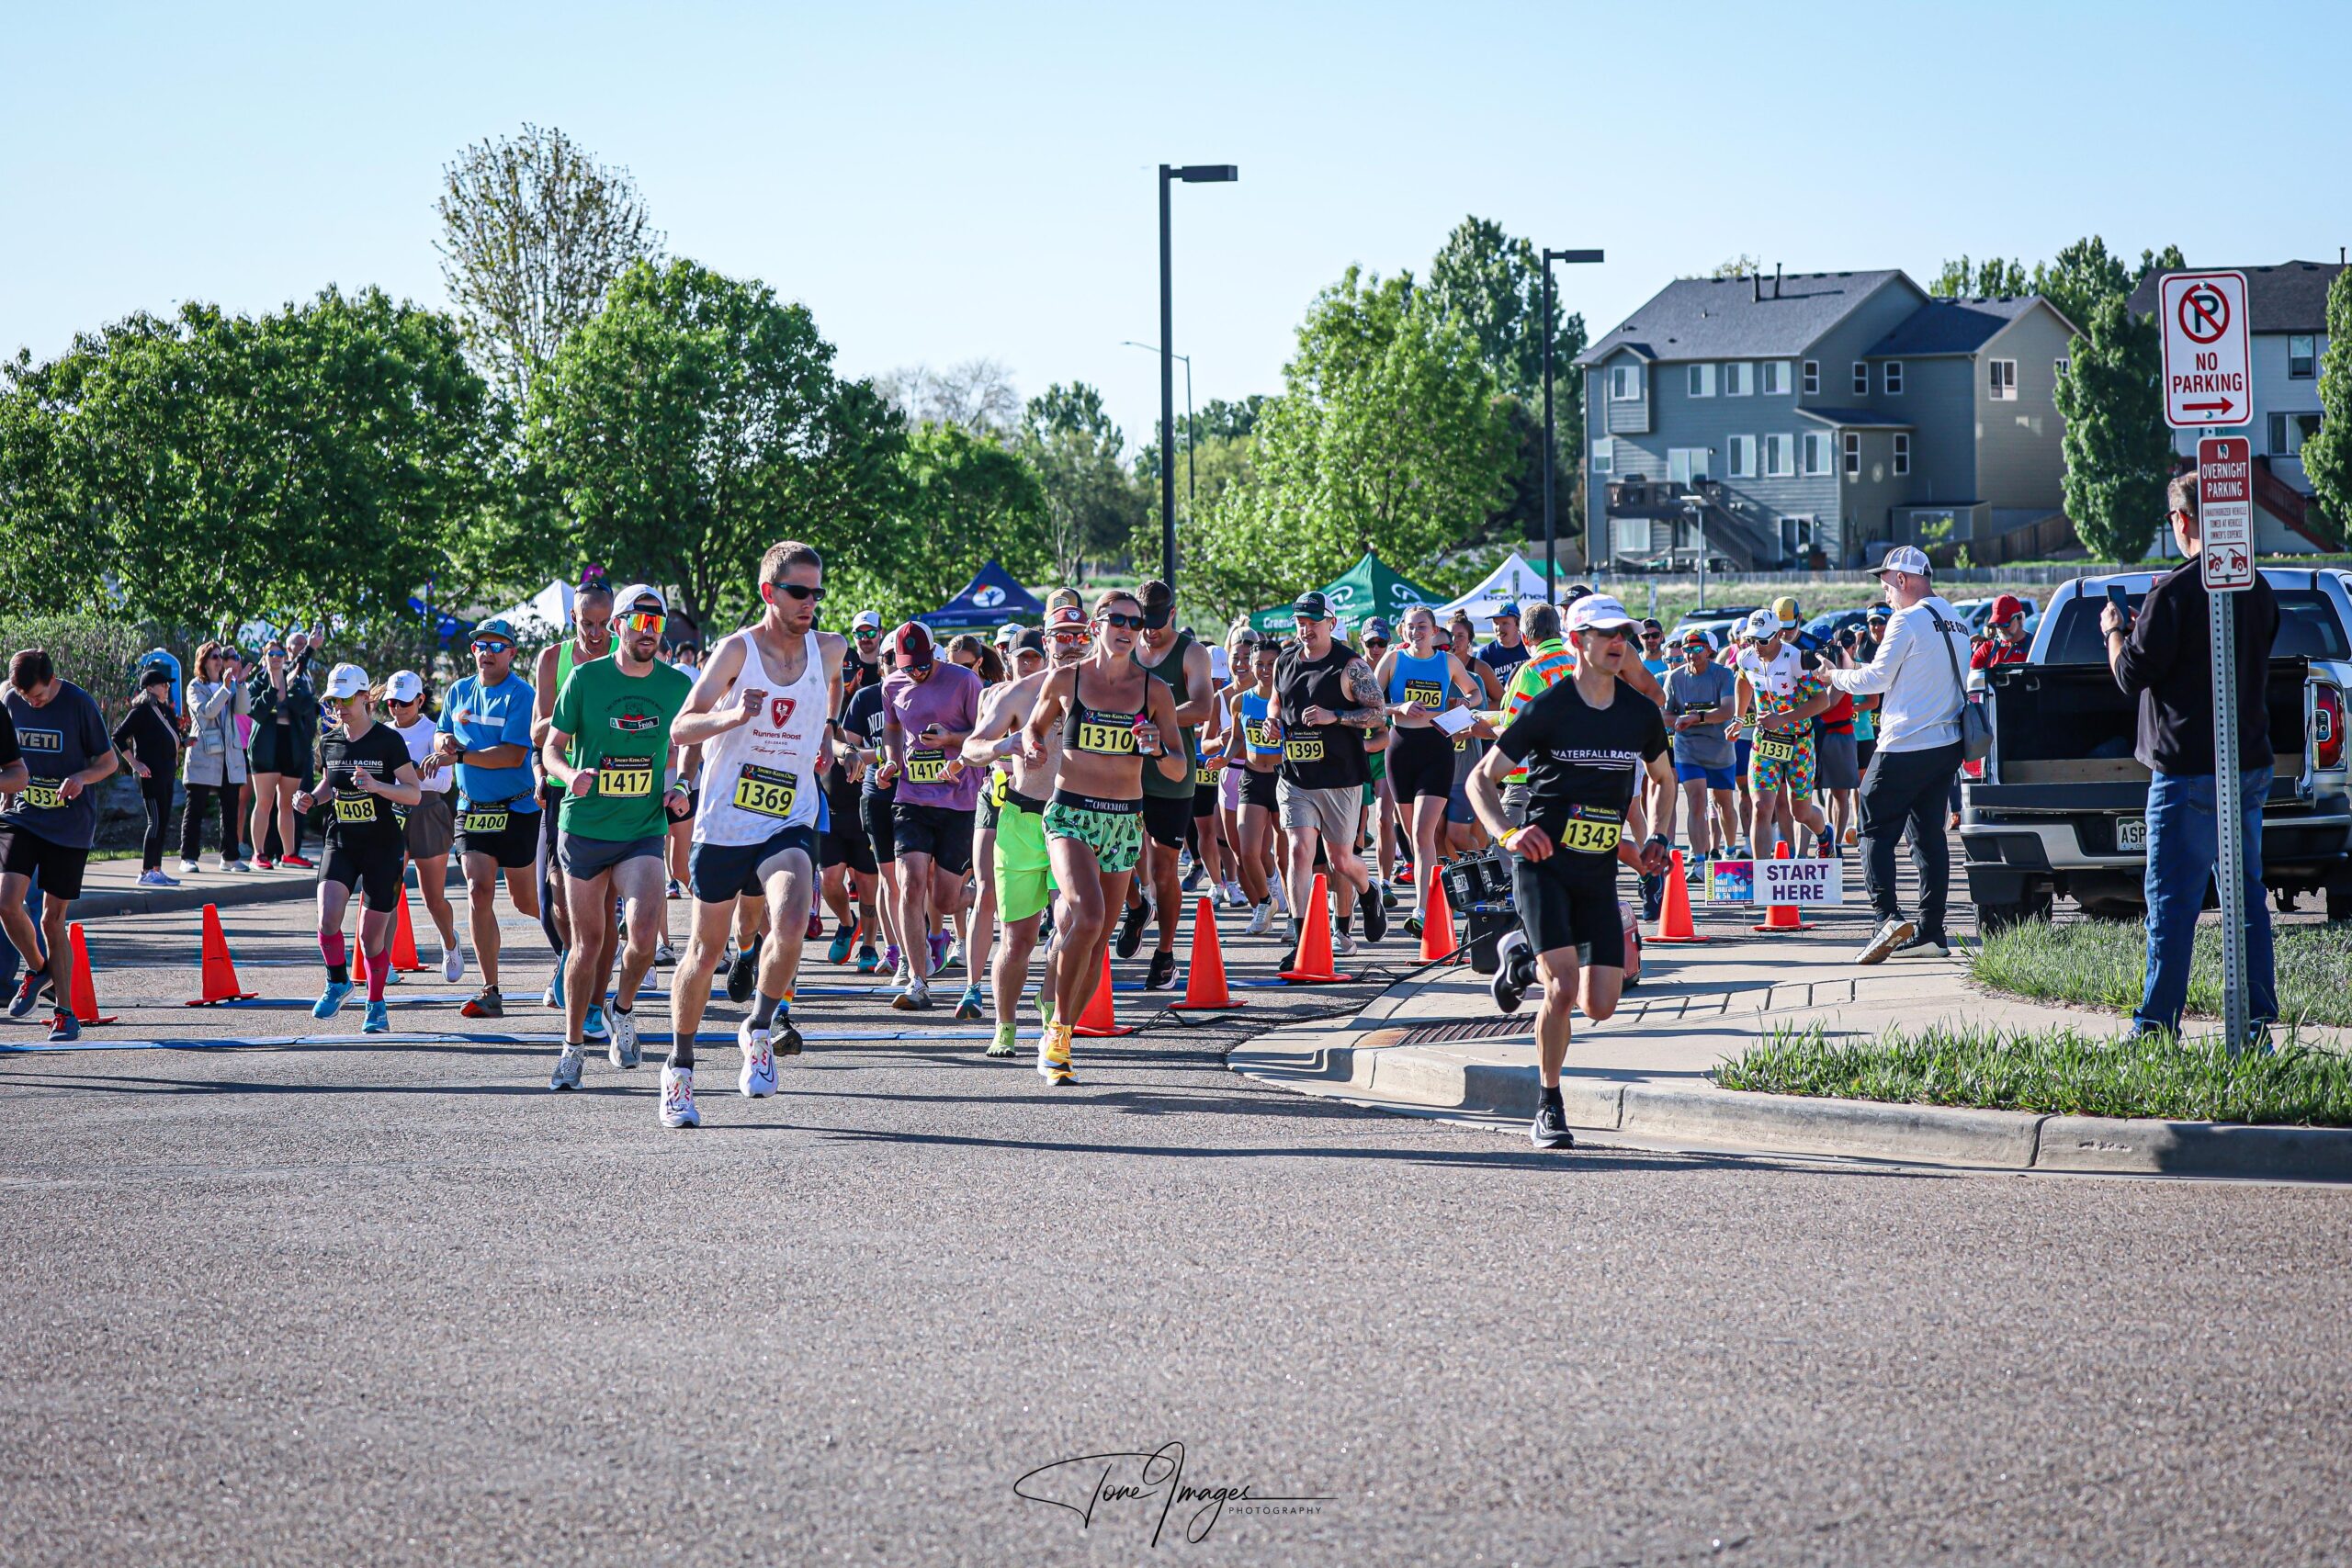
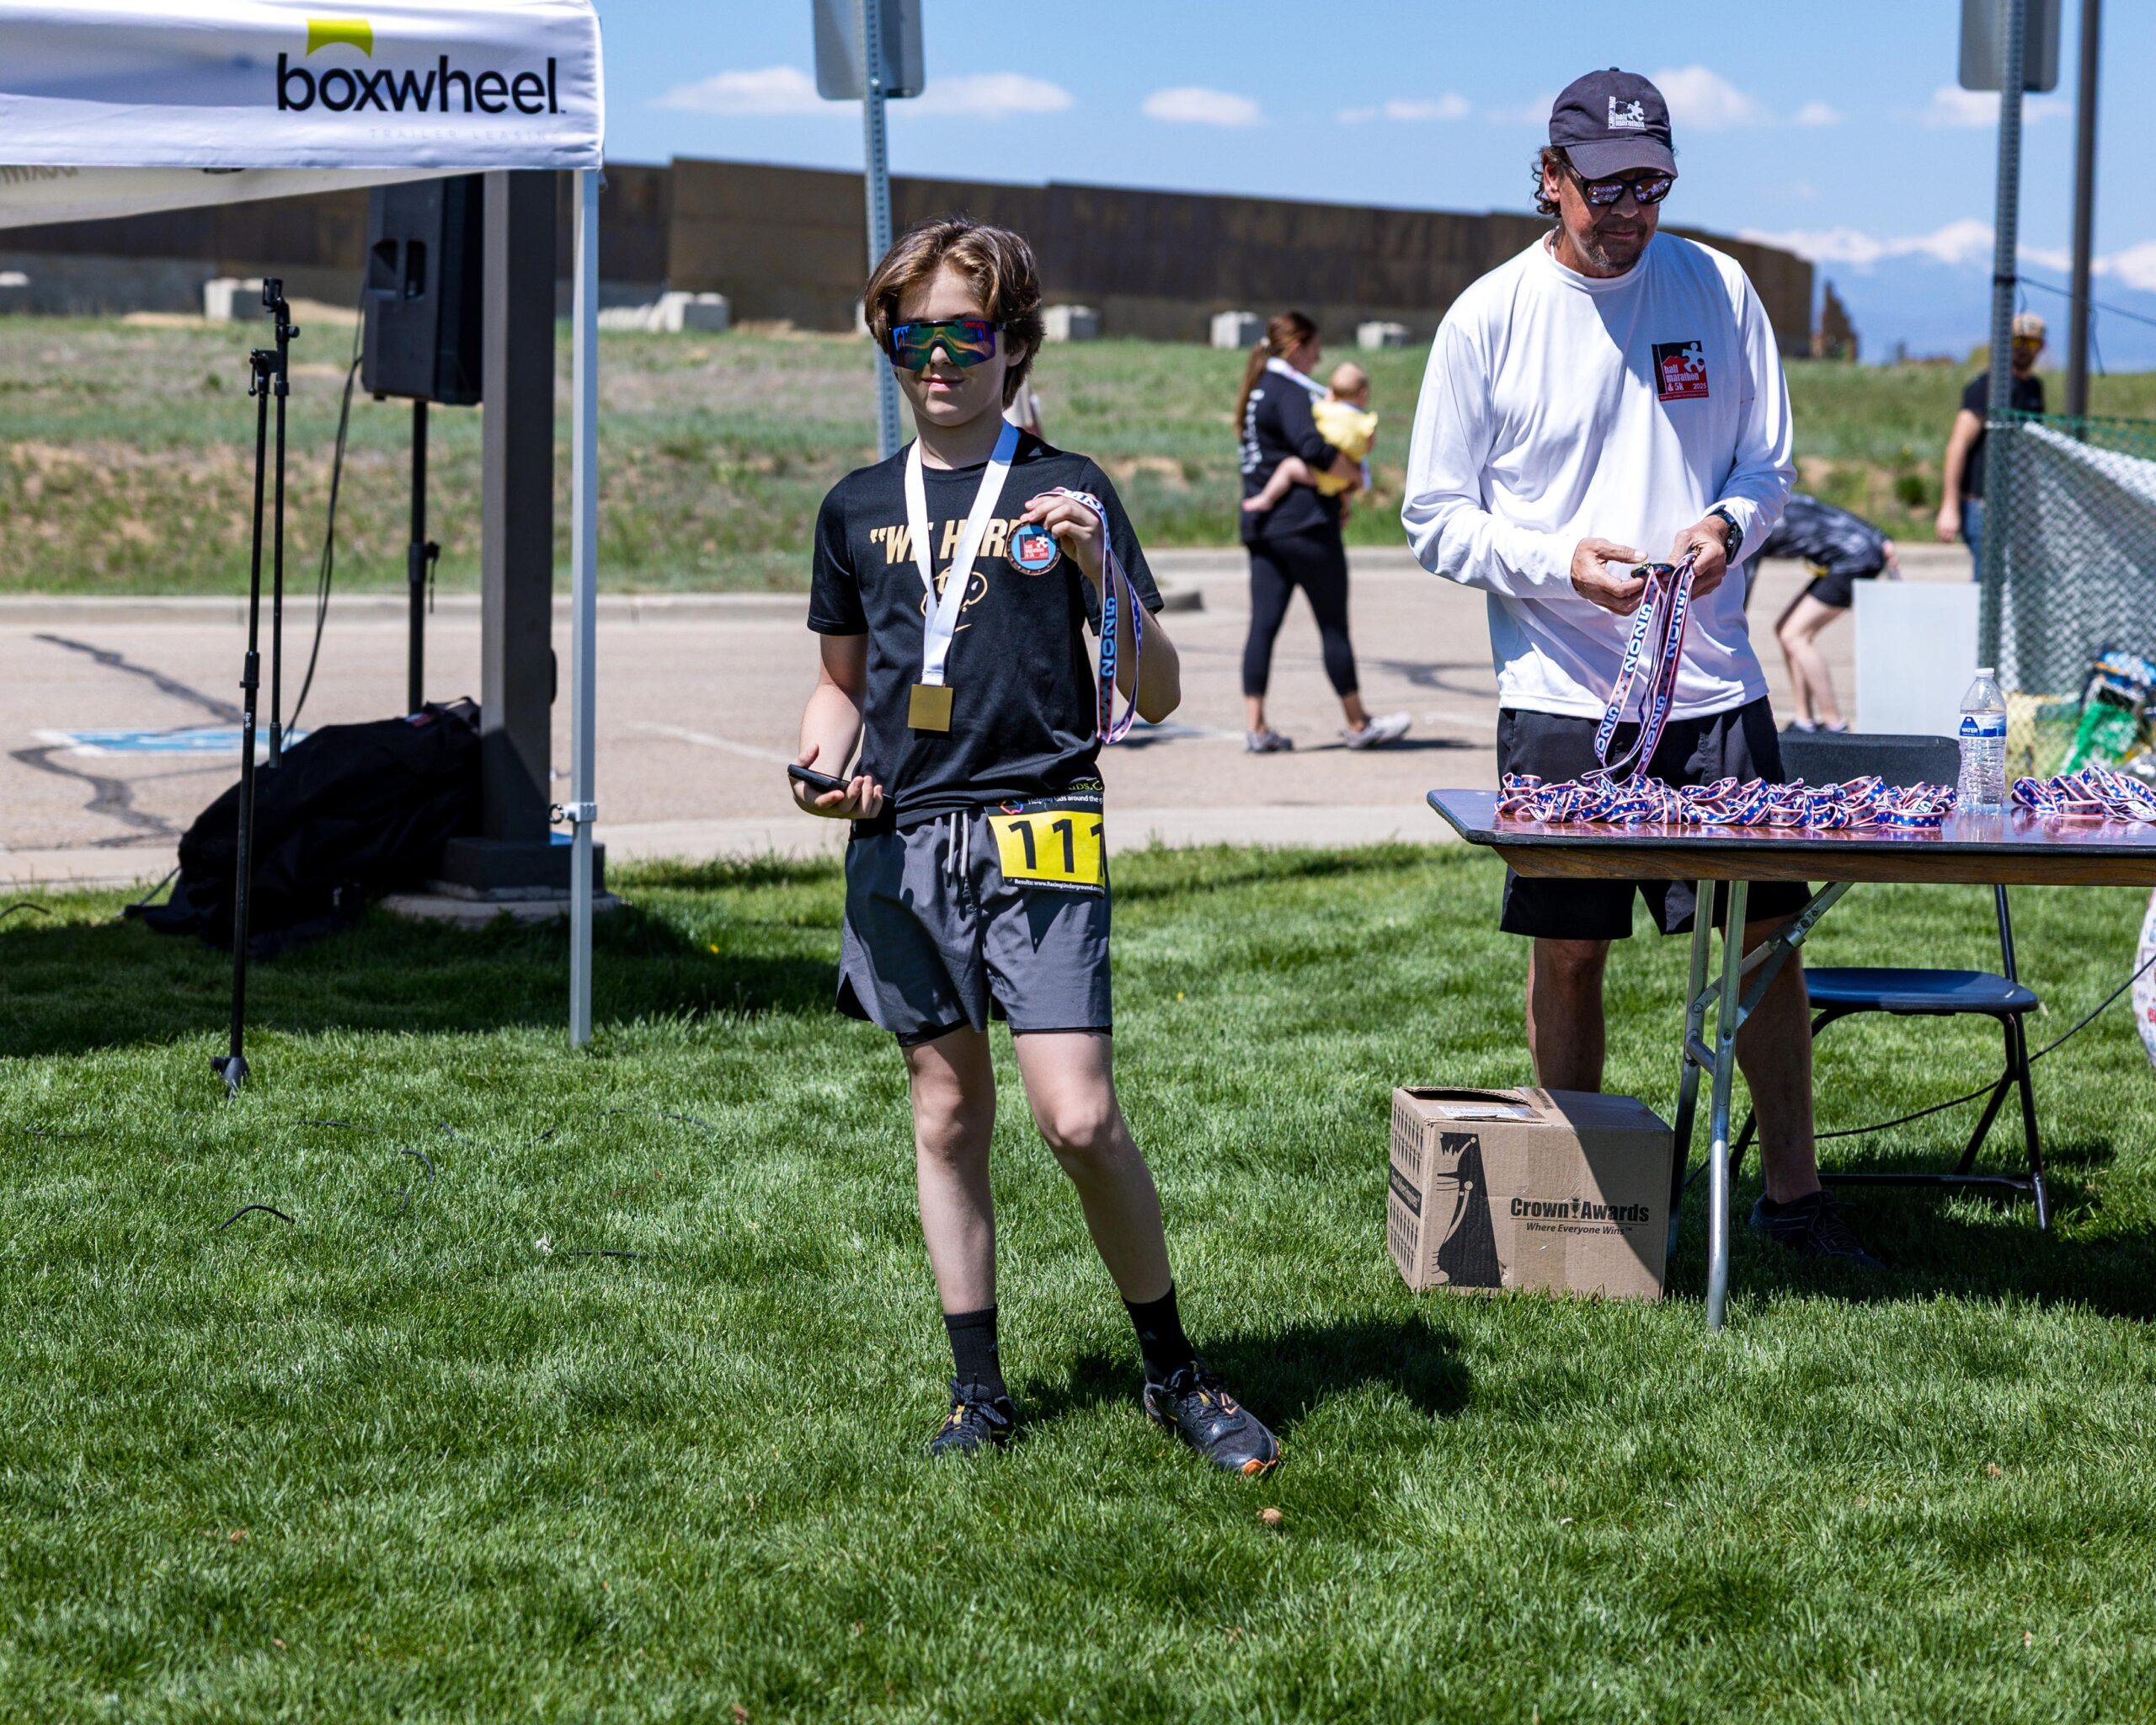
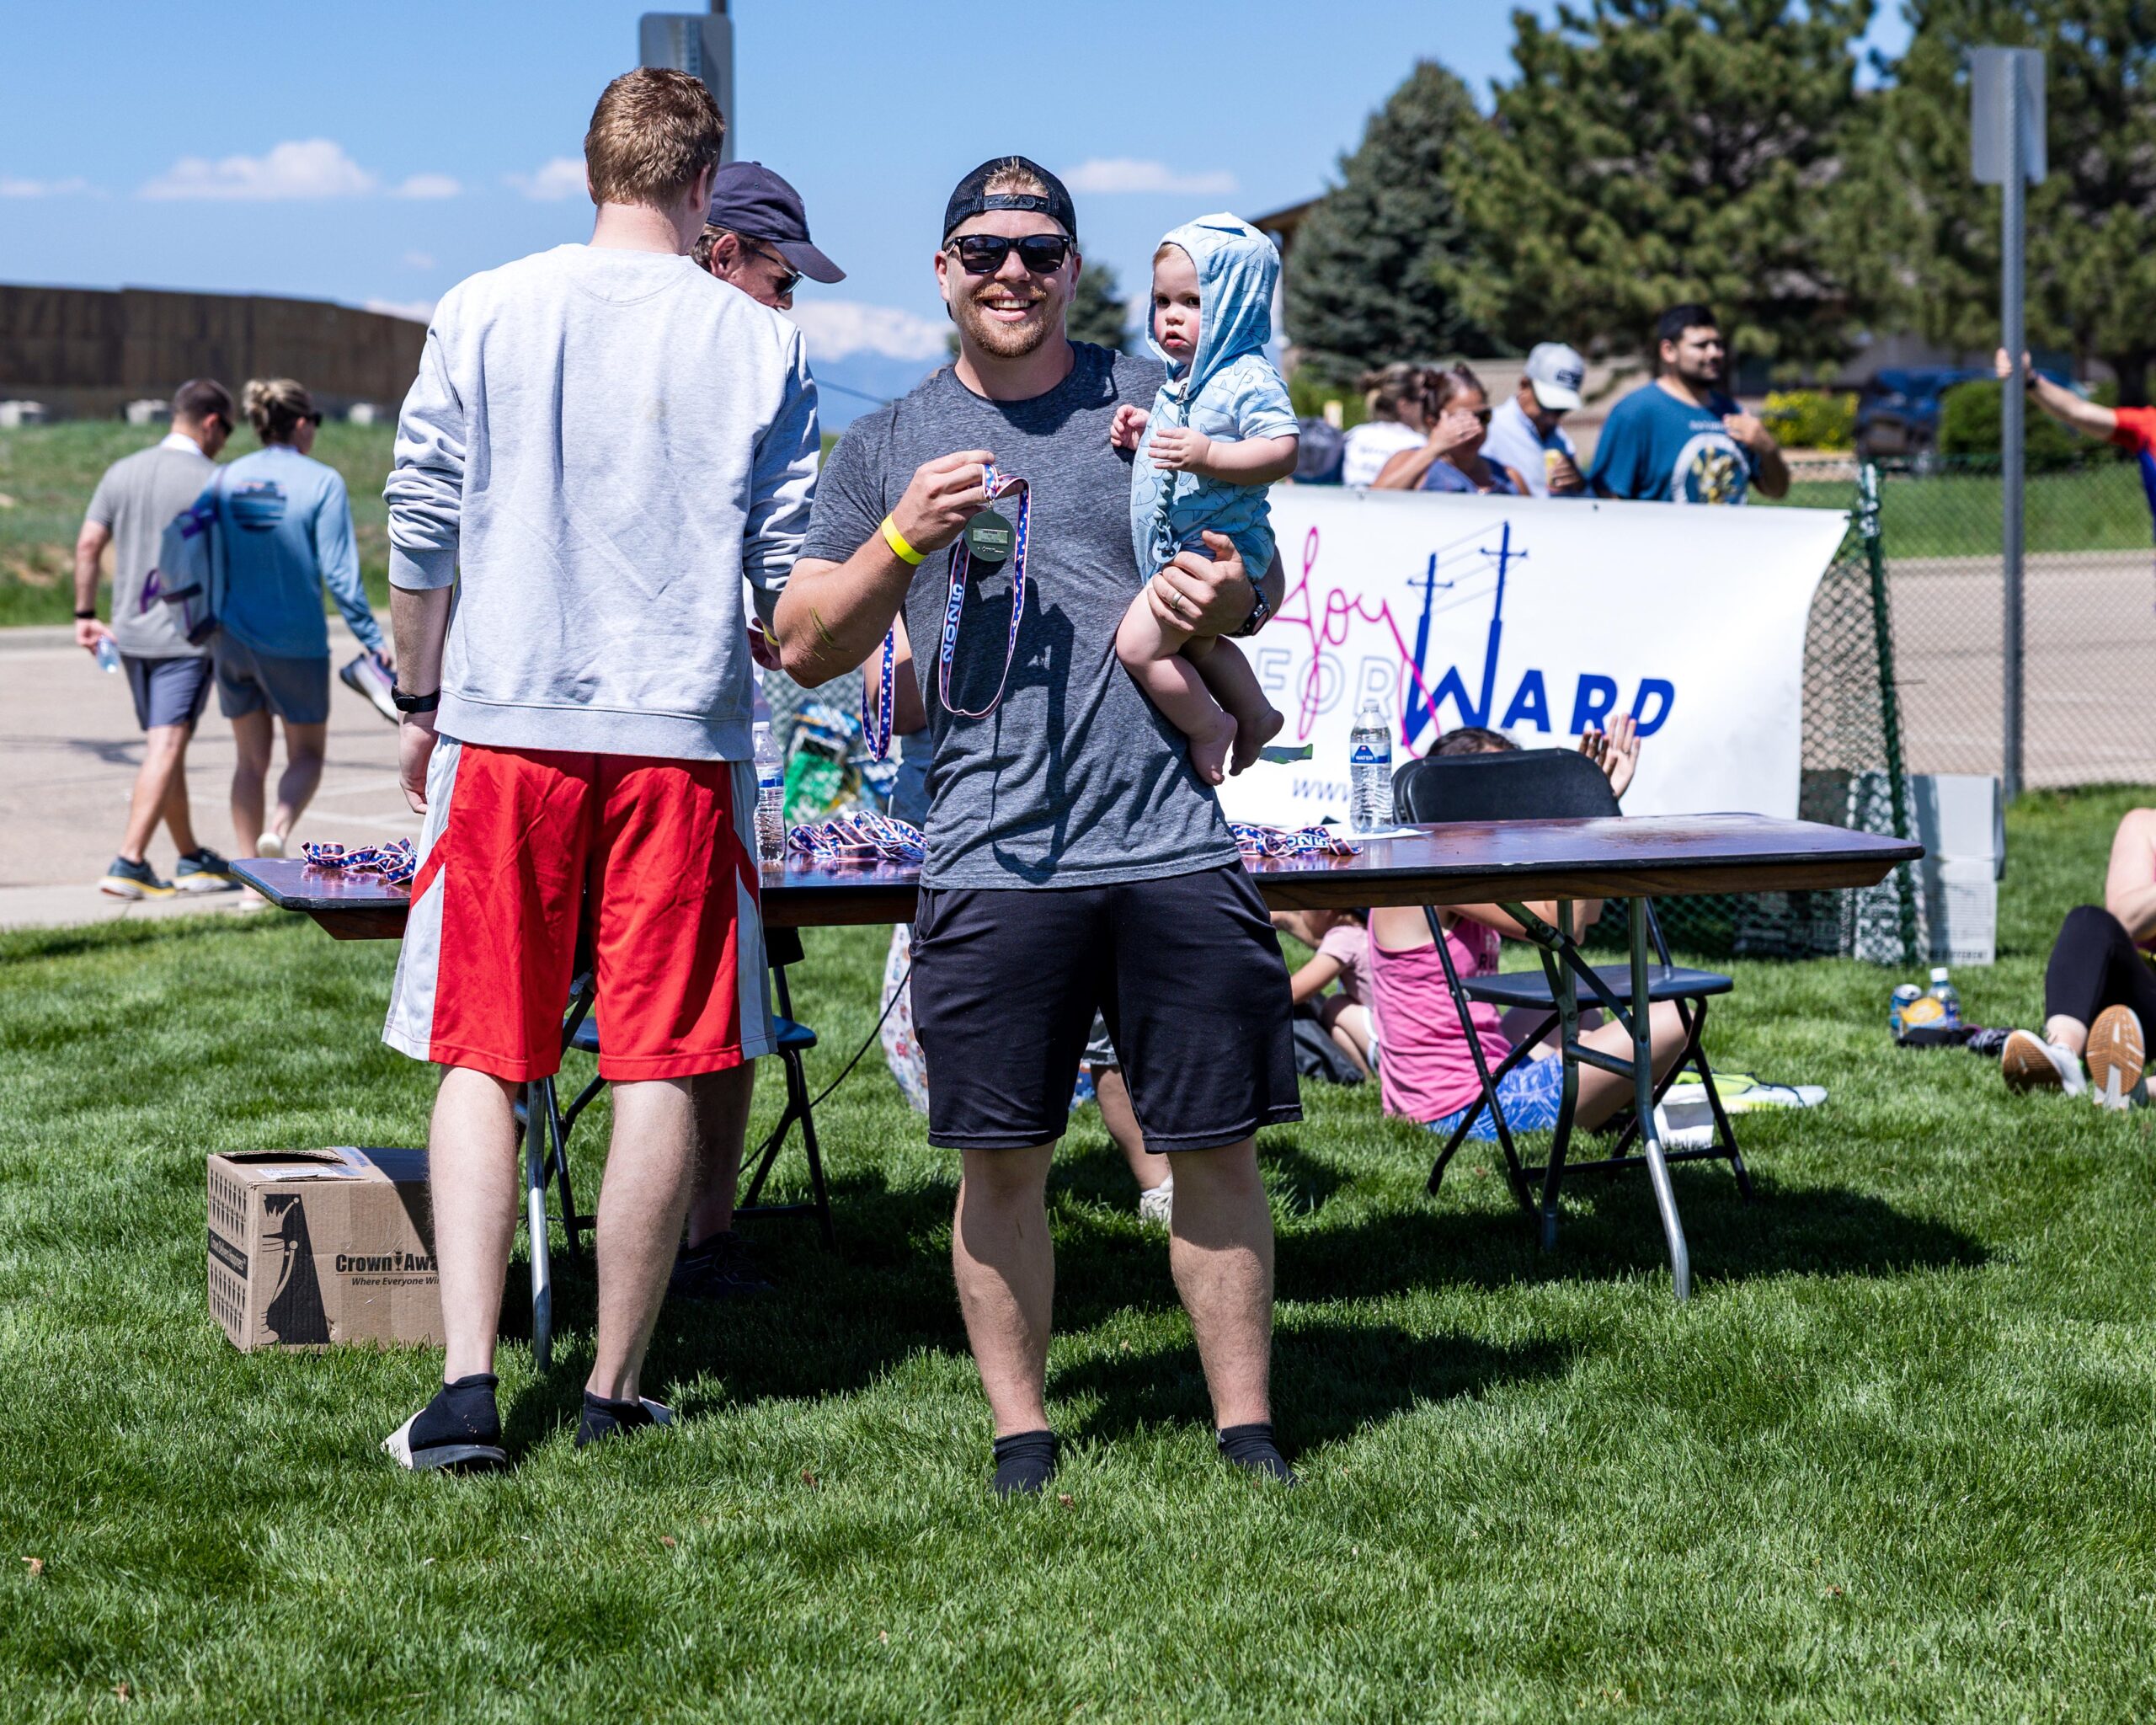
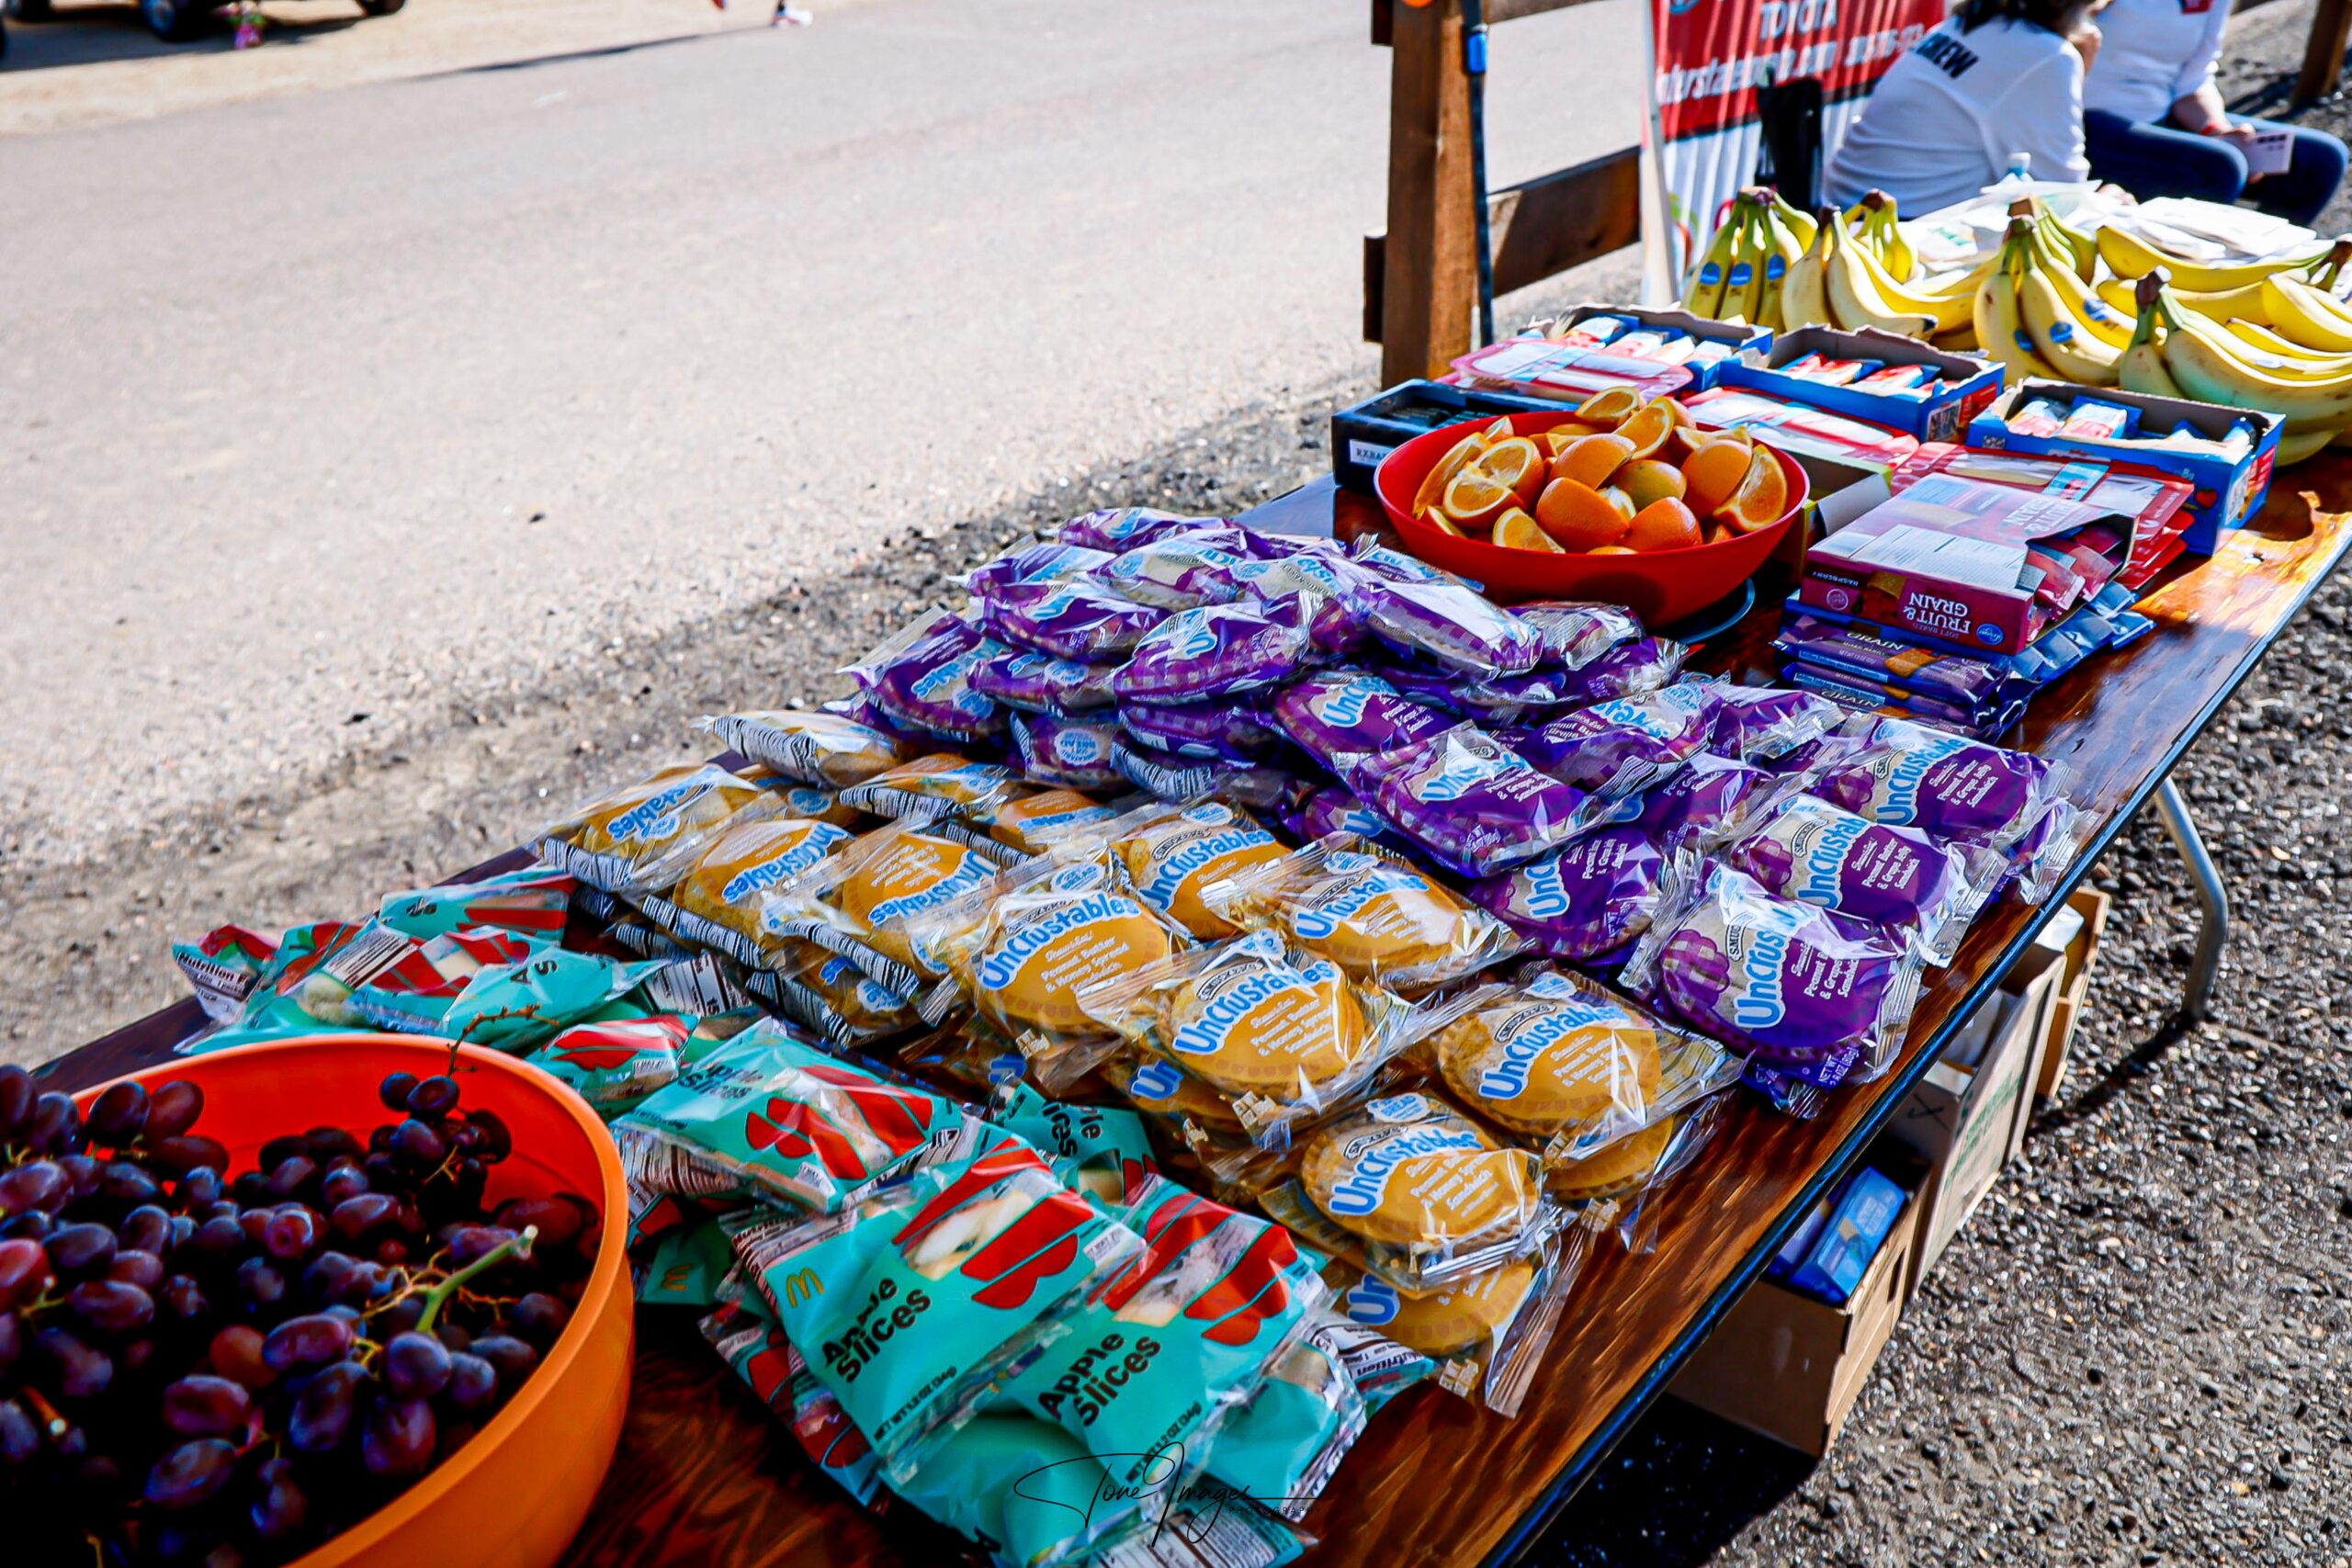
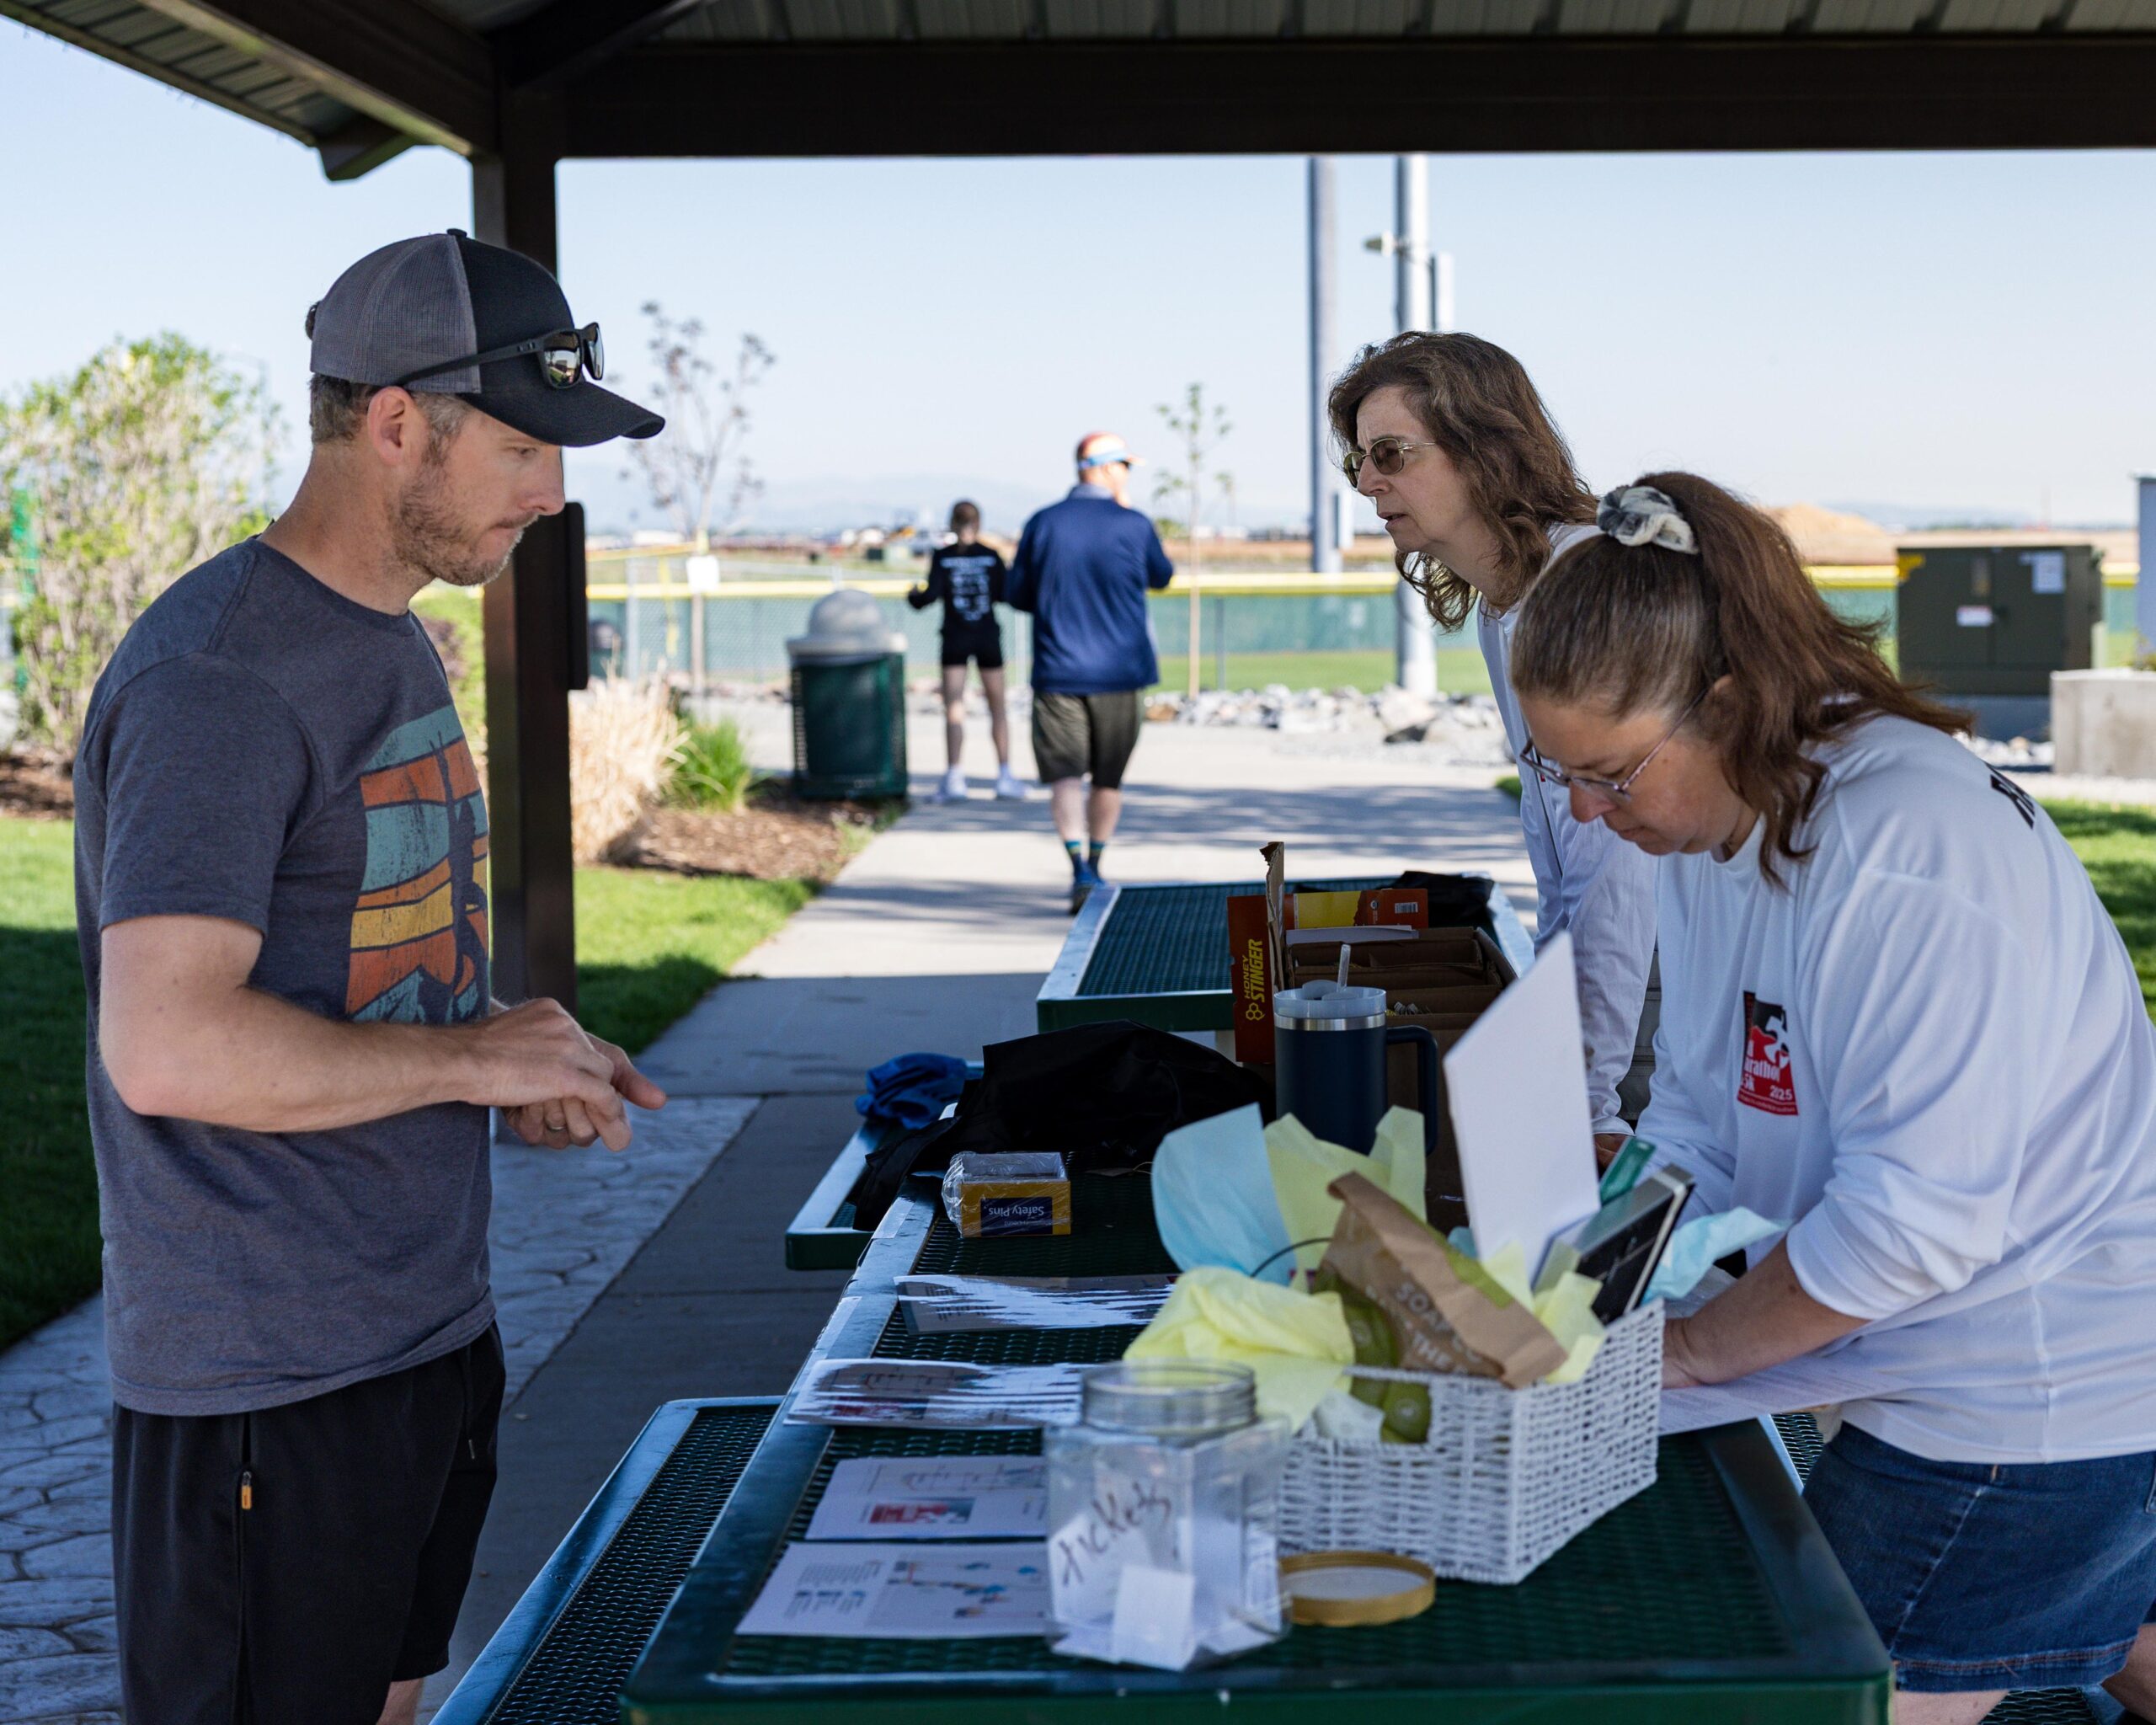
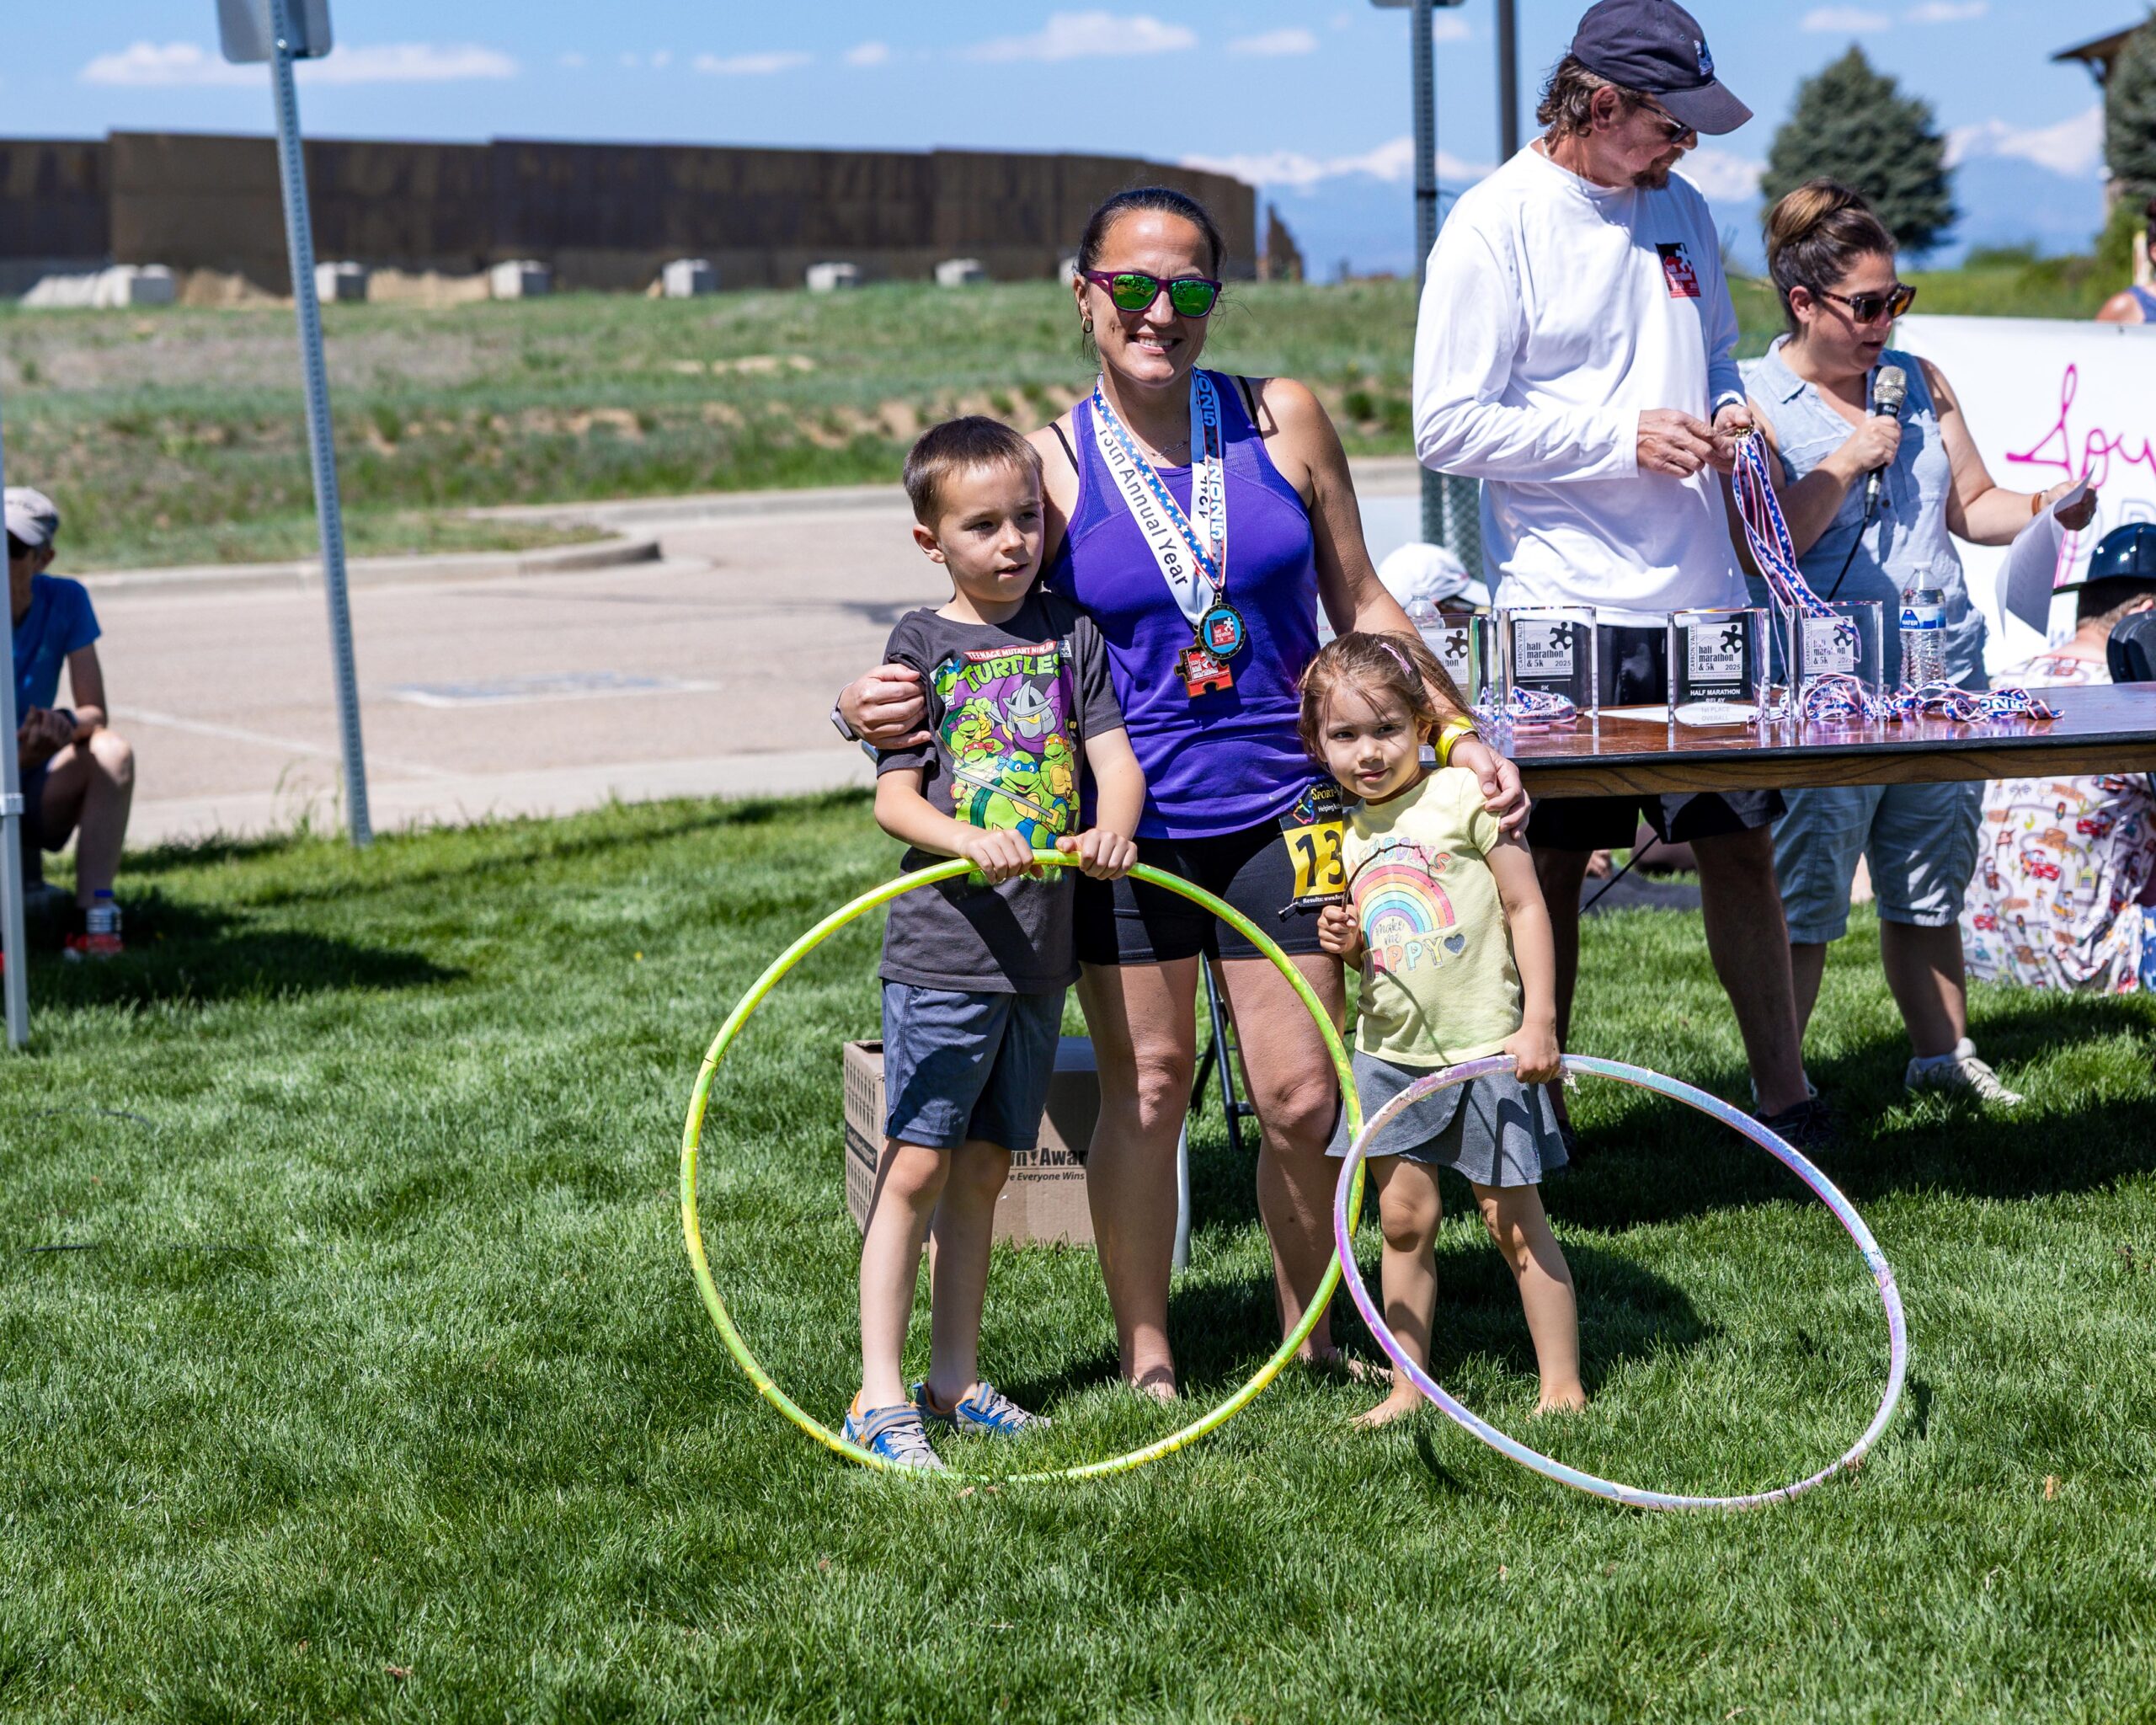
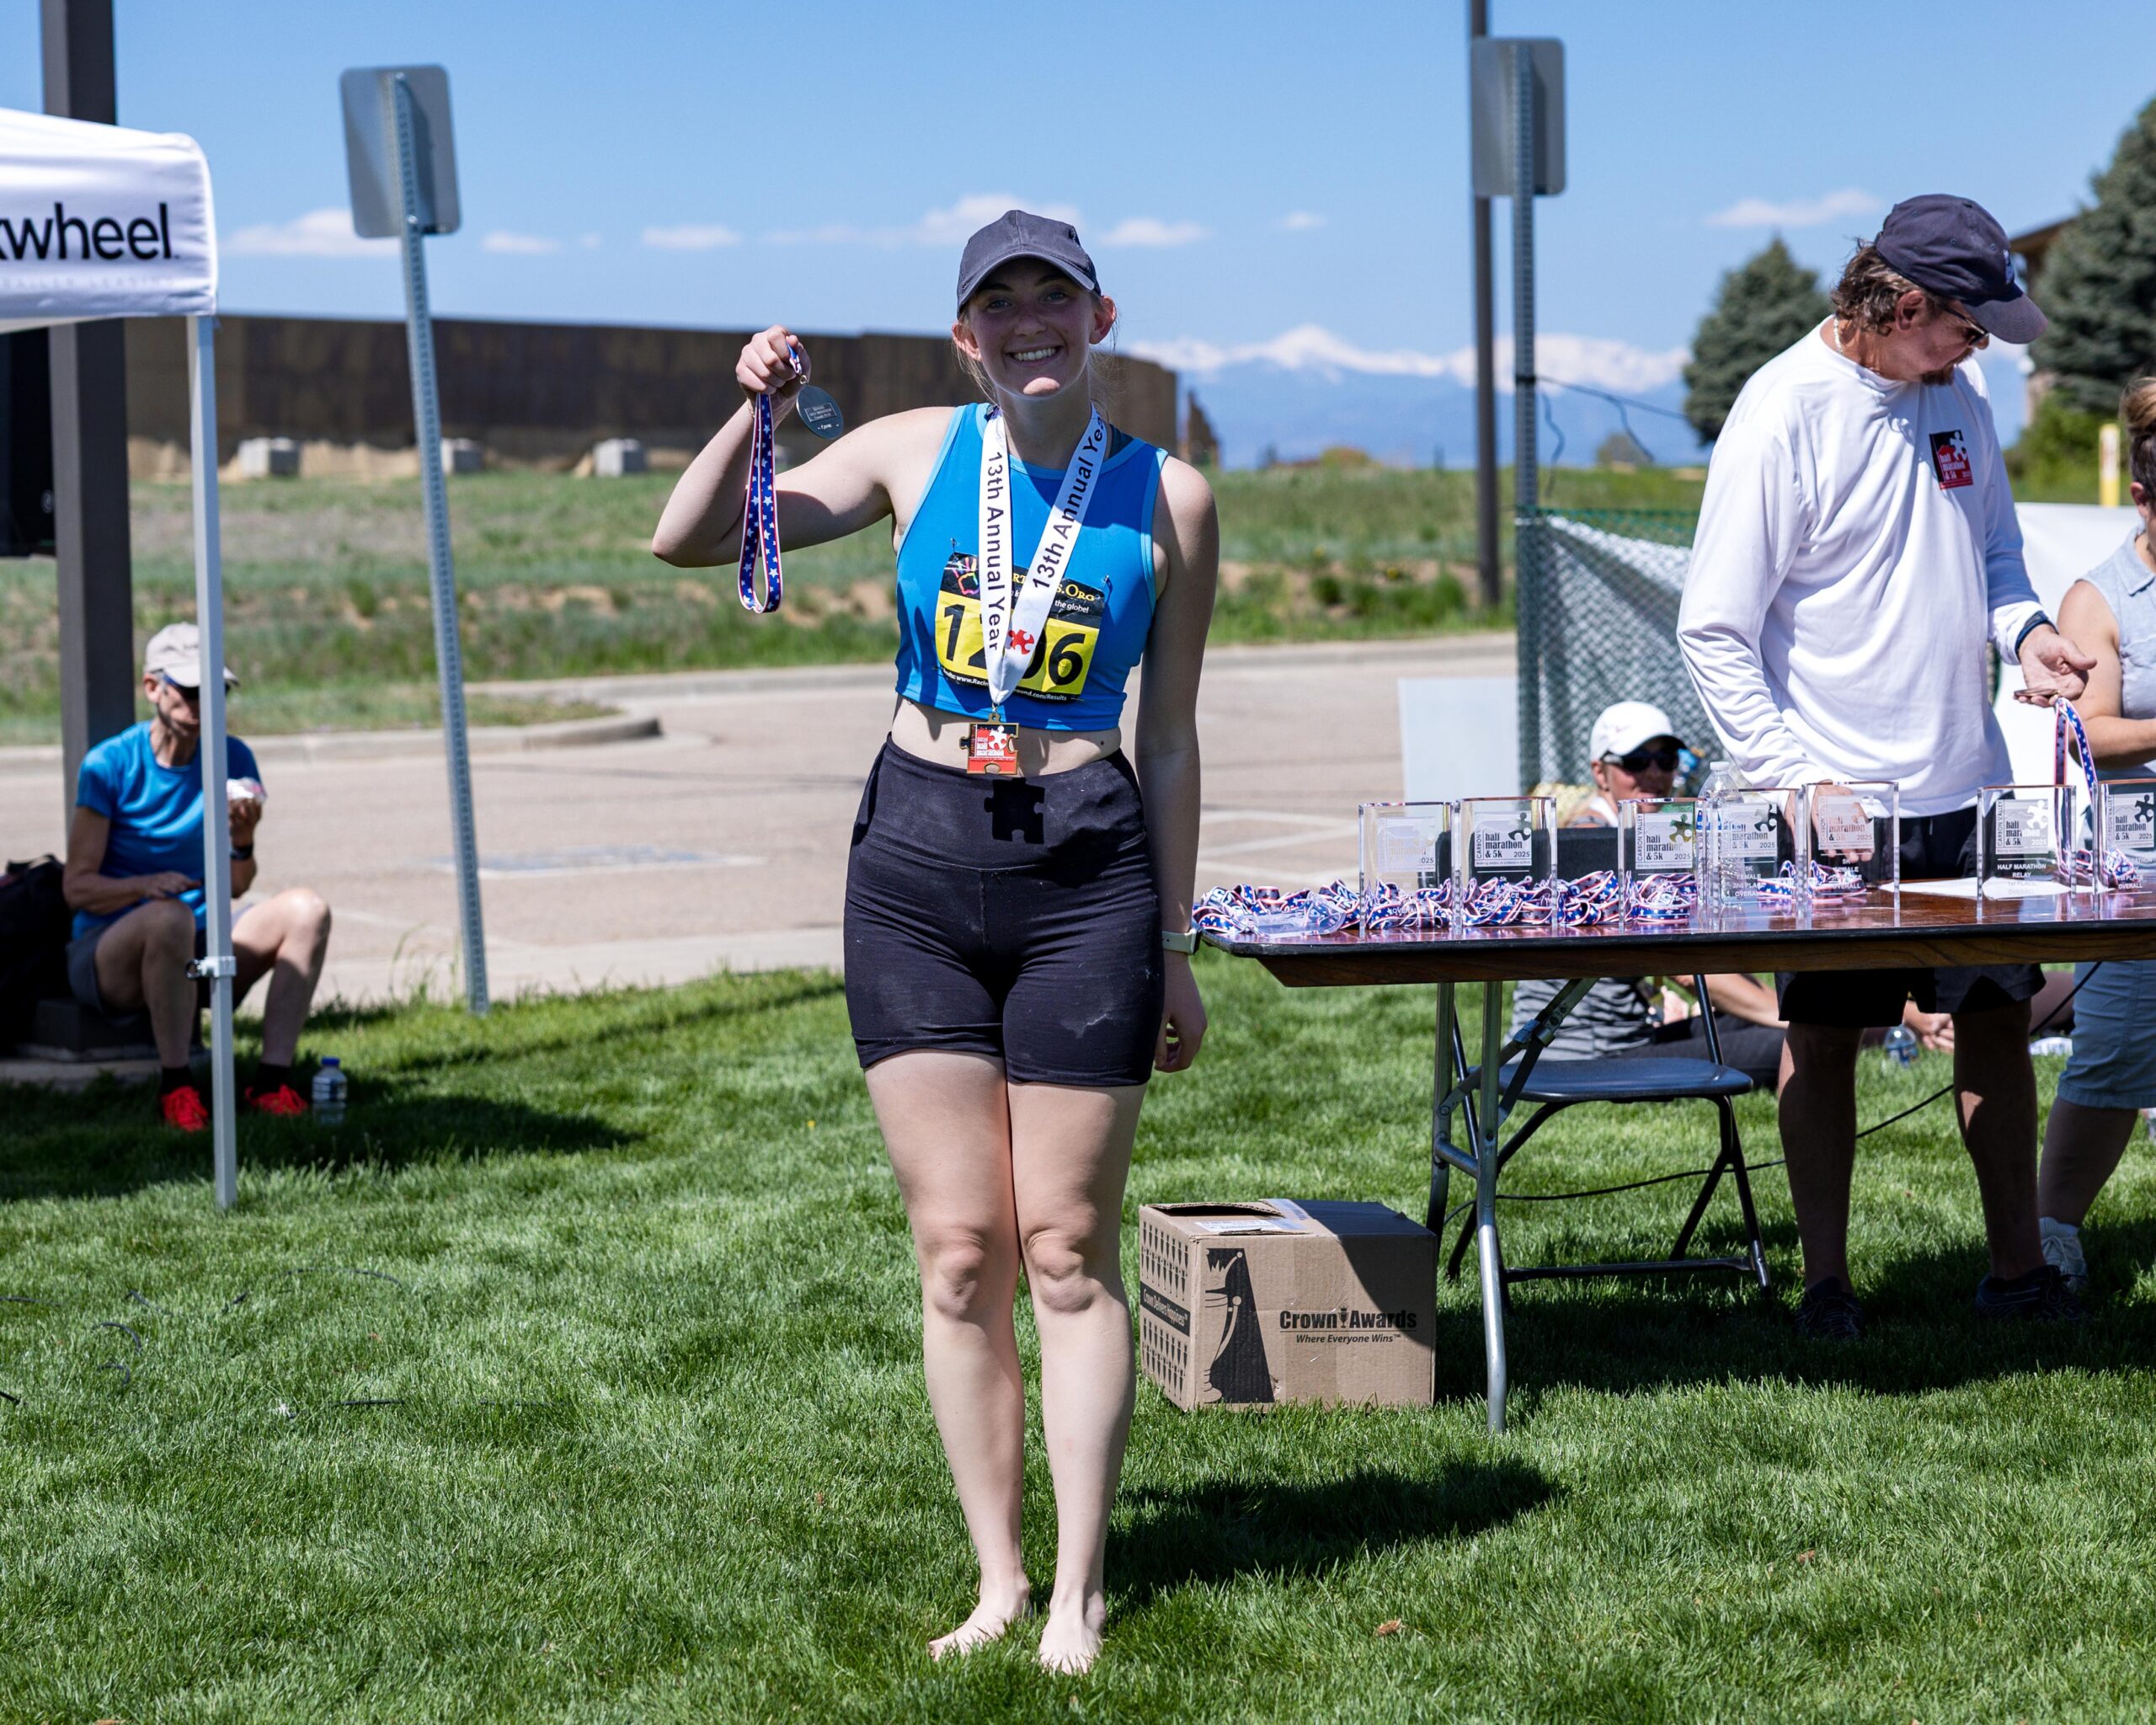
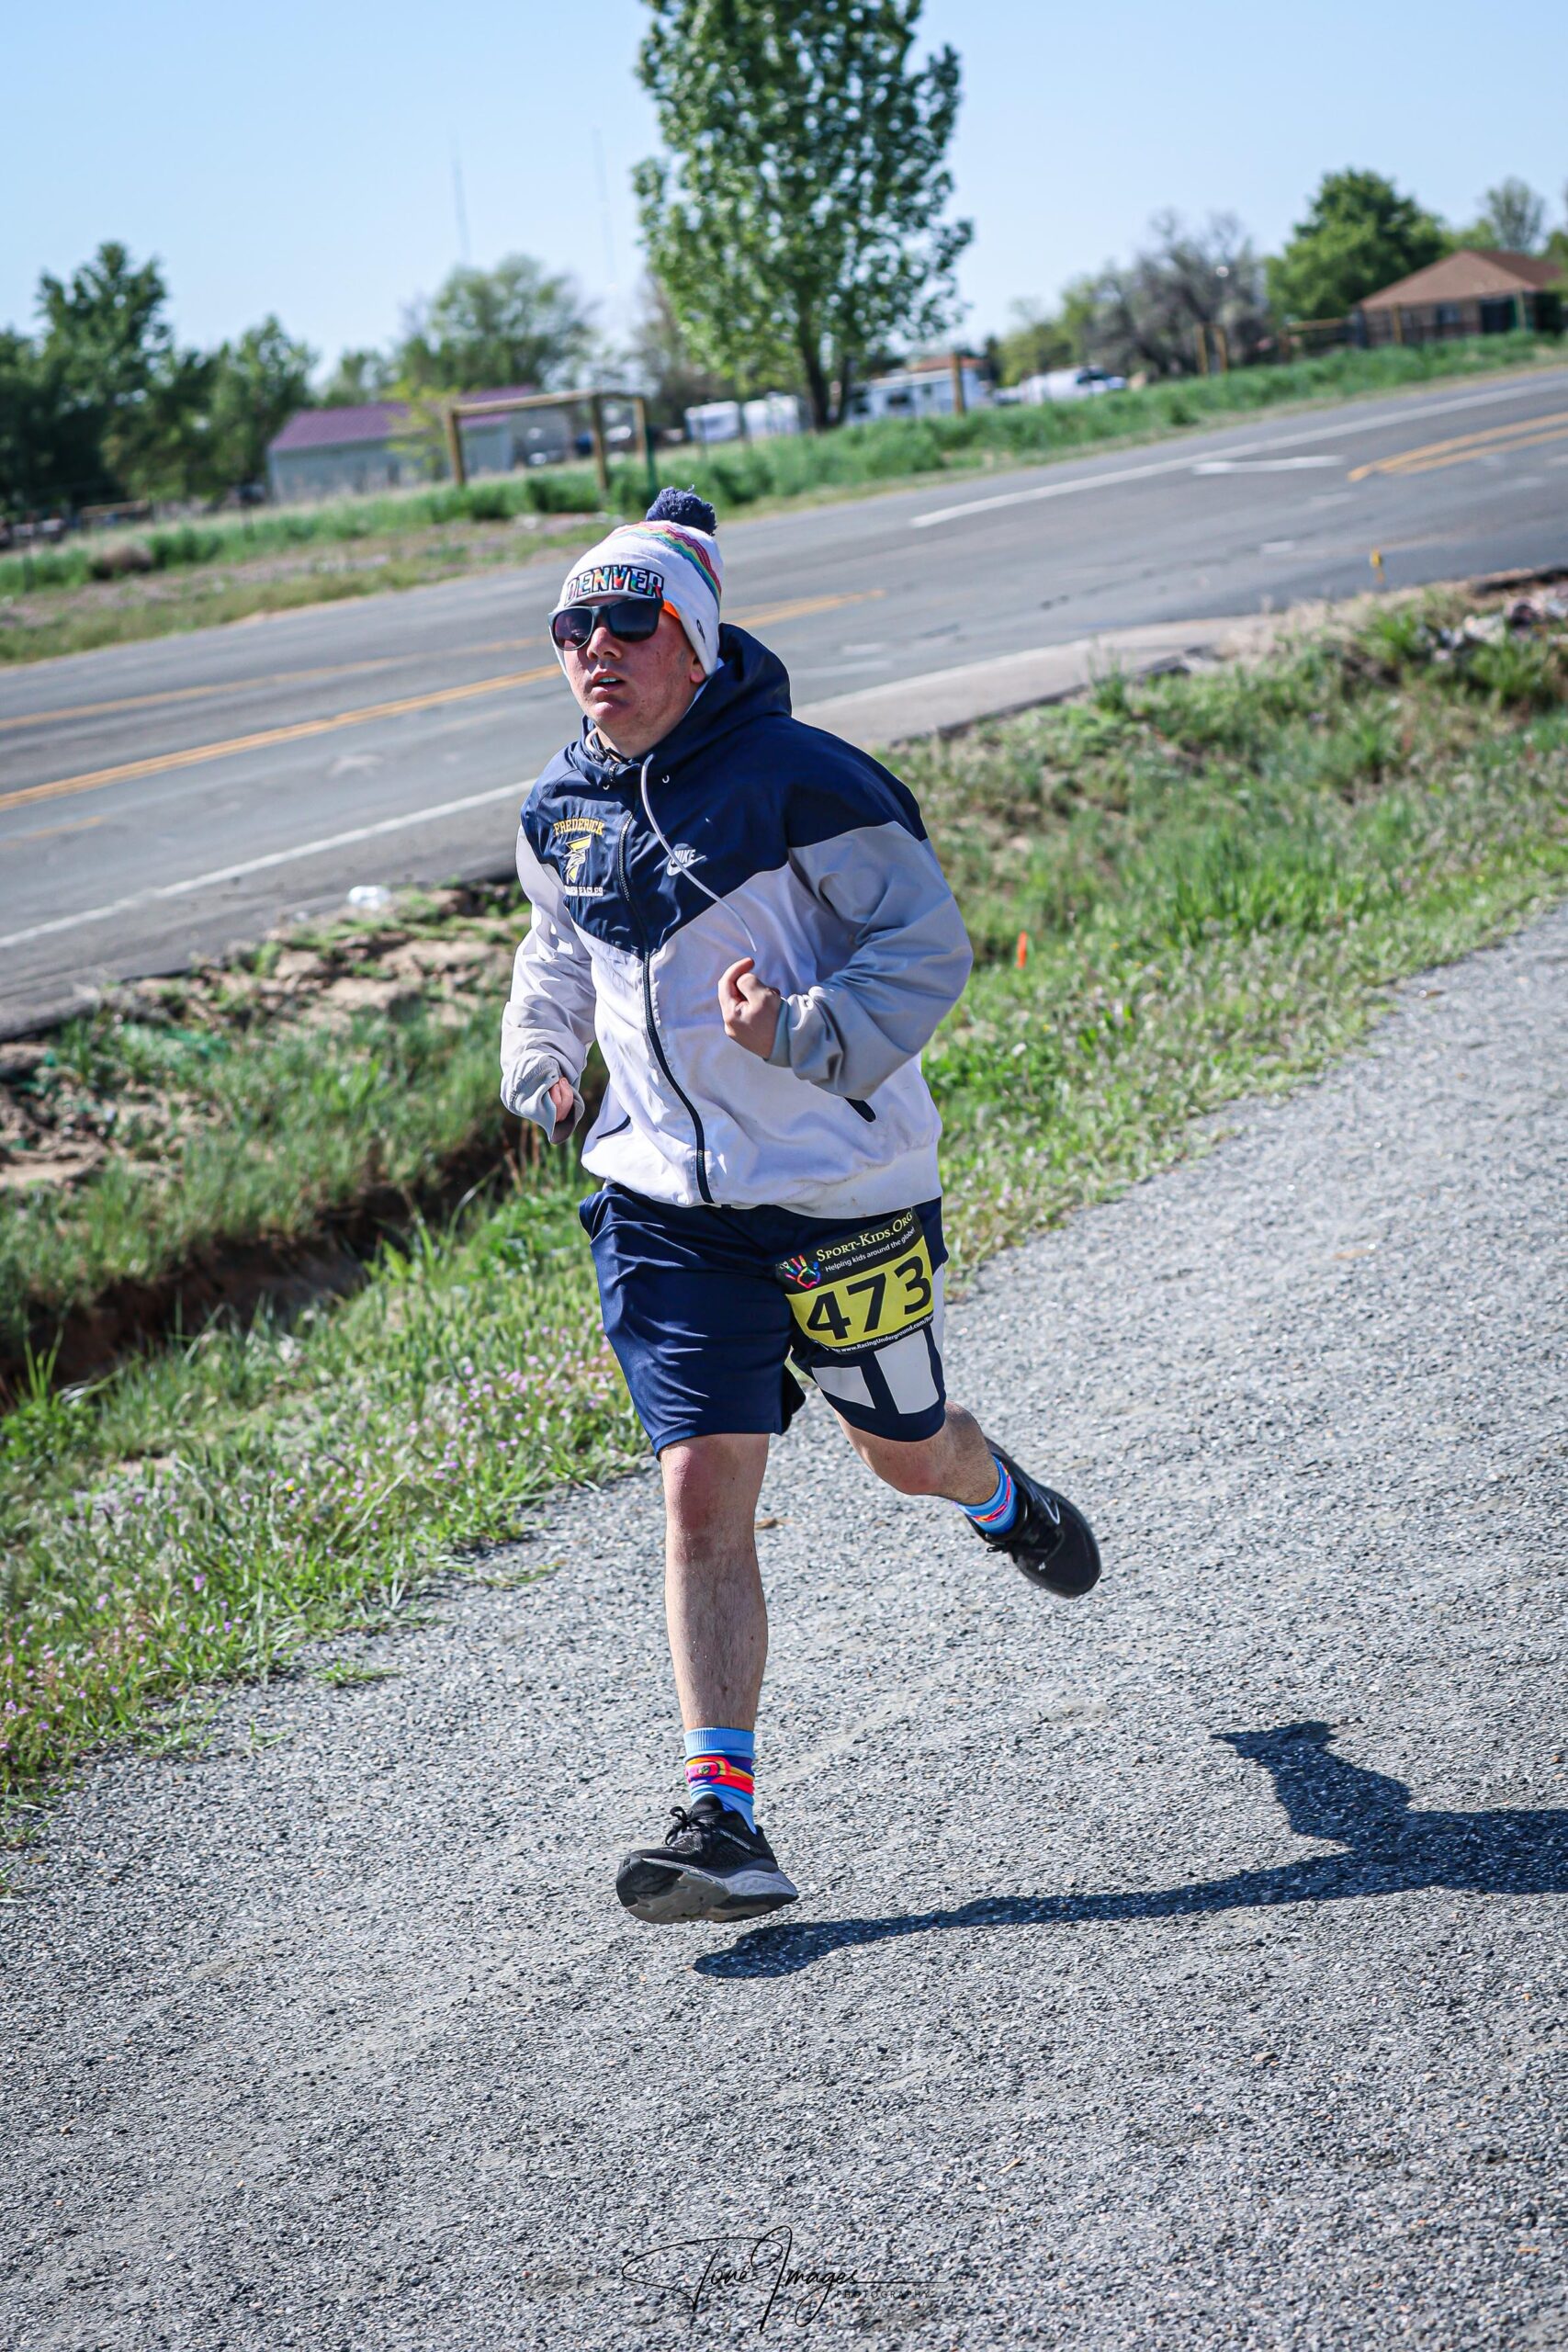
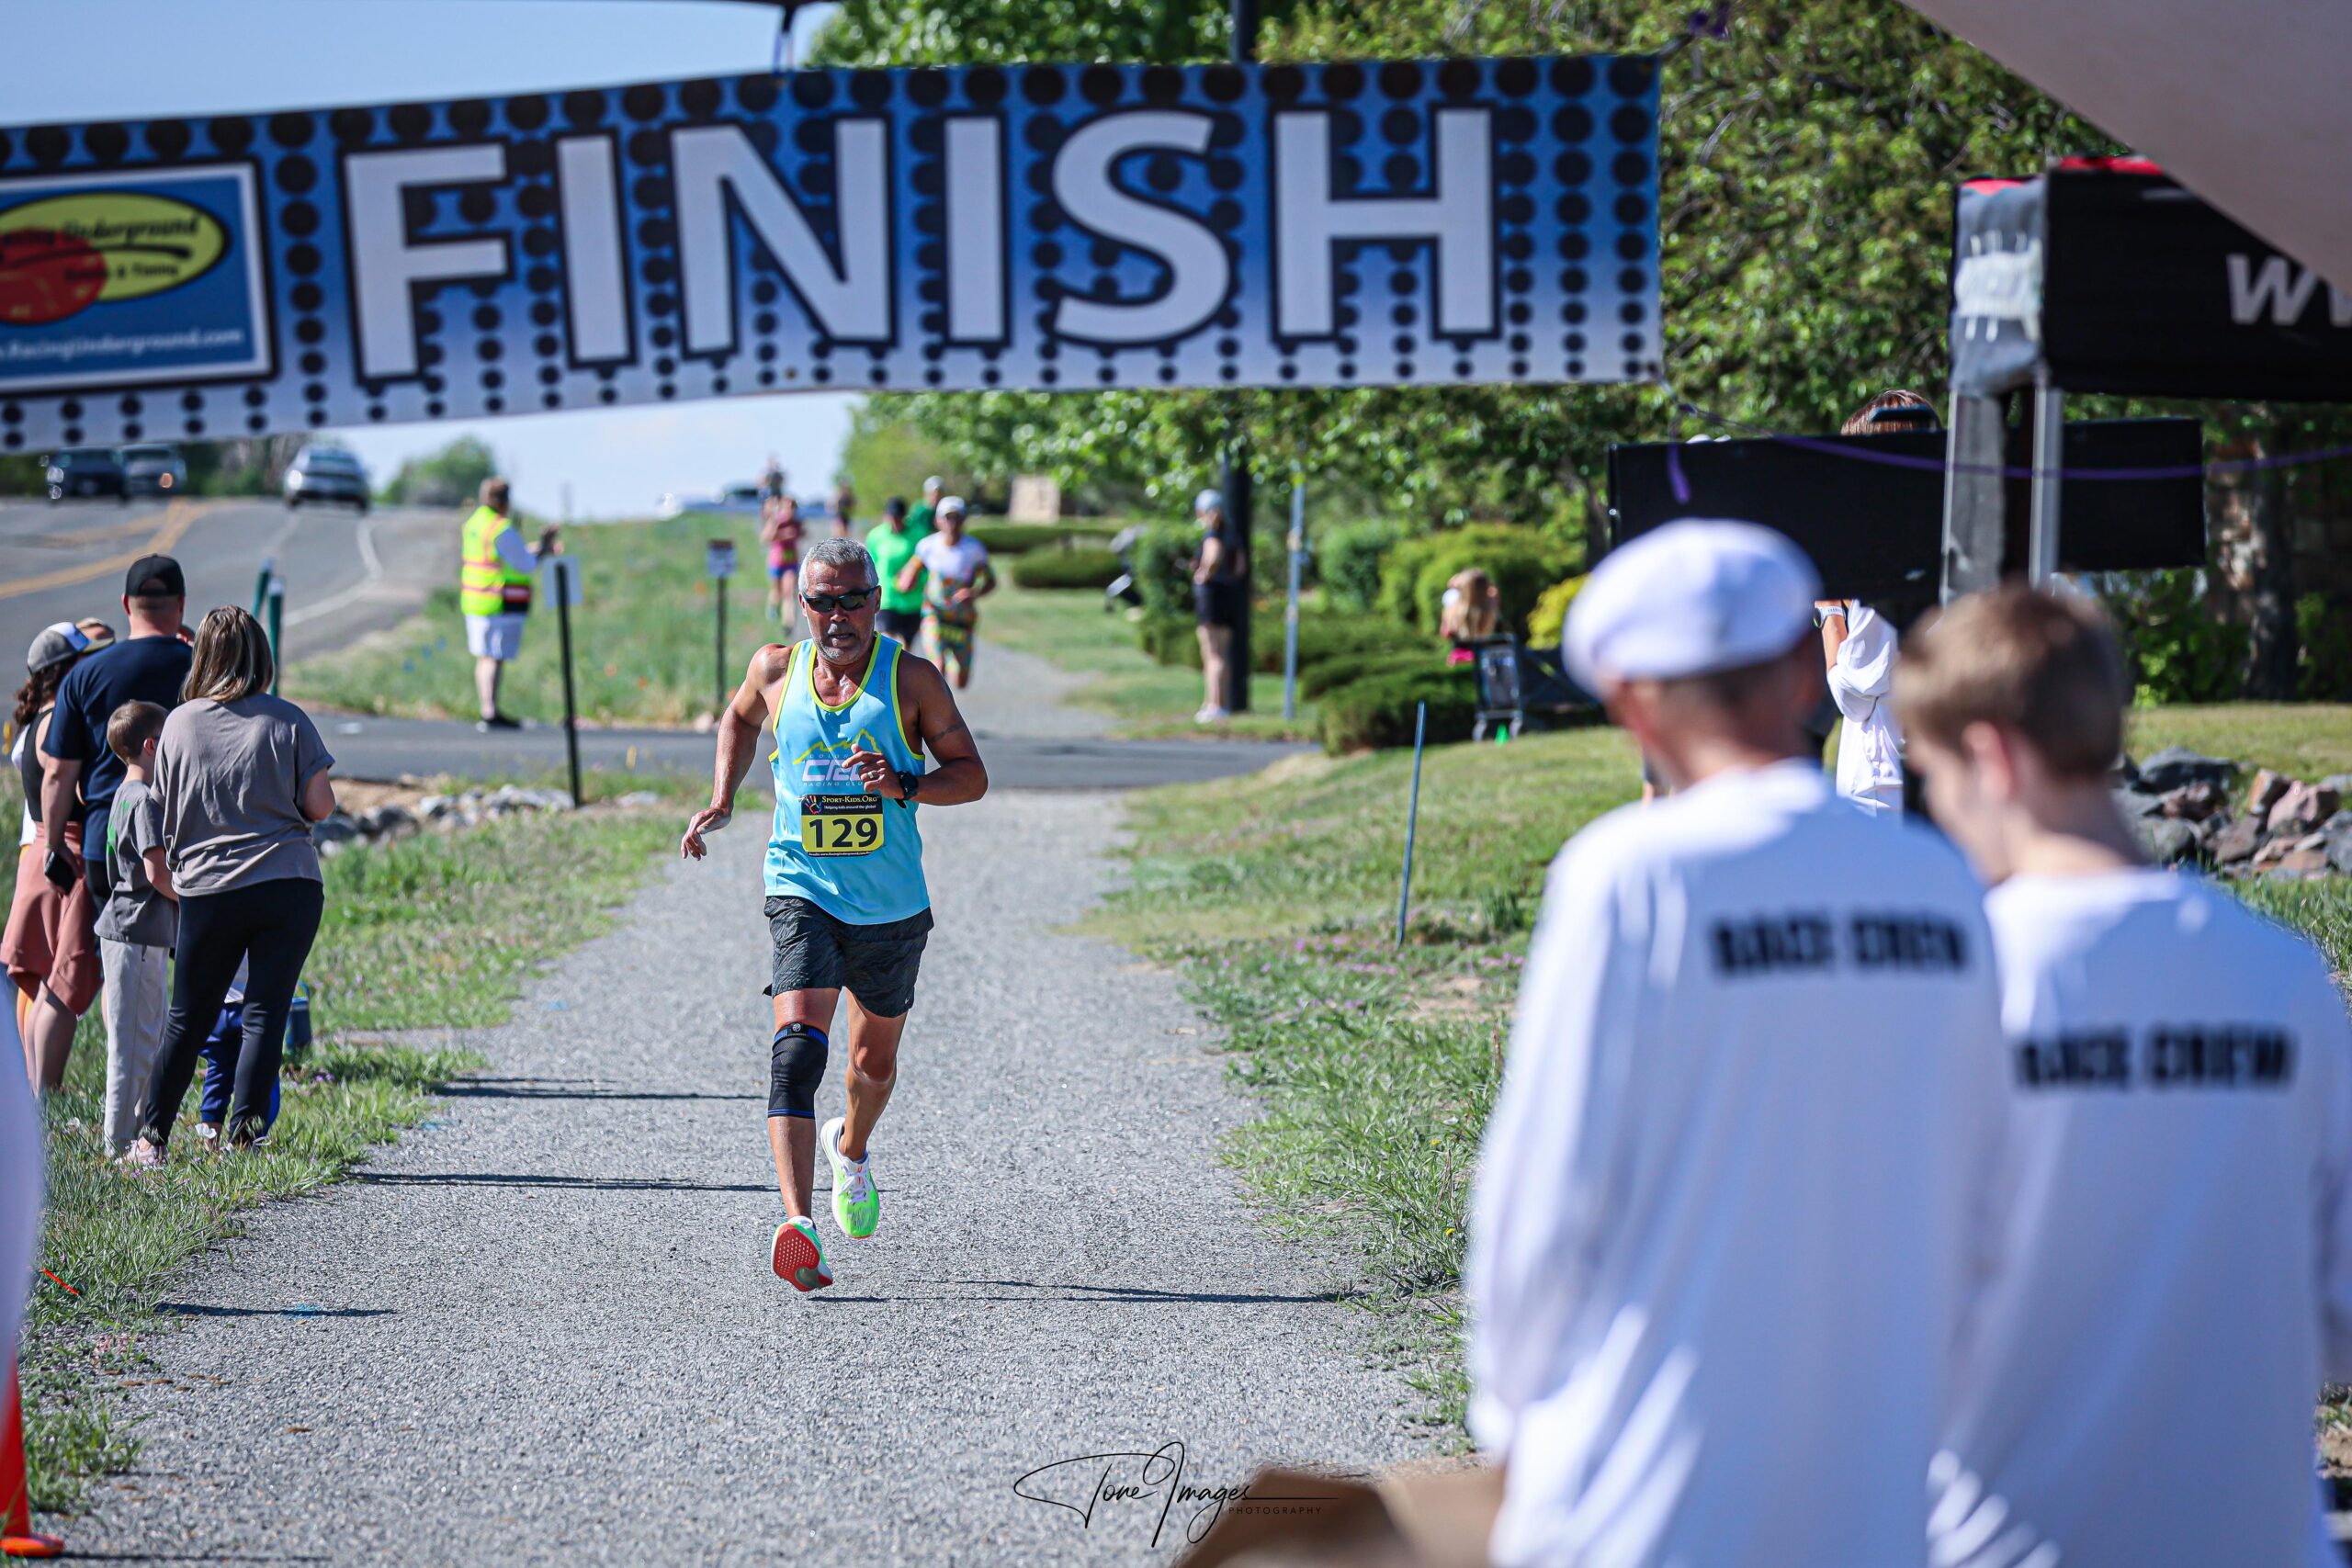
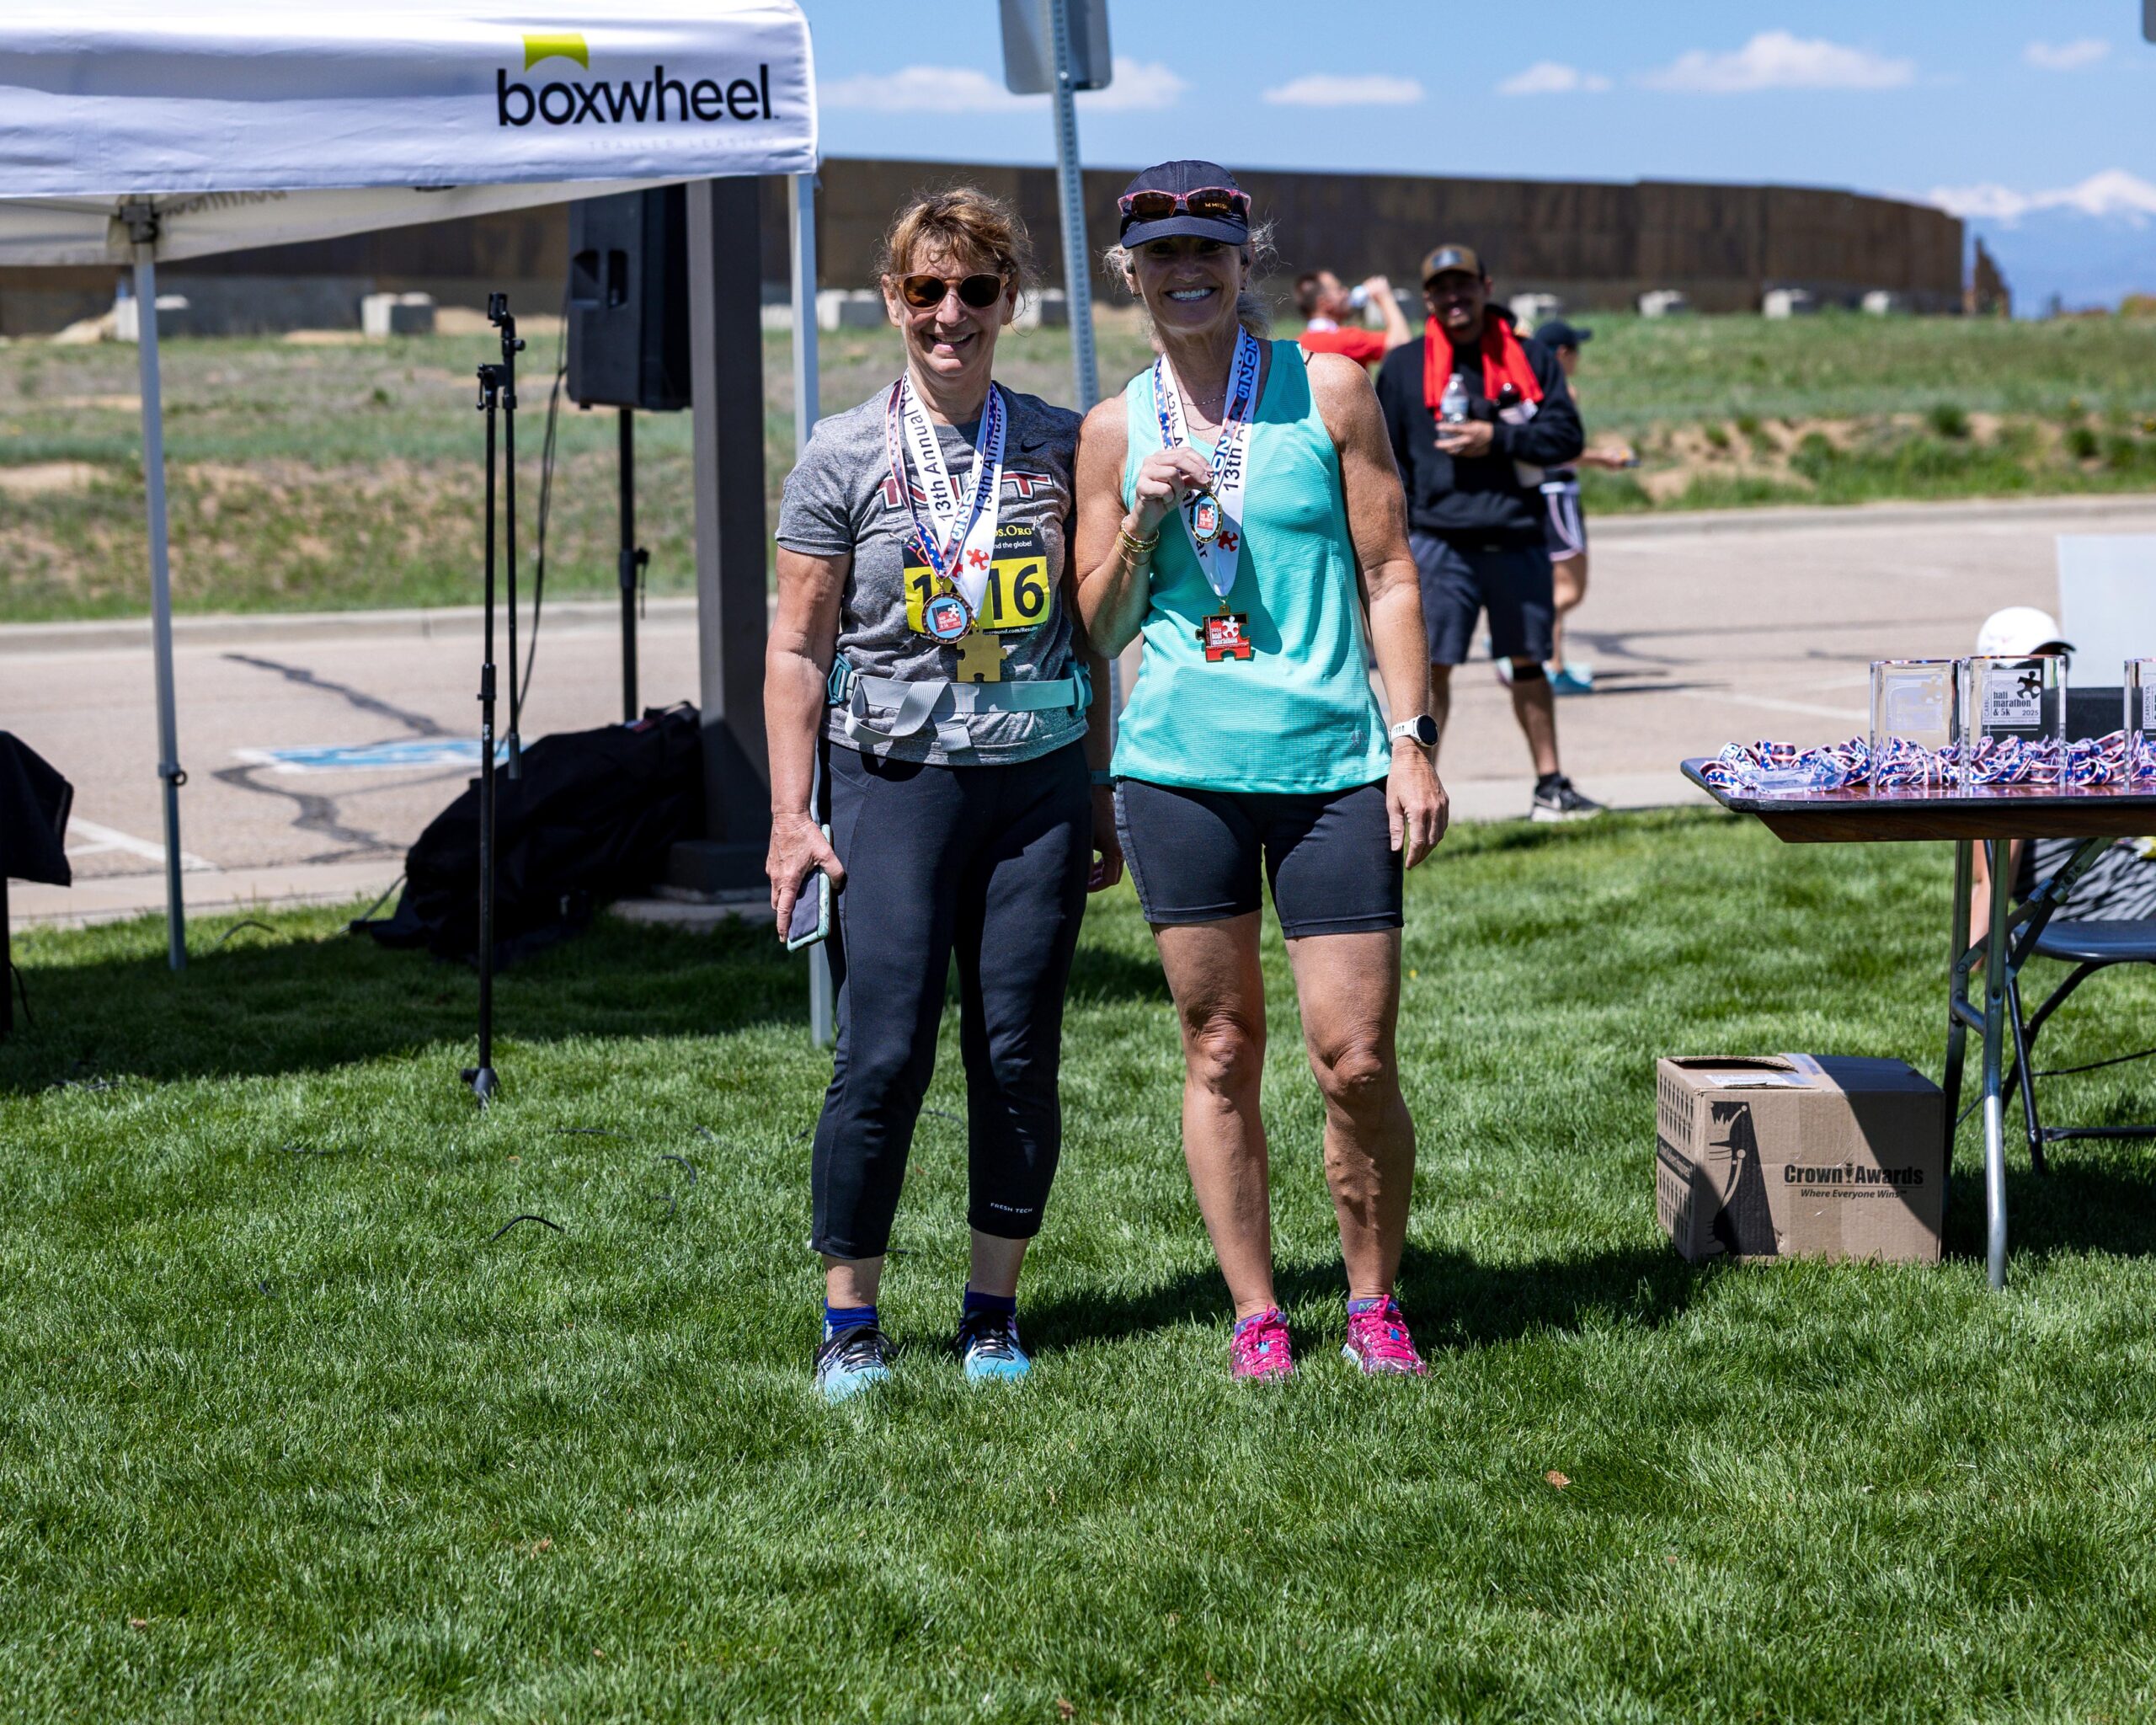
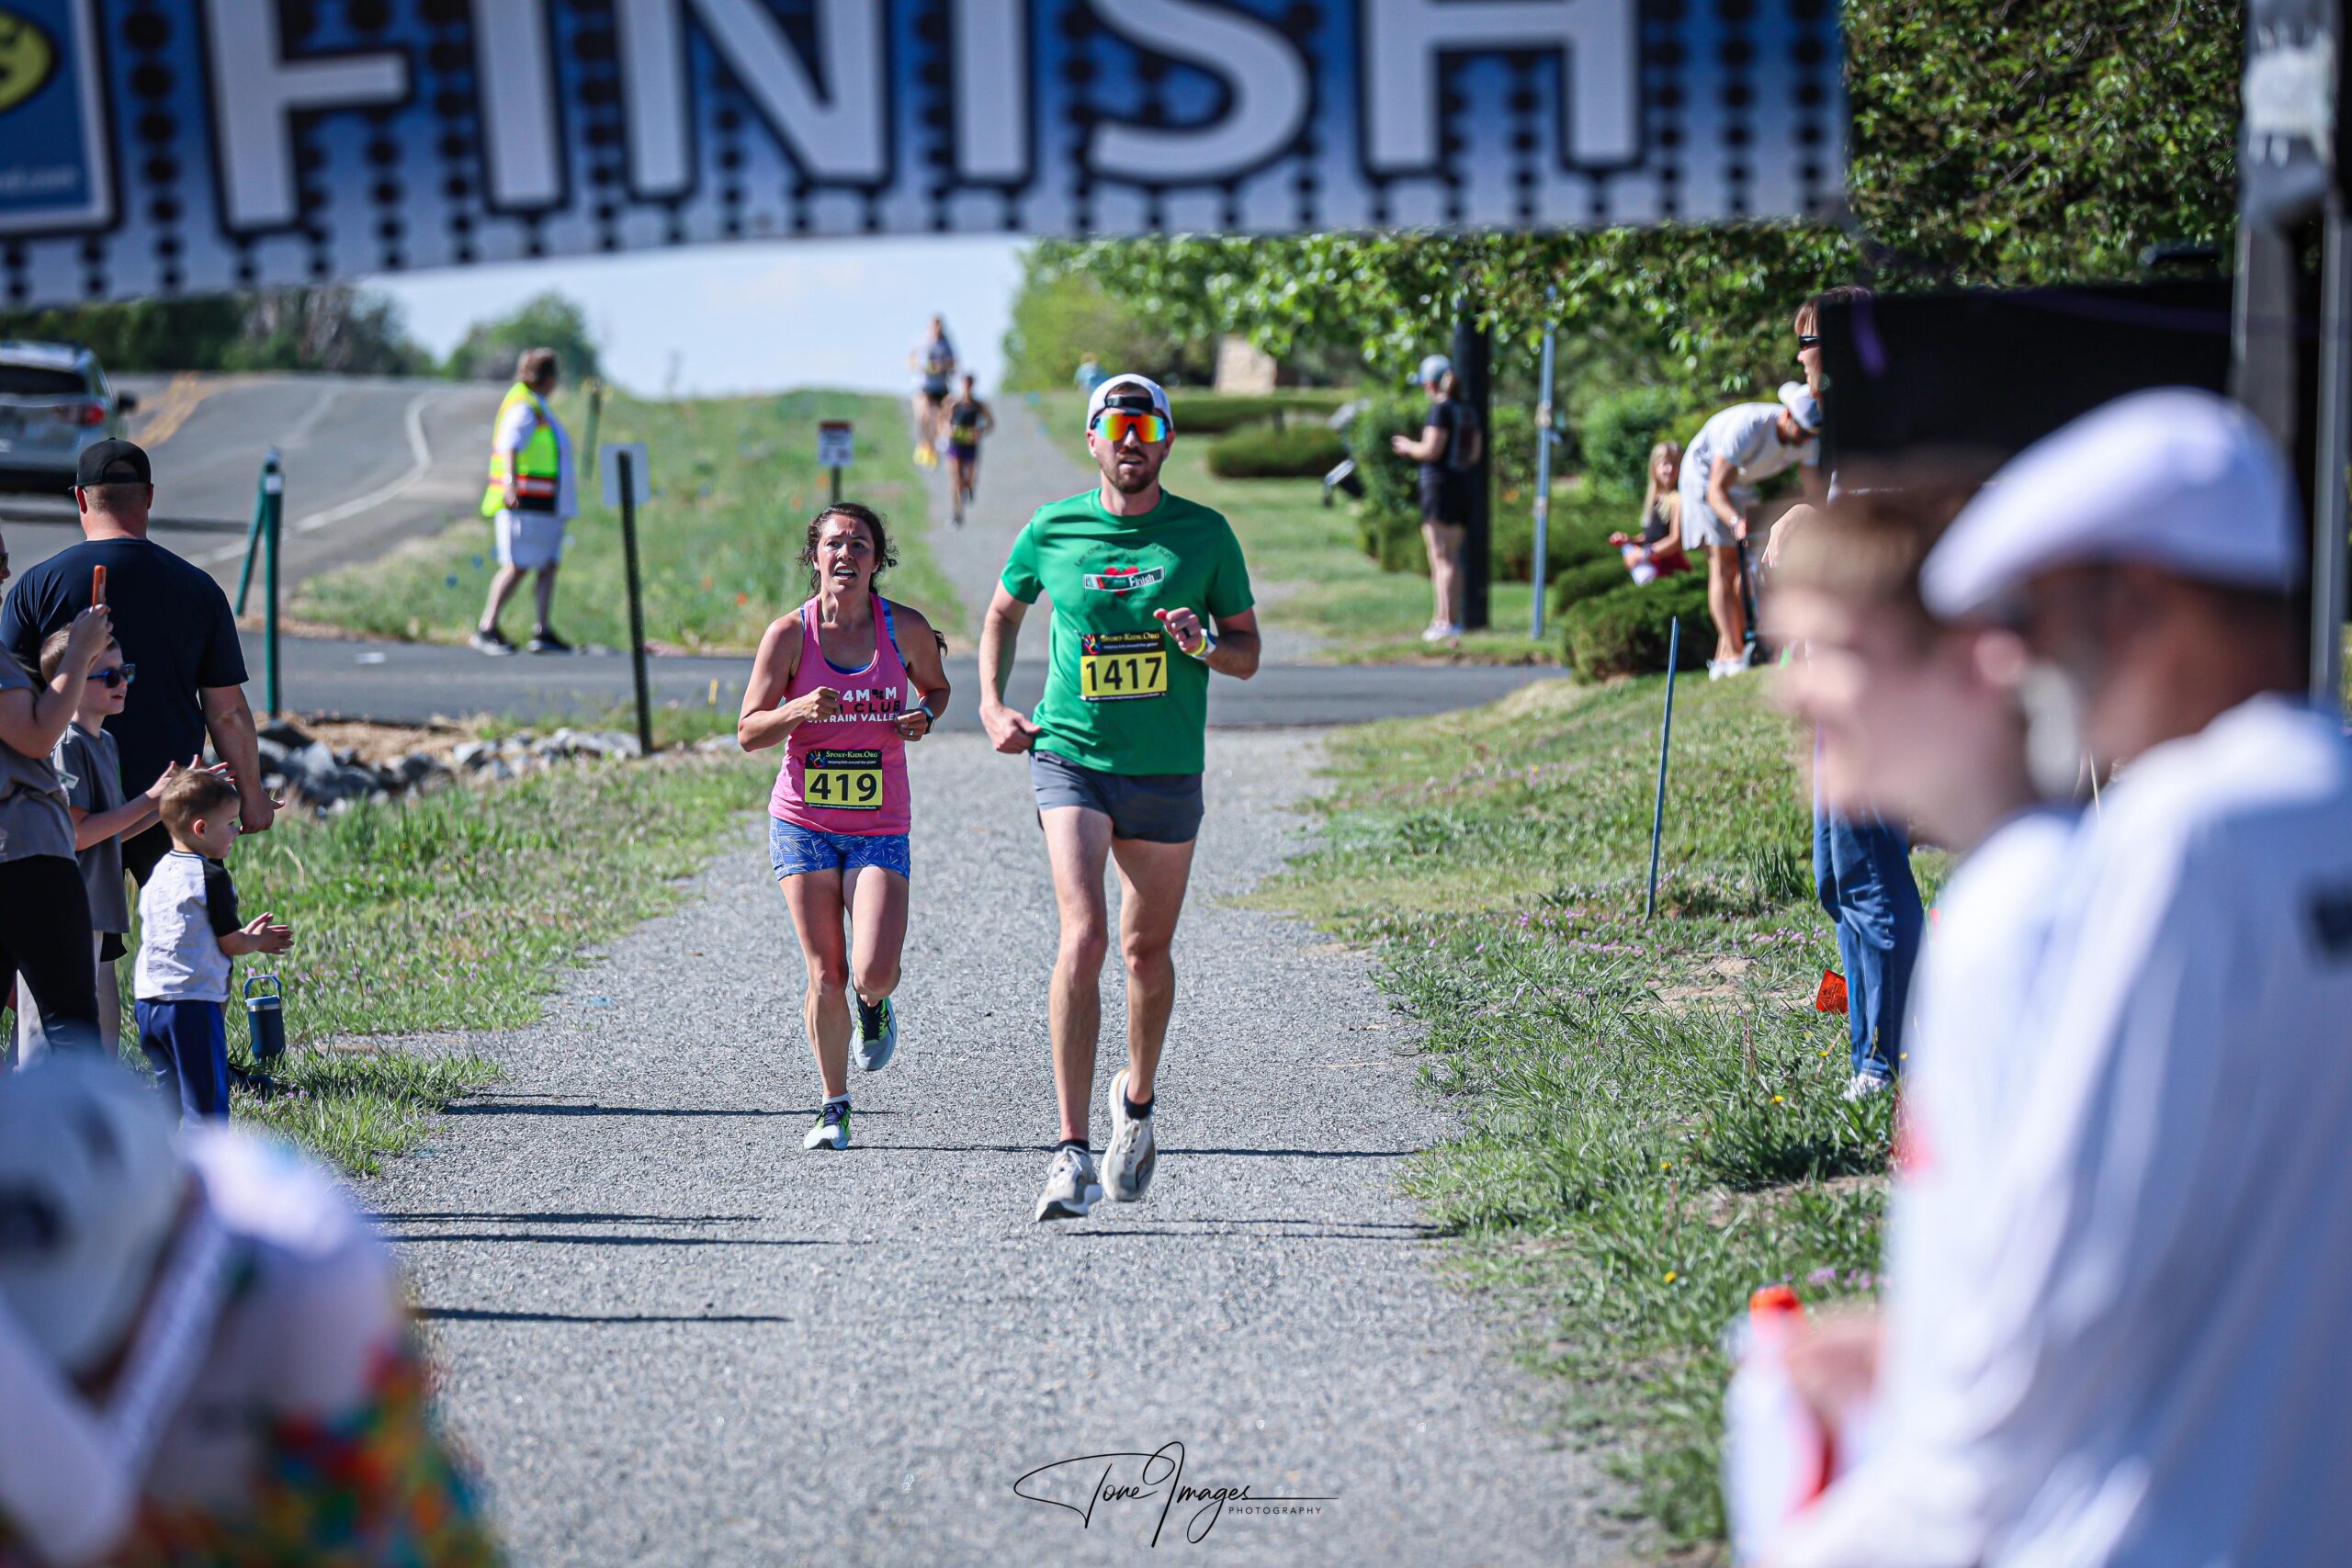
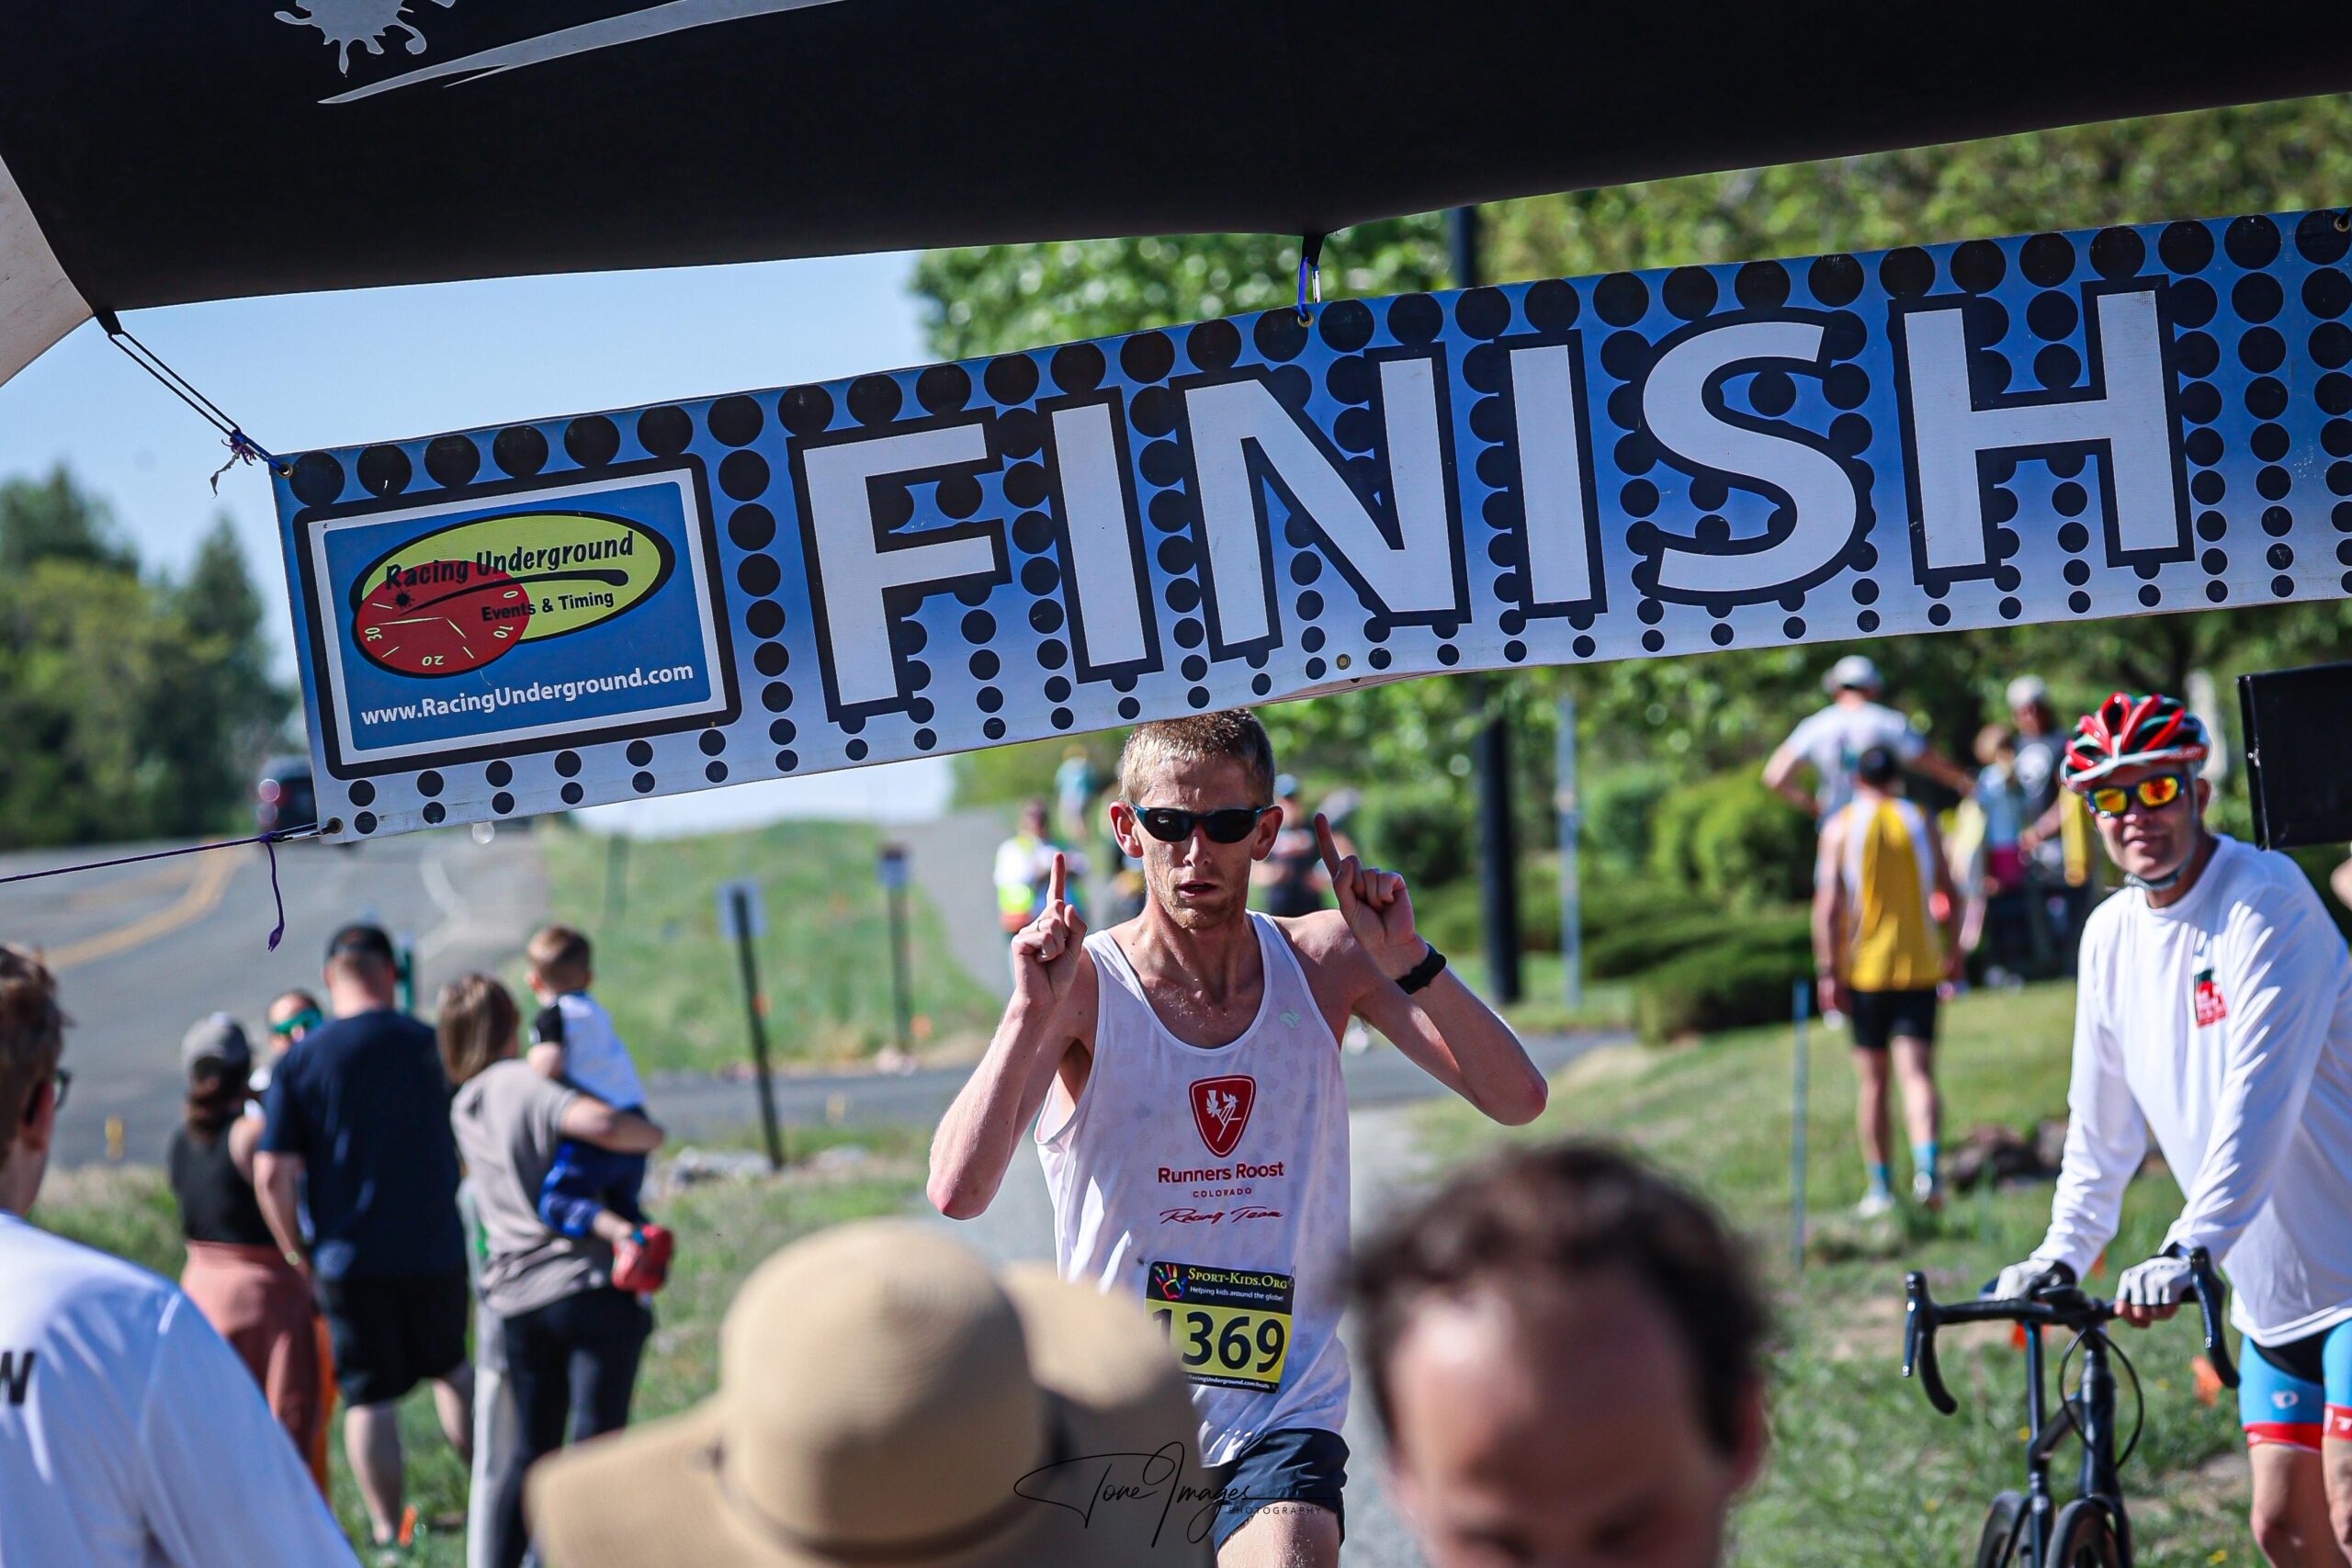
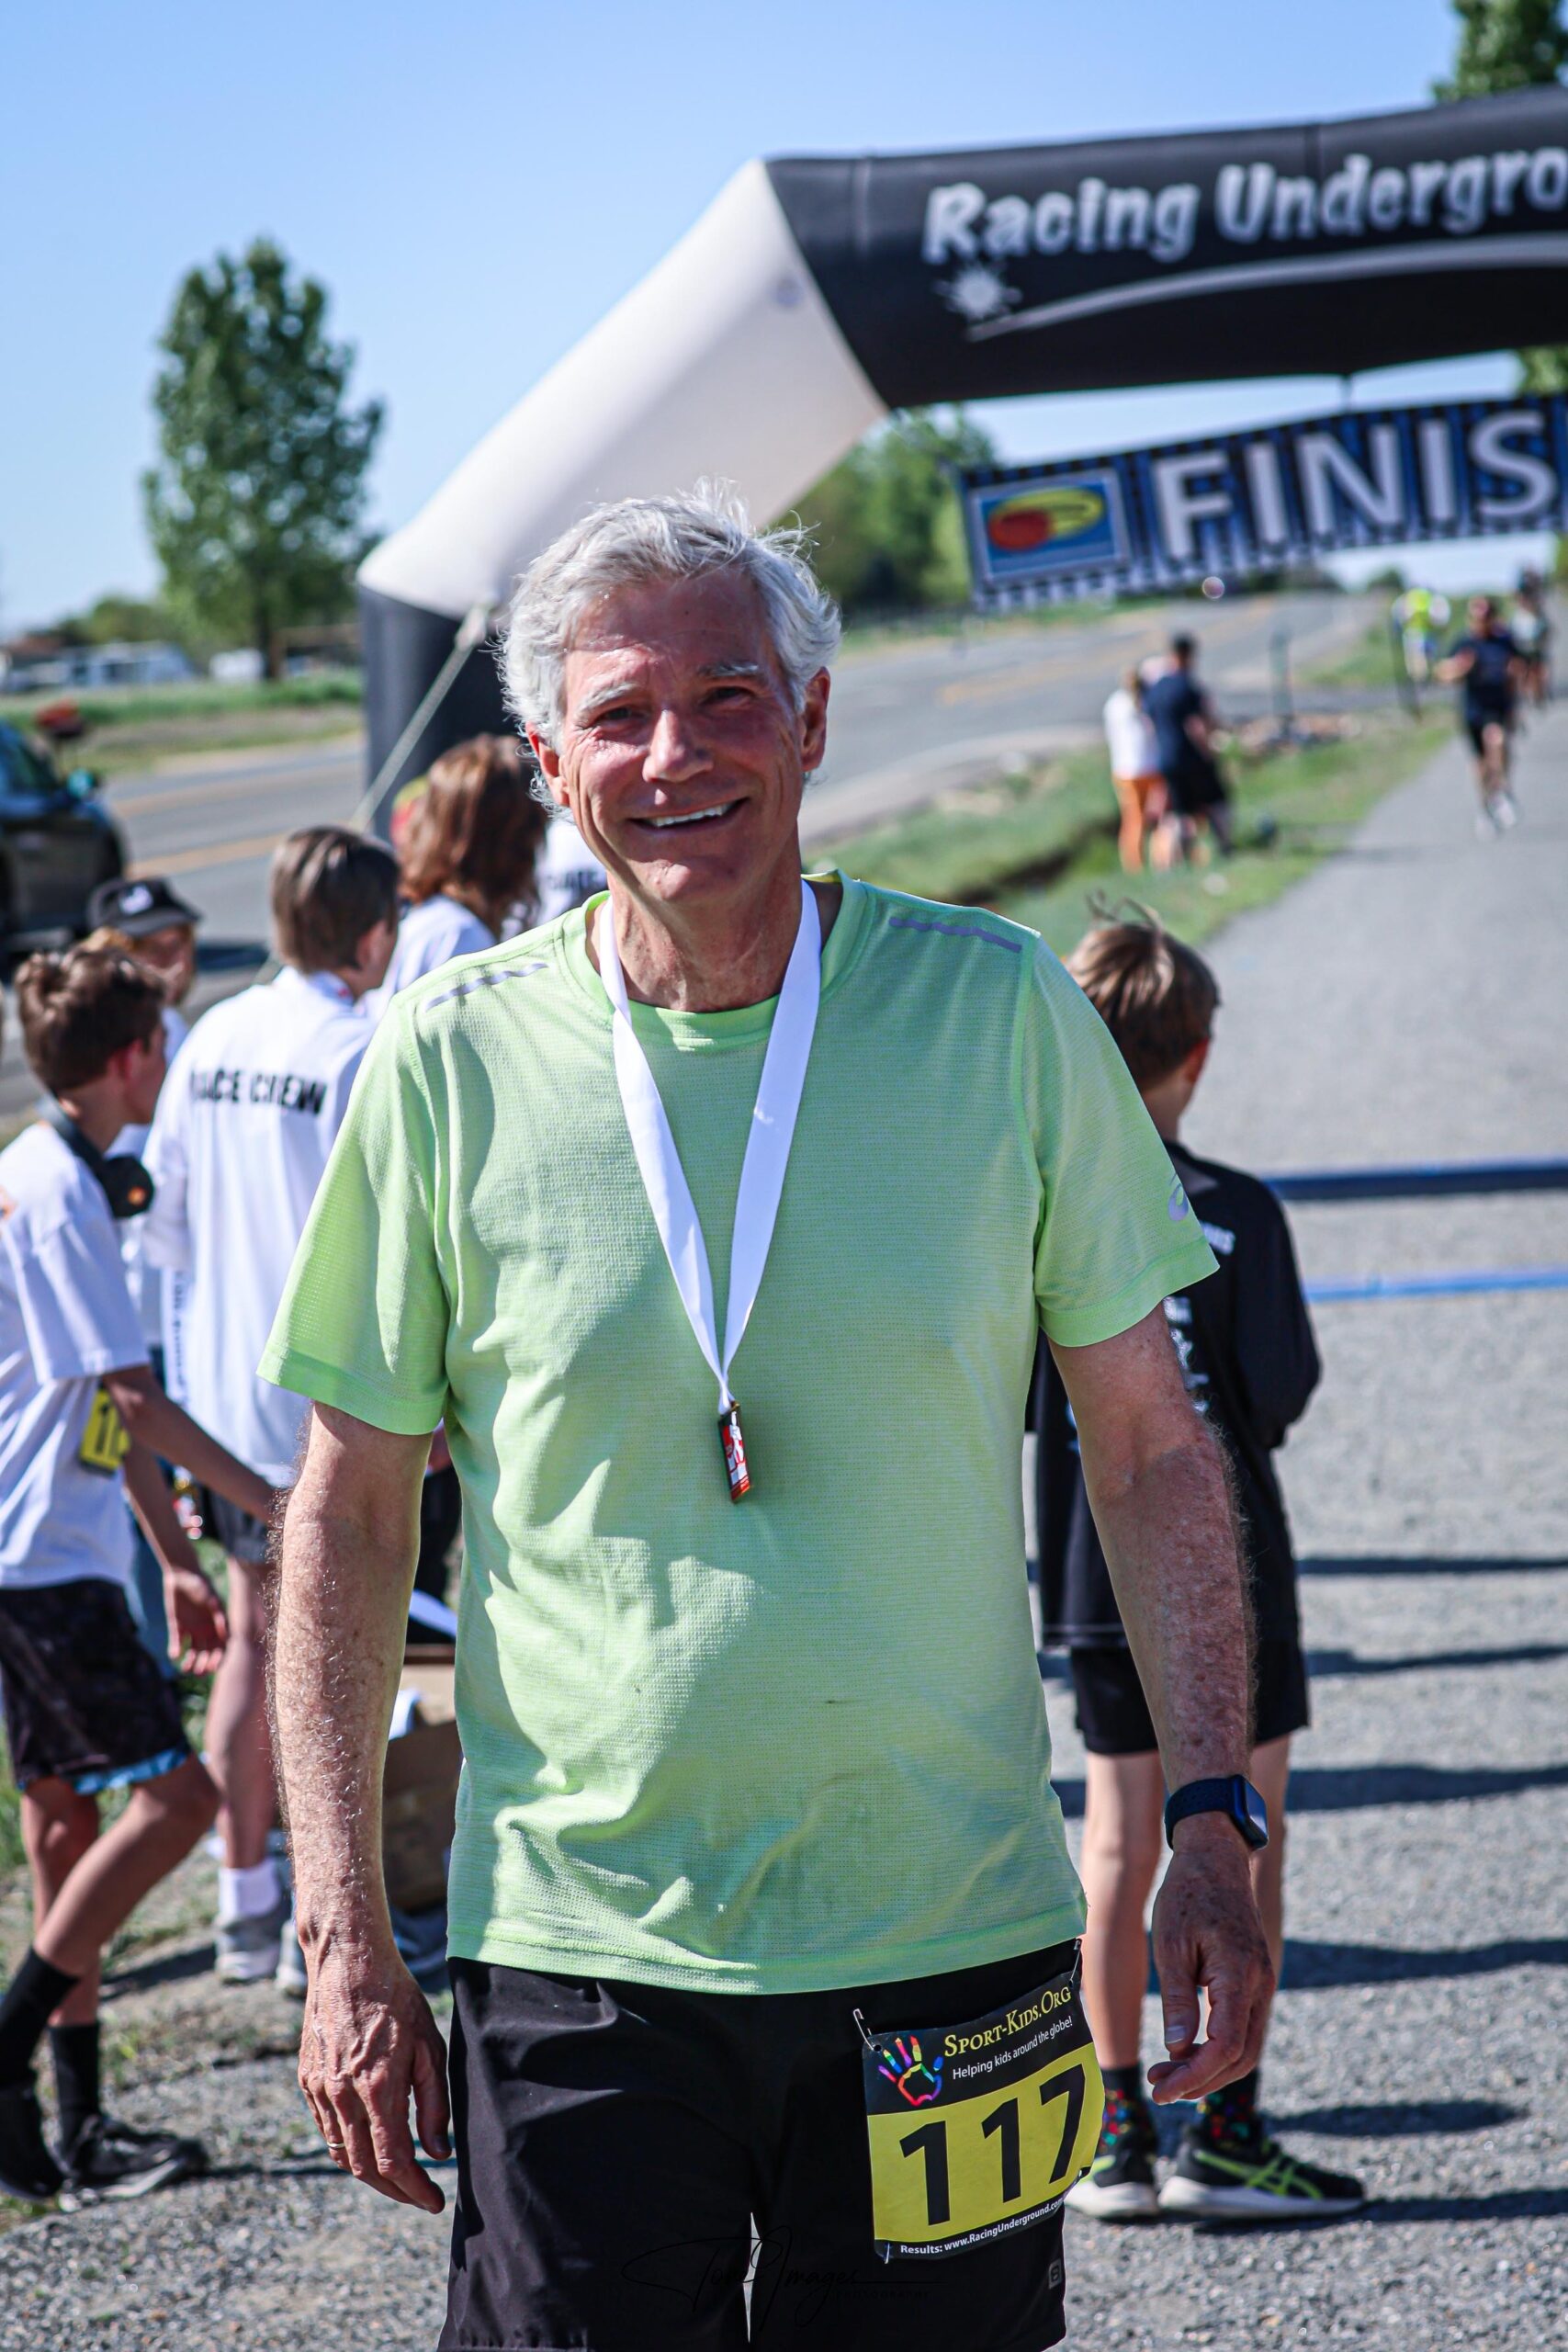
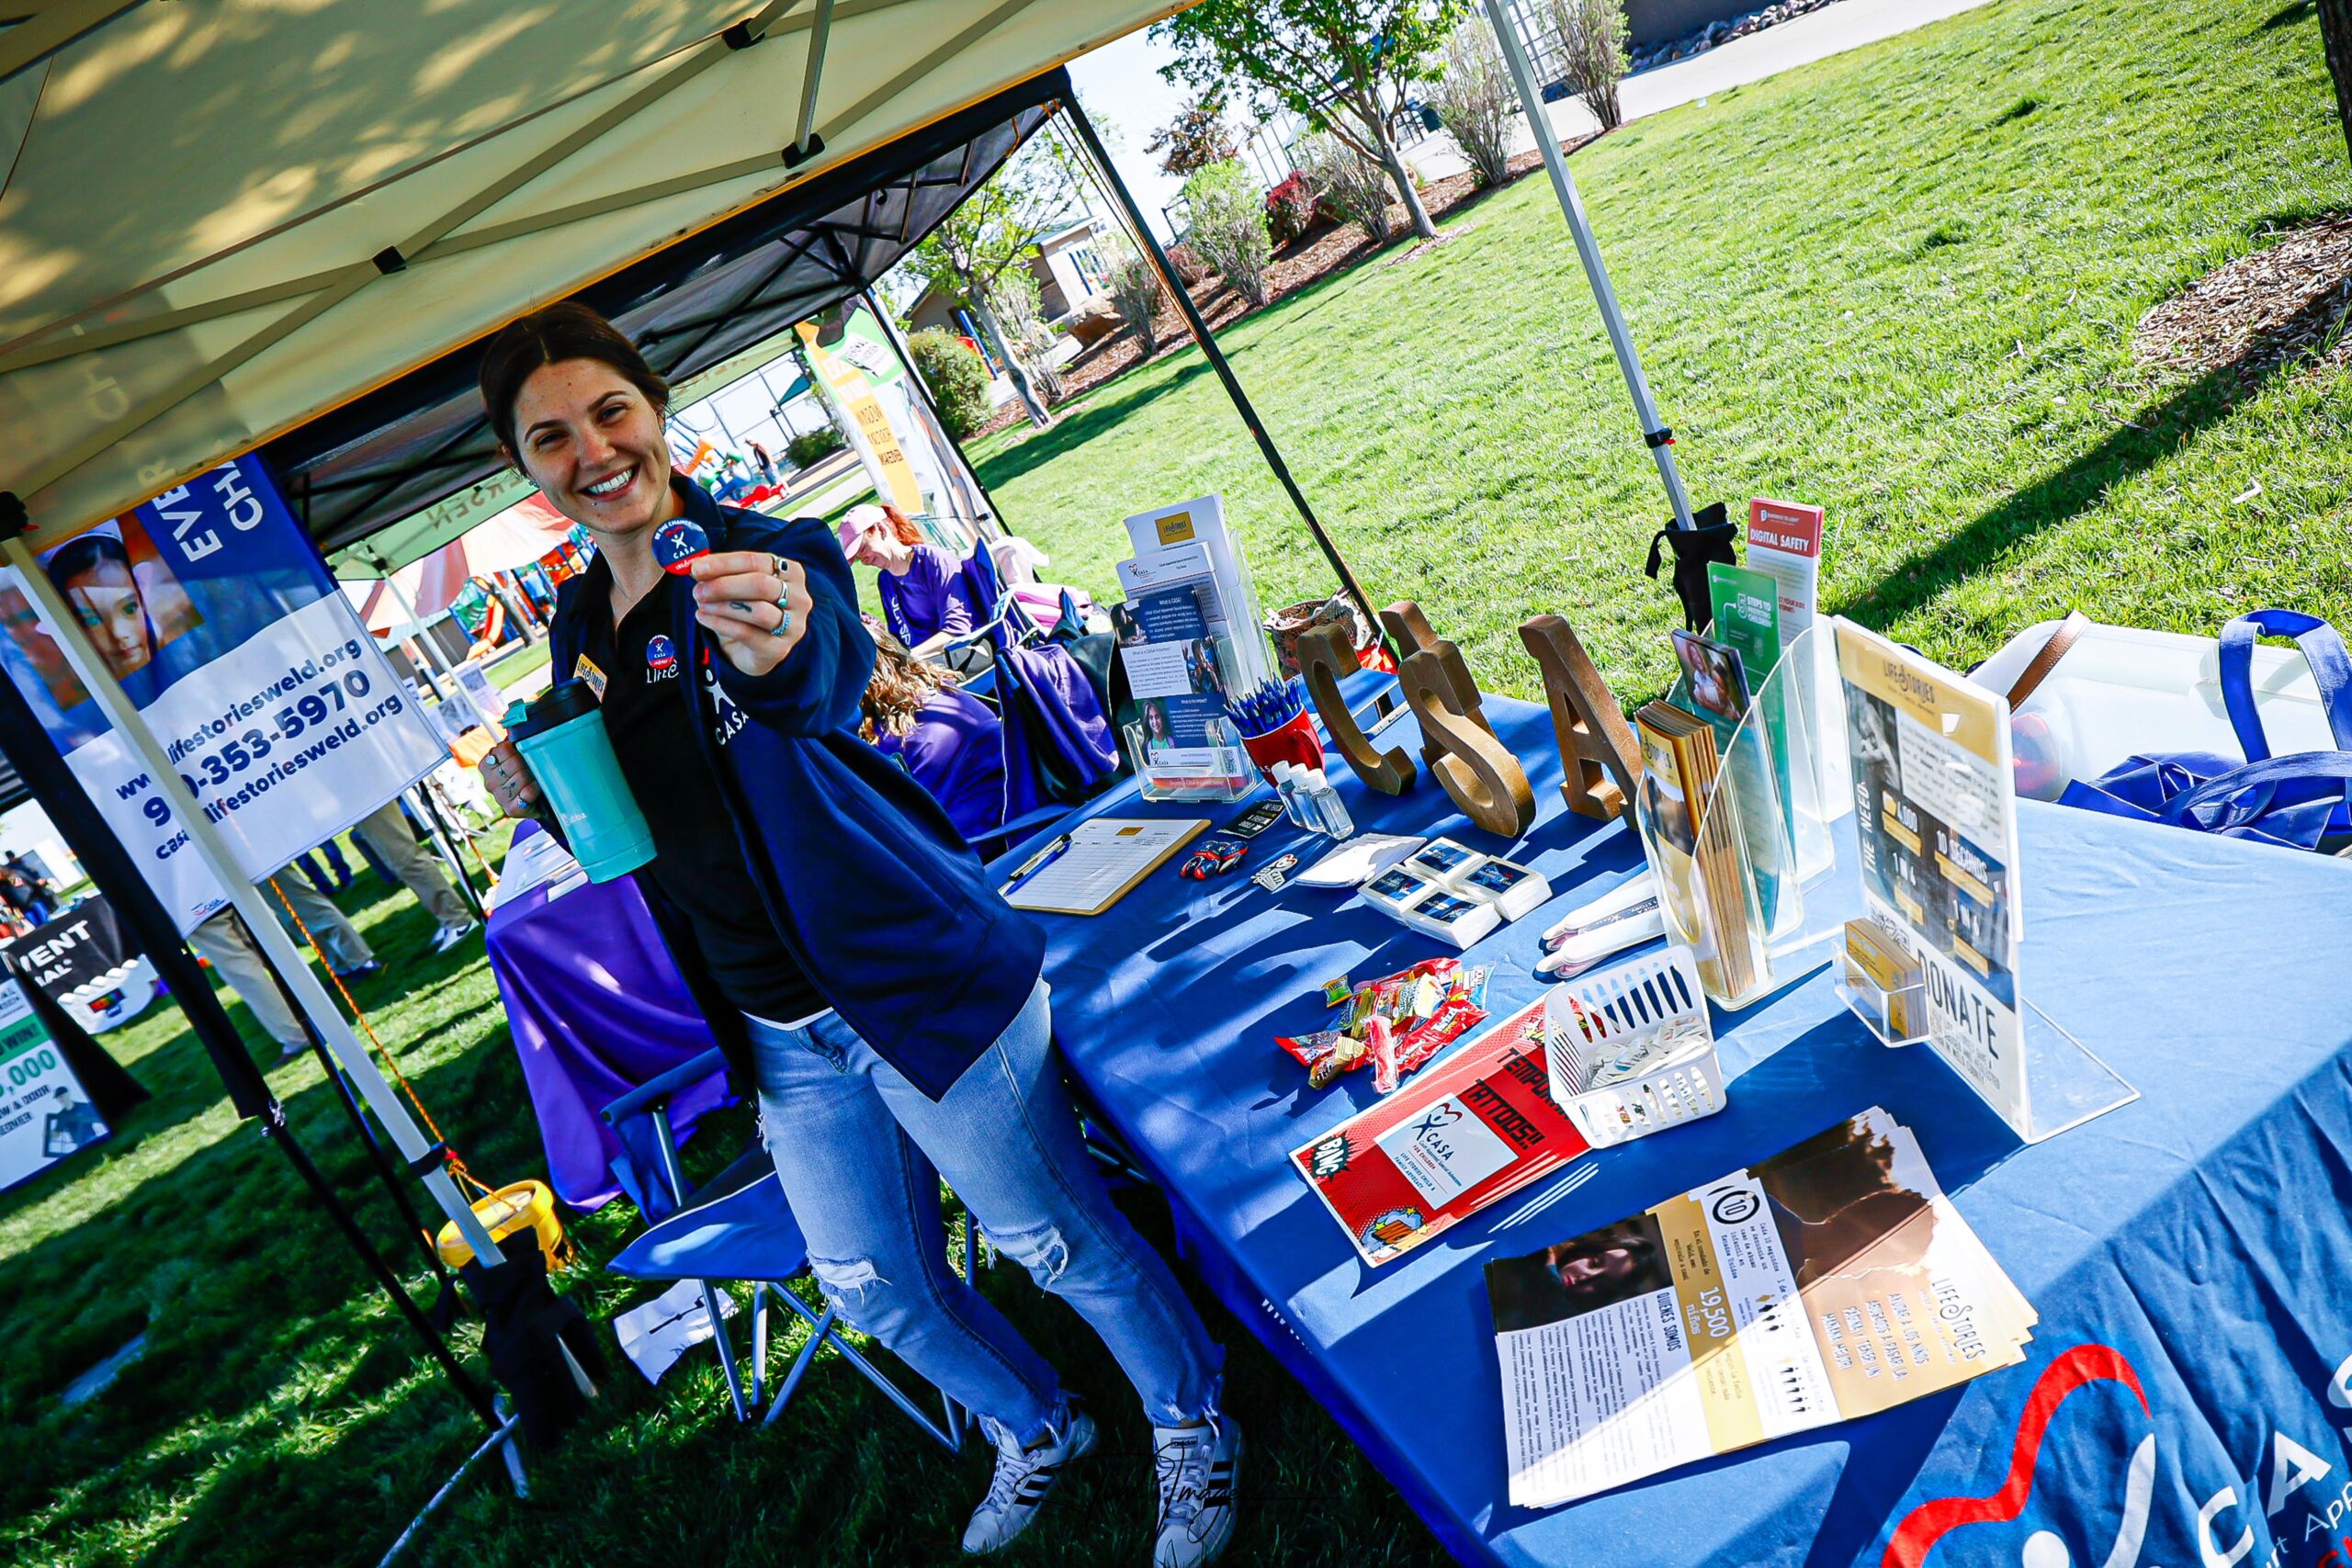
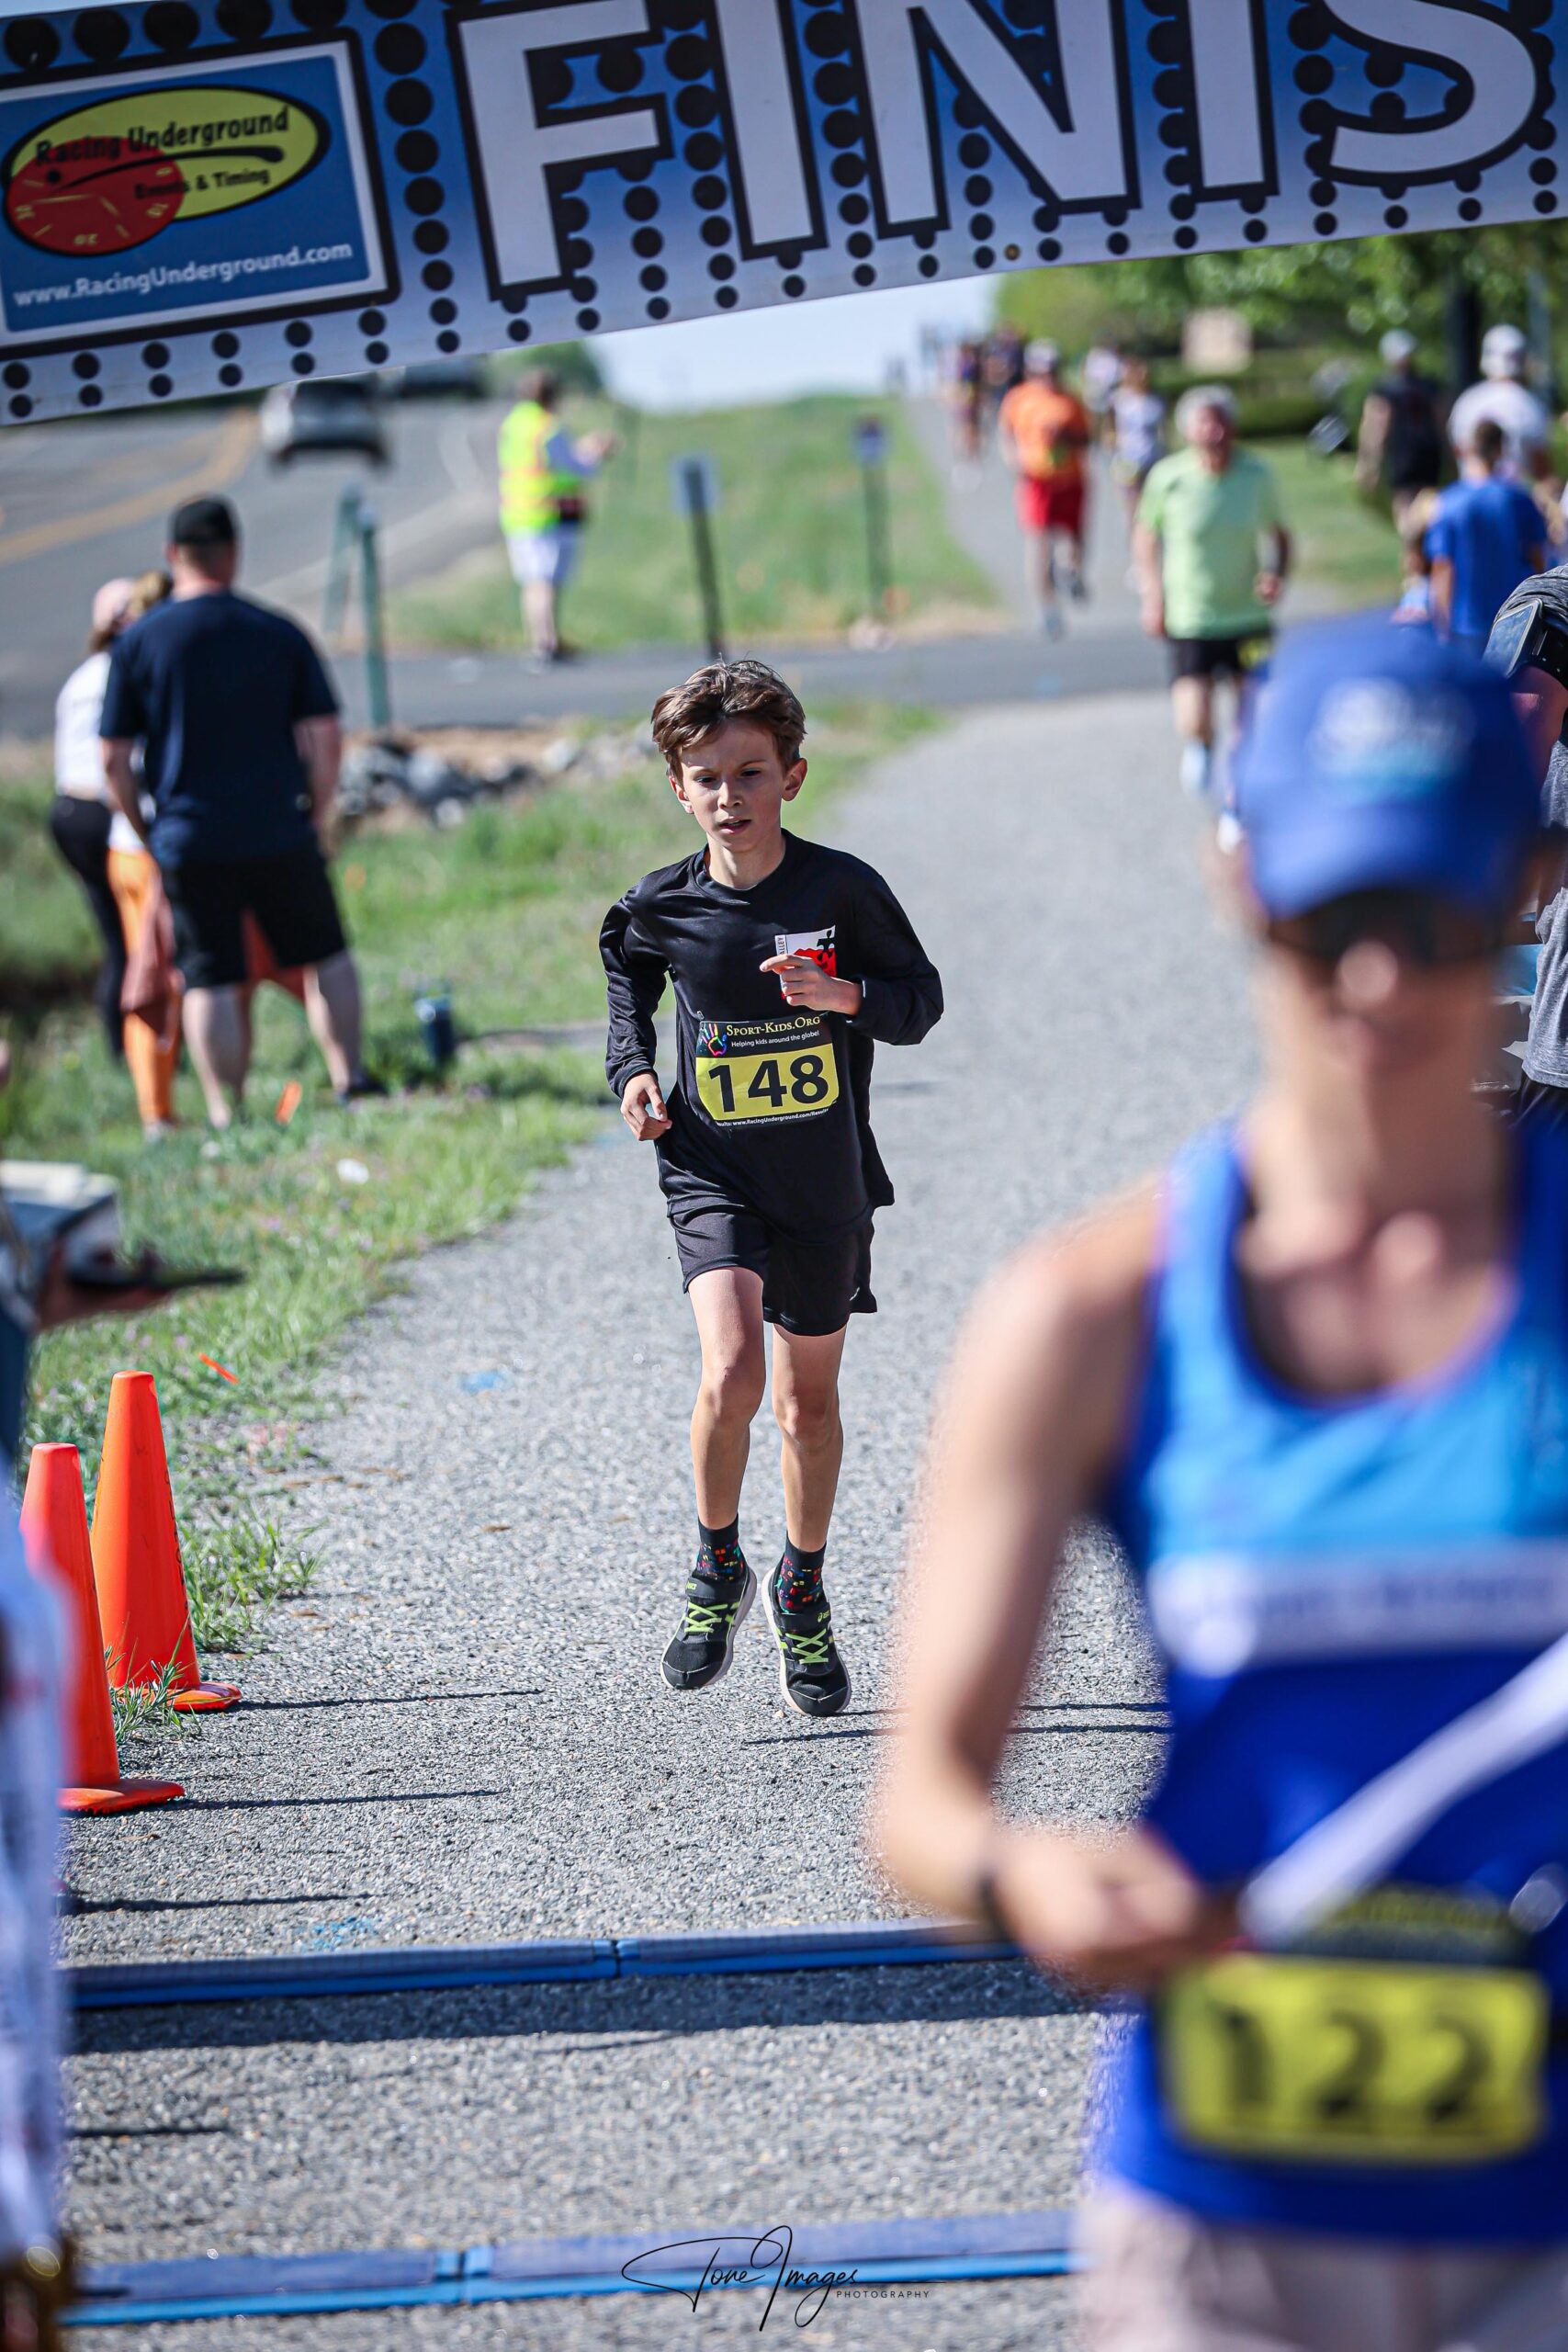
Photo Galleries
Board & Mission
Contact Us
Event Details
Race Registration
Event Fees
5 K
Half Marathon
Team Challenge Relay
Fun Run
Expo & Event Schedule
Volunteer
Volunteer Opportunities
Join our fundraising team
Vendors/Sponsors
Vendor Application
Sponsorship Opportunities
Event Details
Race Registration
Event Fees
5 K
Half Marathon
Team Challenge Relay
Fun Run
Expo & Event Schedule
Volunteer
Volunteer Opportunities
Join our fundraising team
Vendors/Sponsors
Vendor Application
Sponsorship Opportunities
Donate today
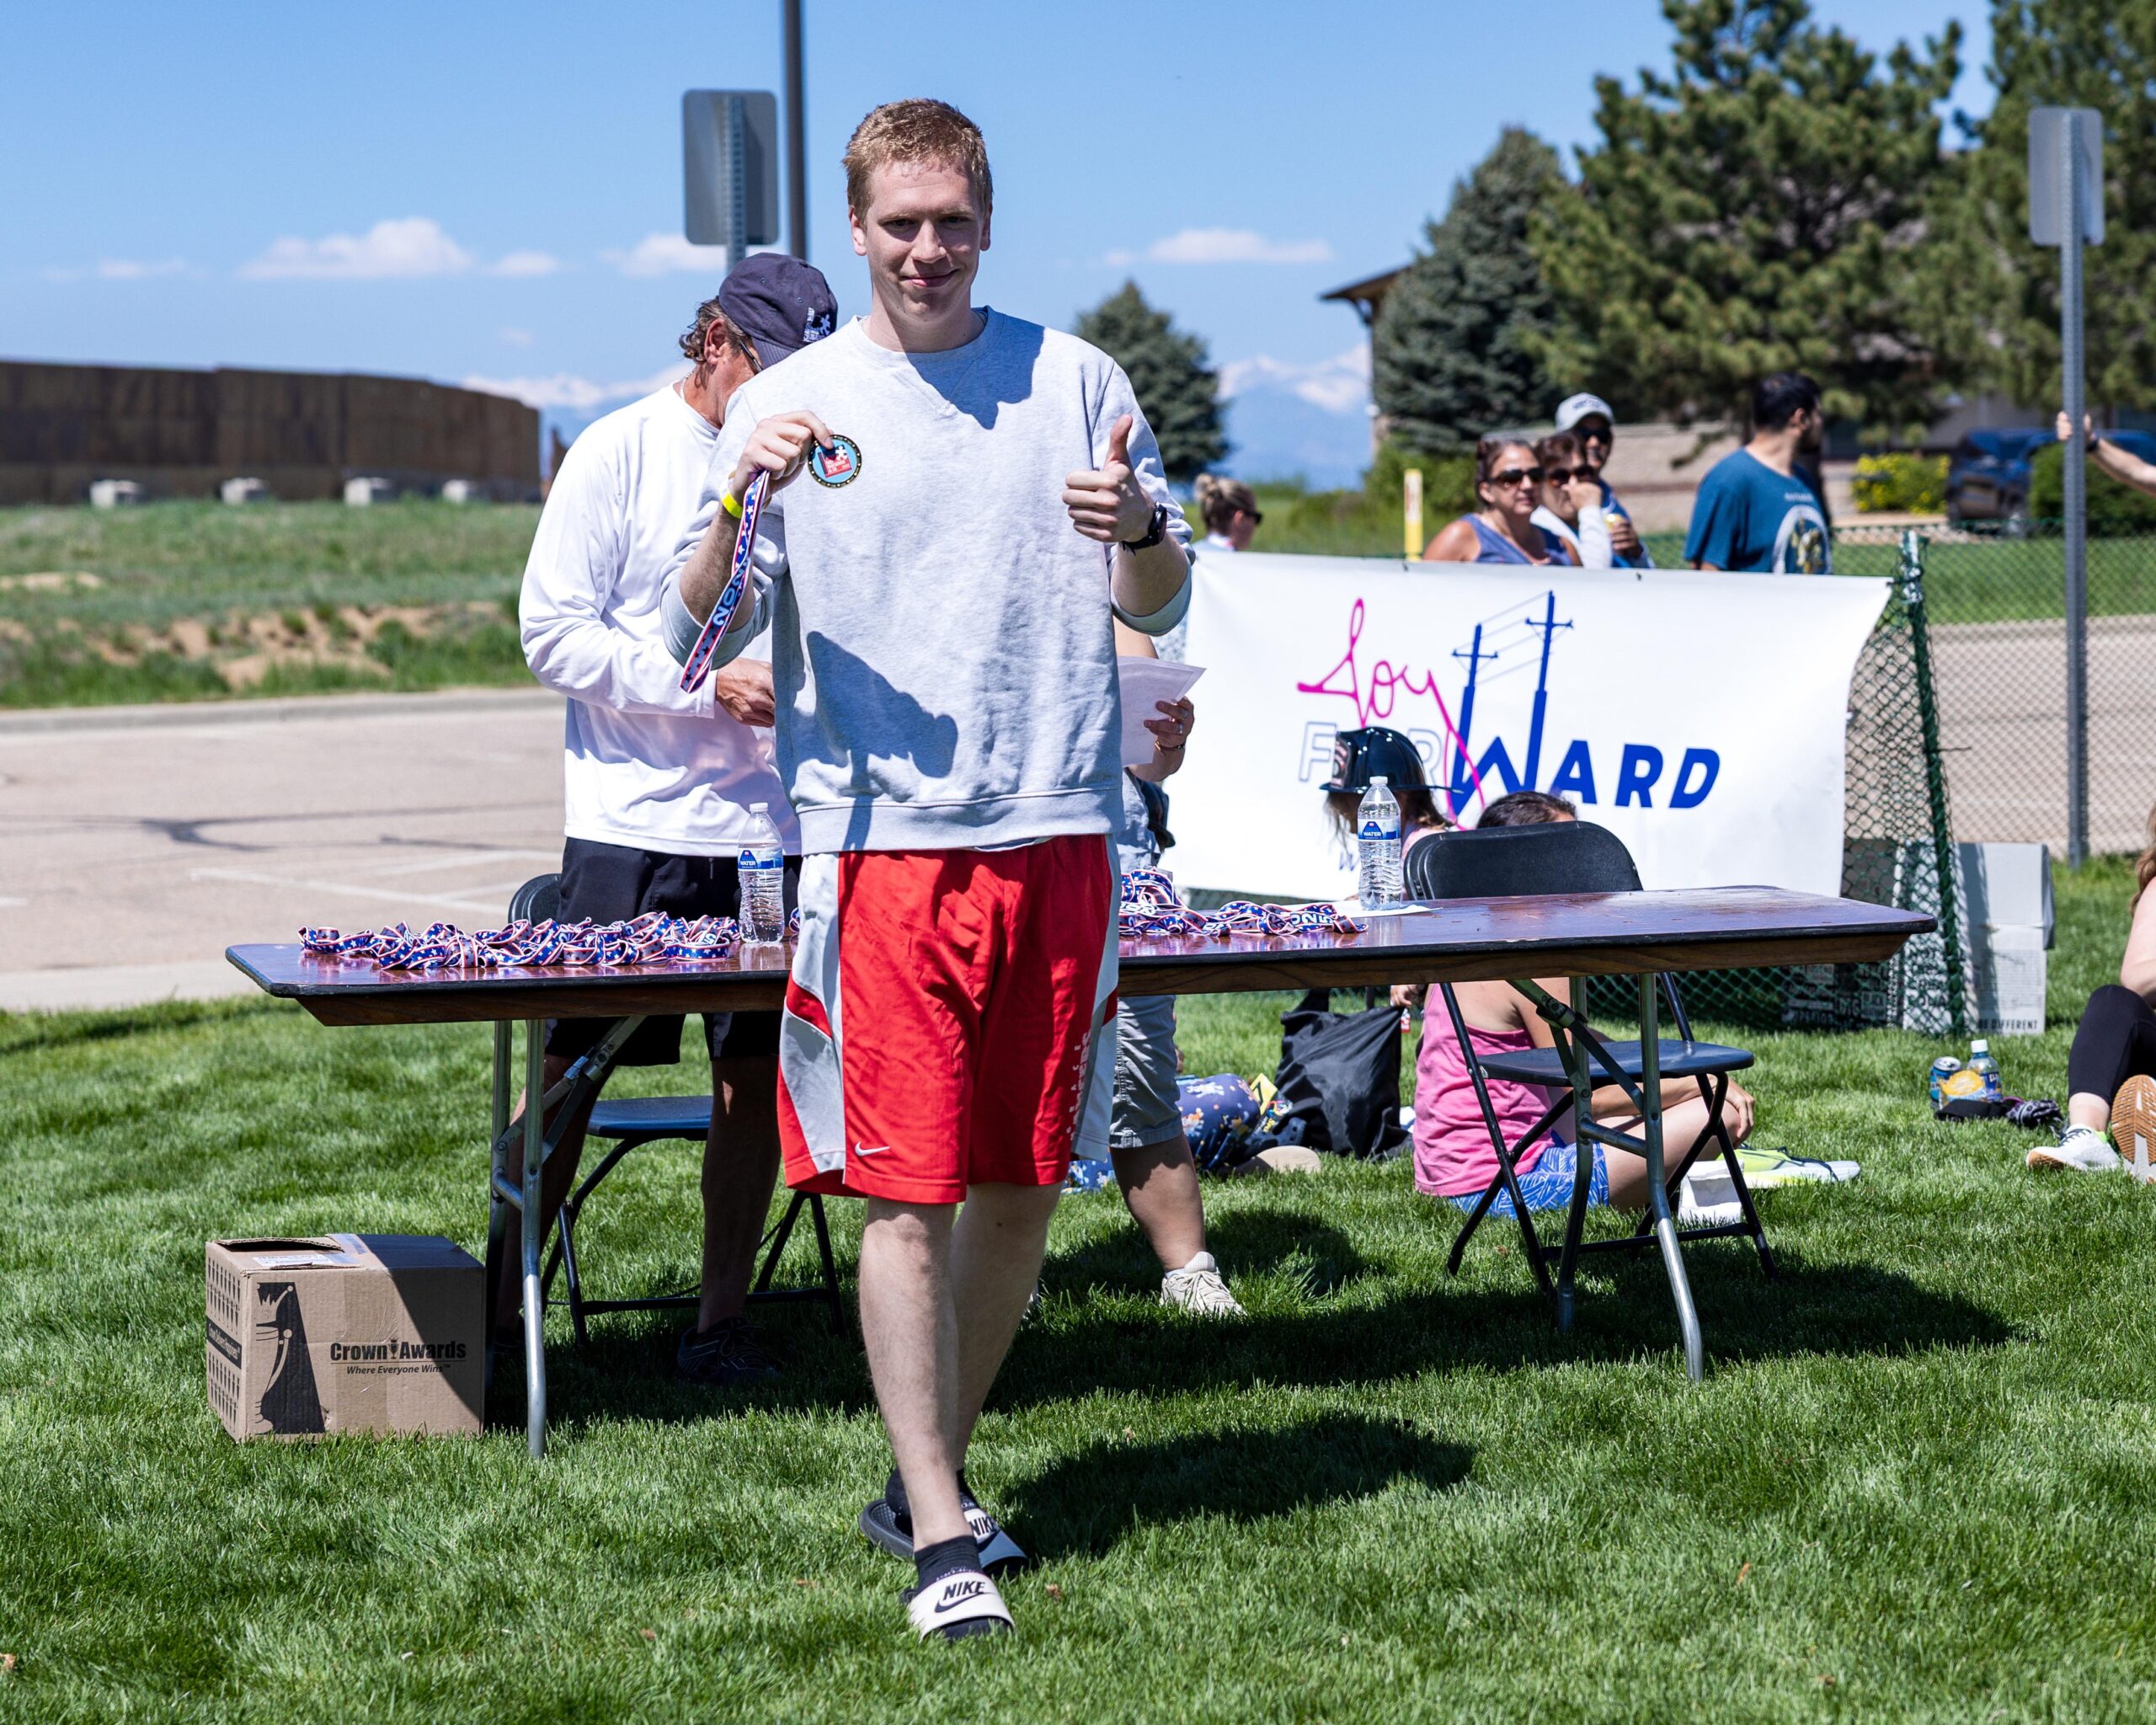
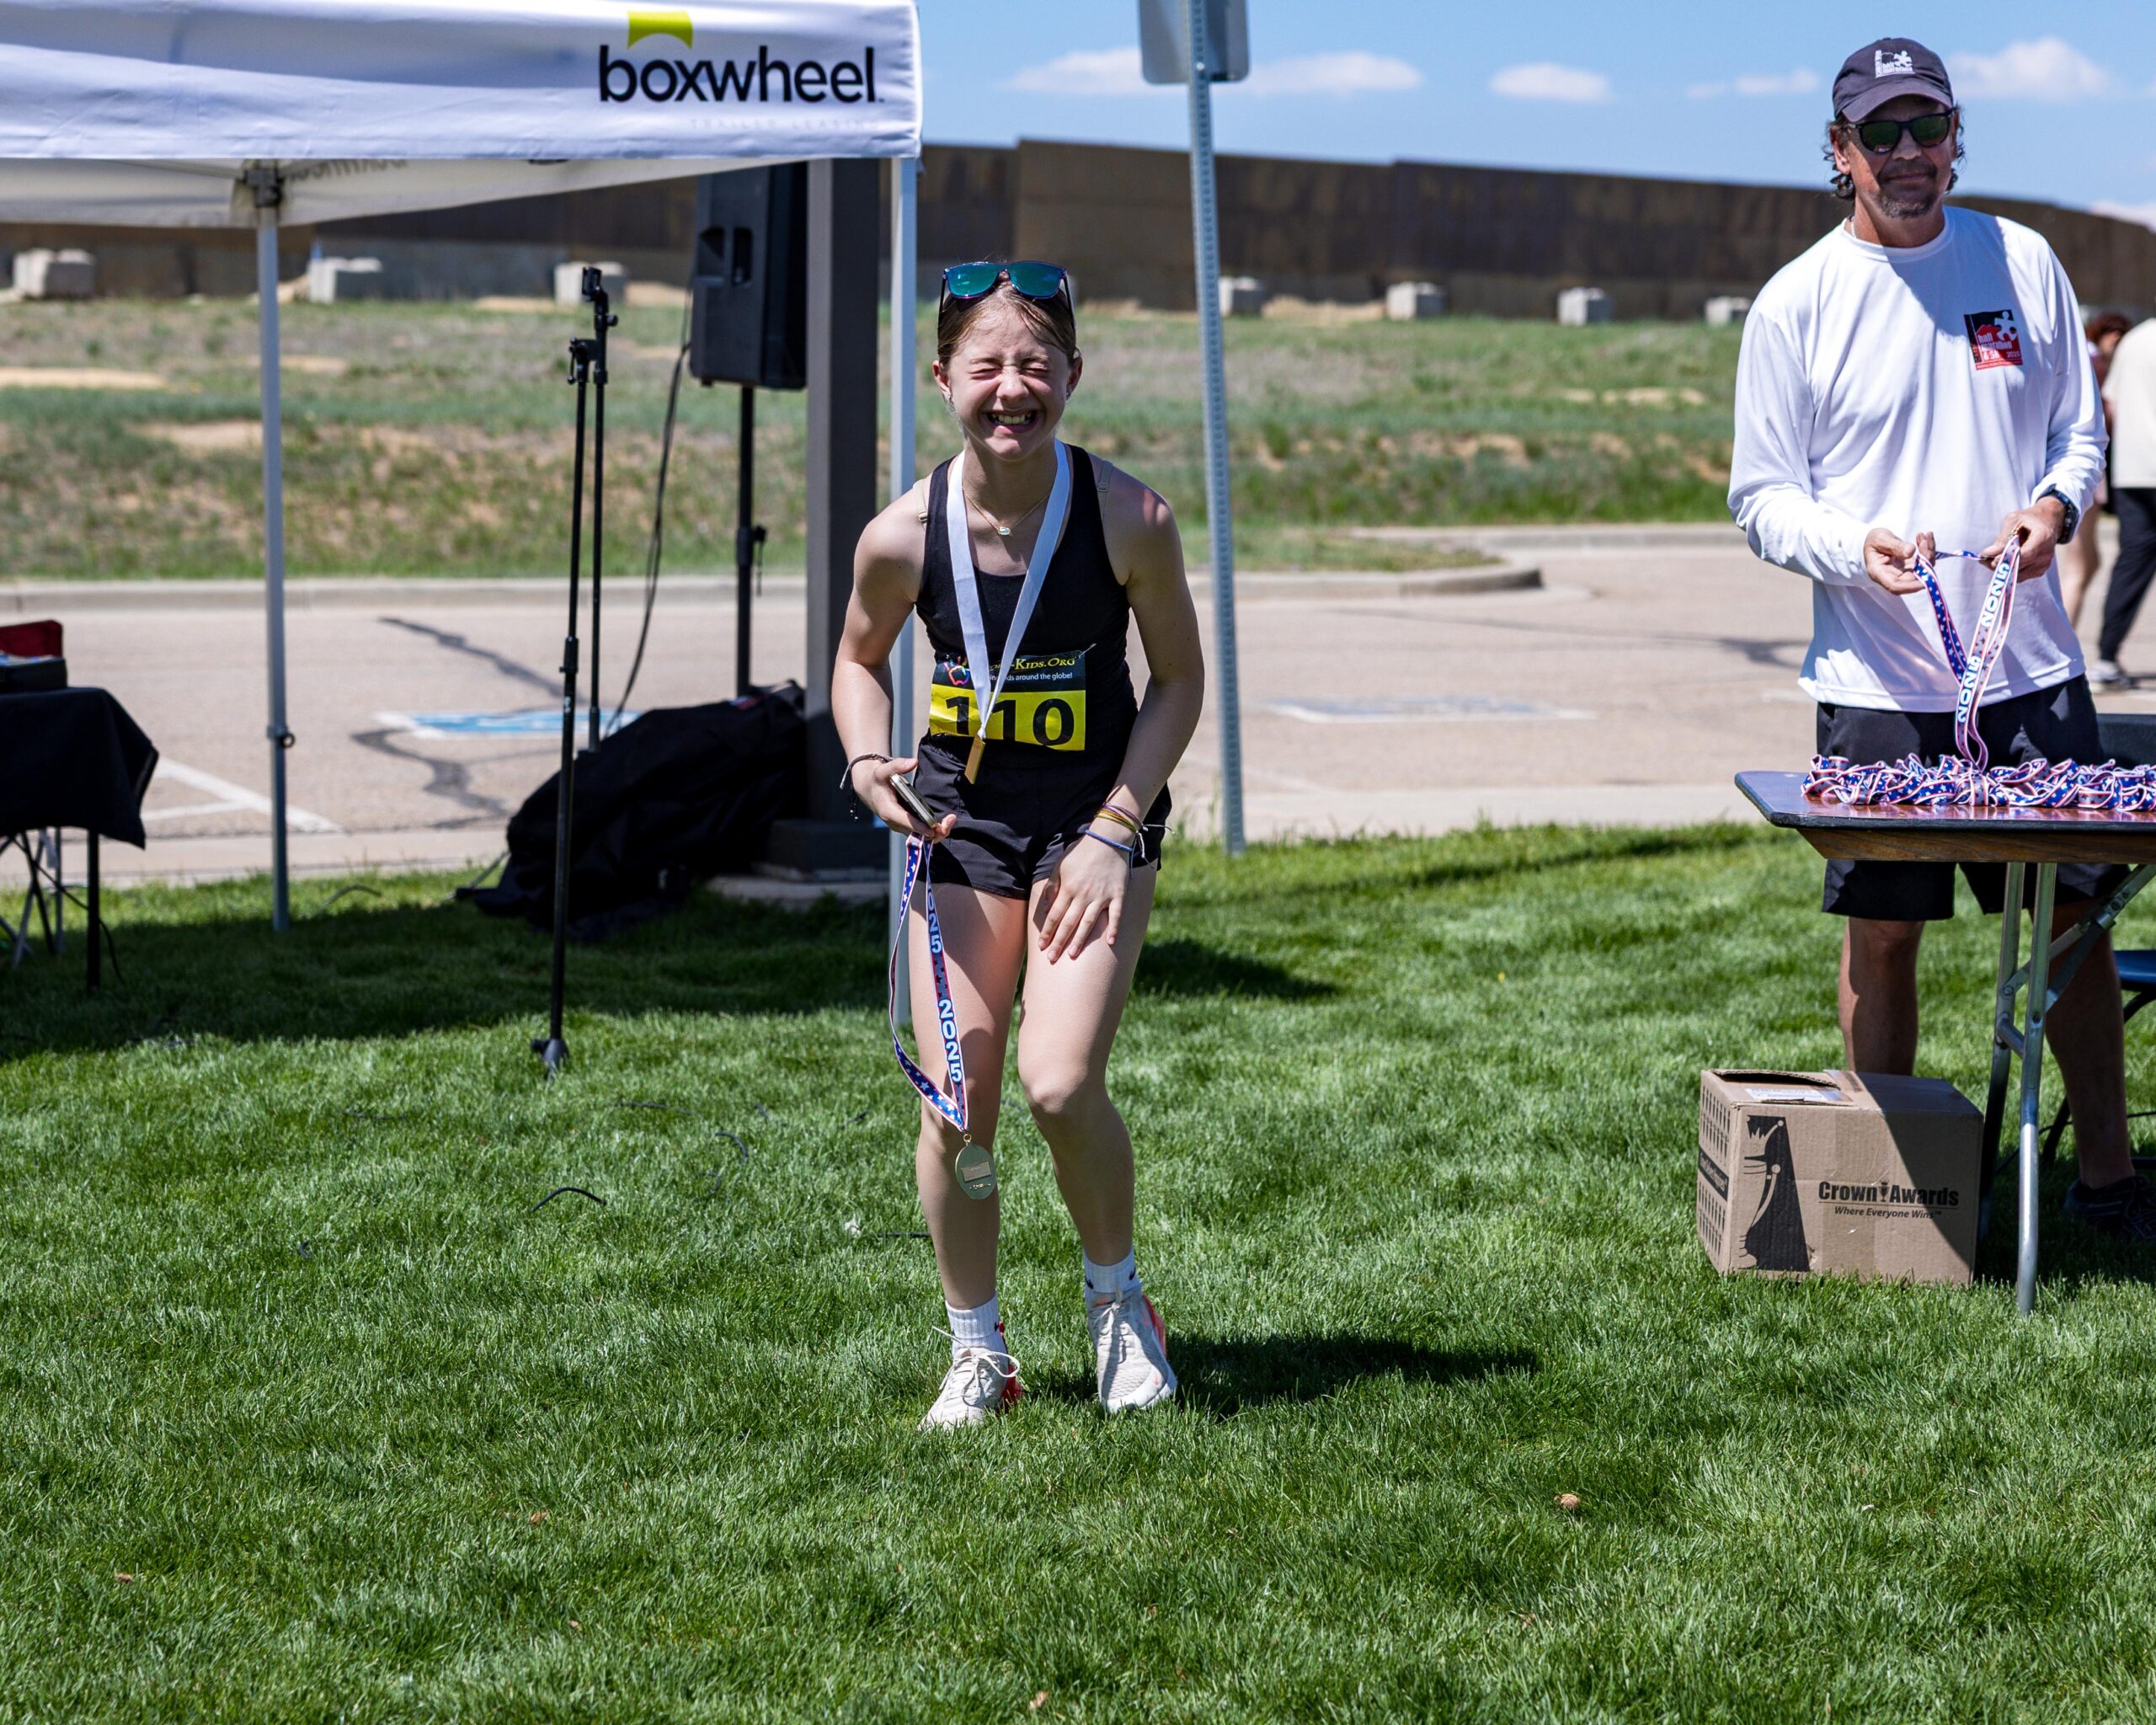
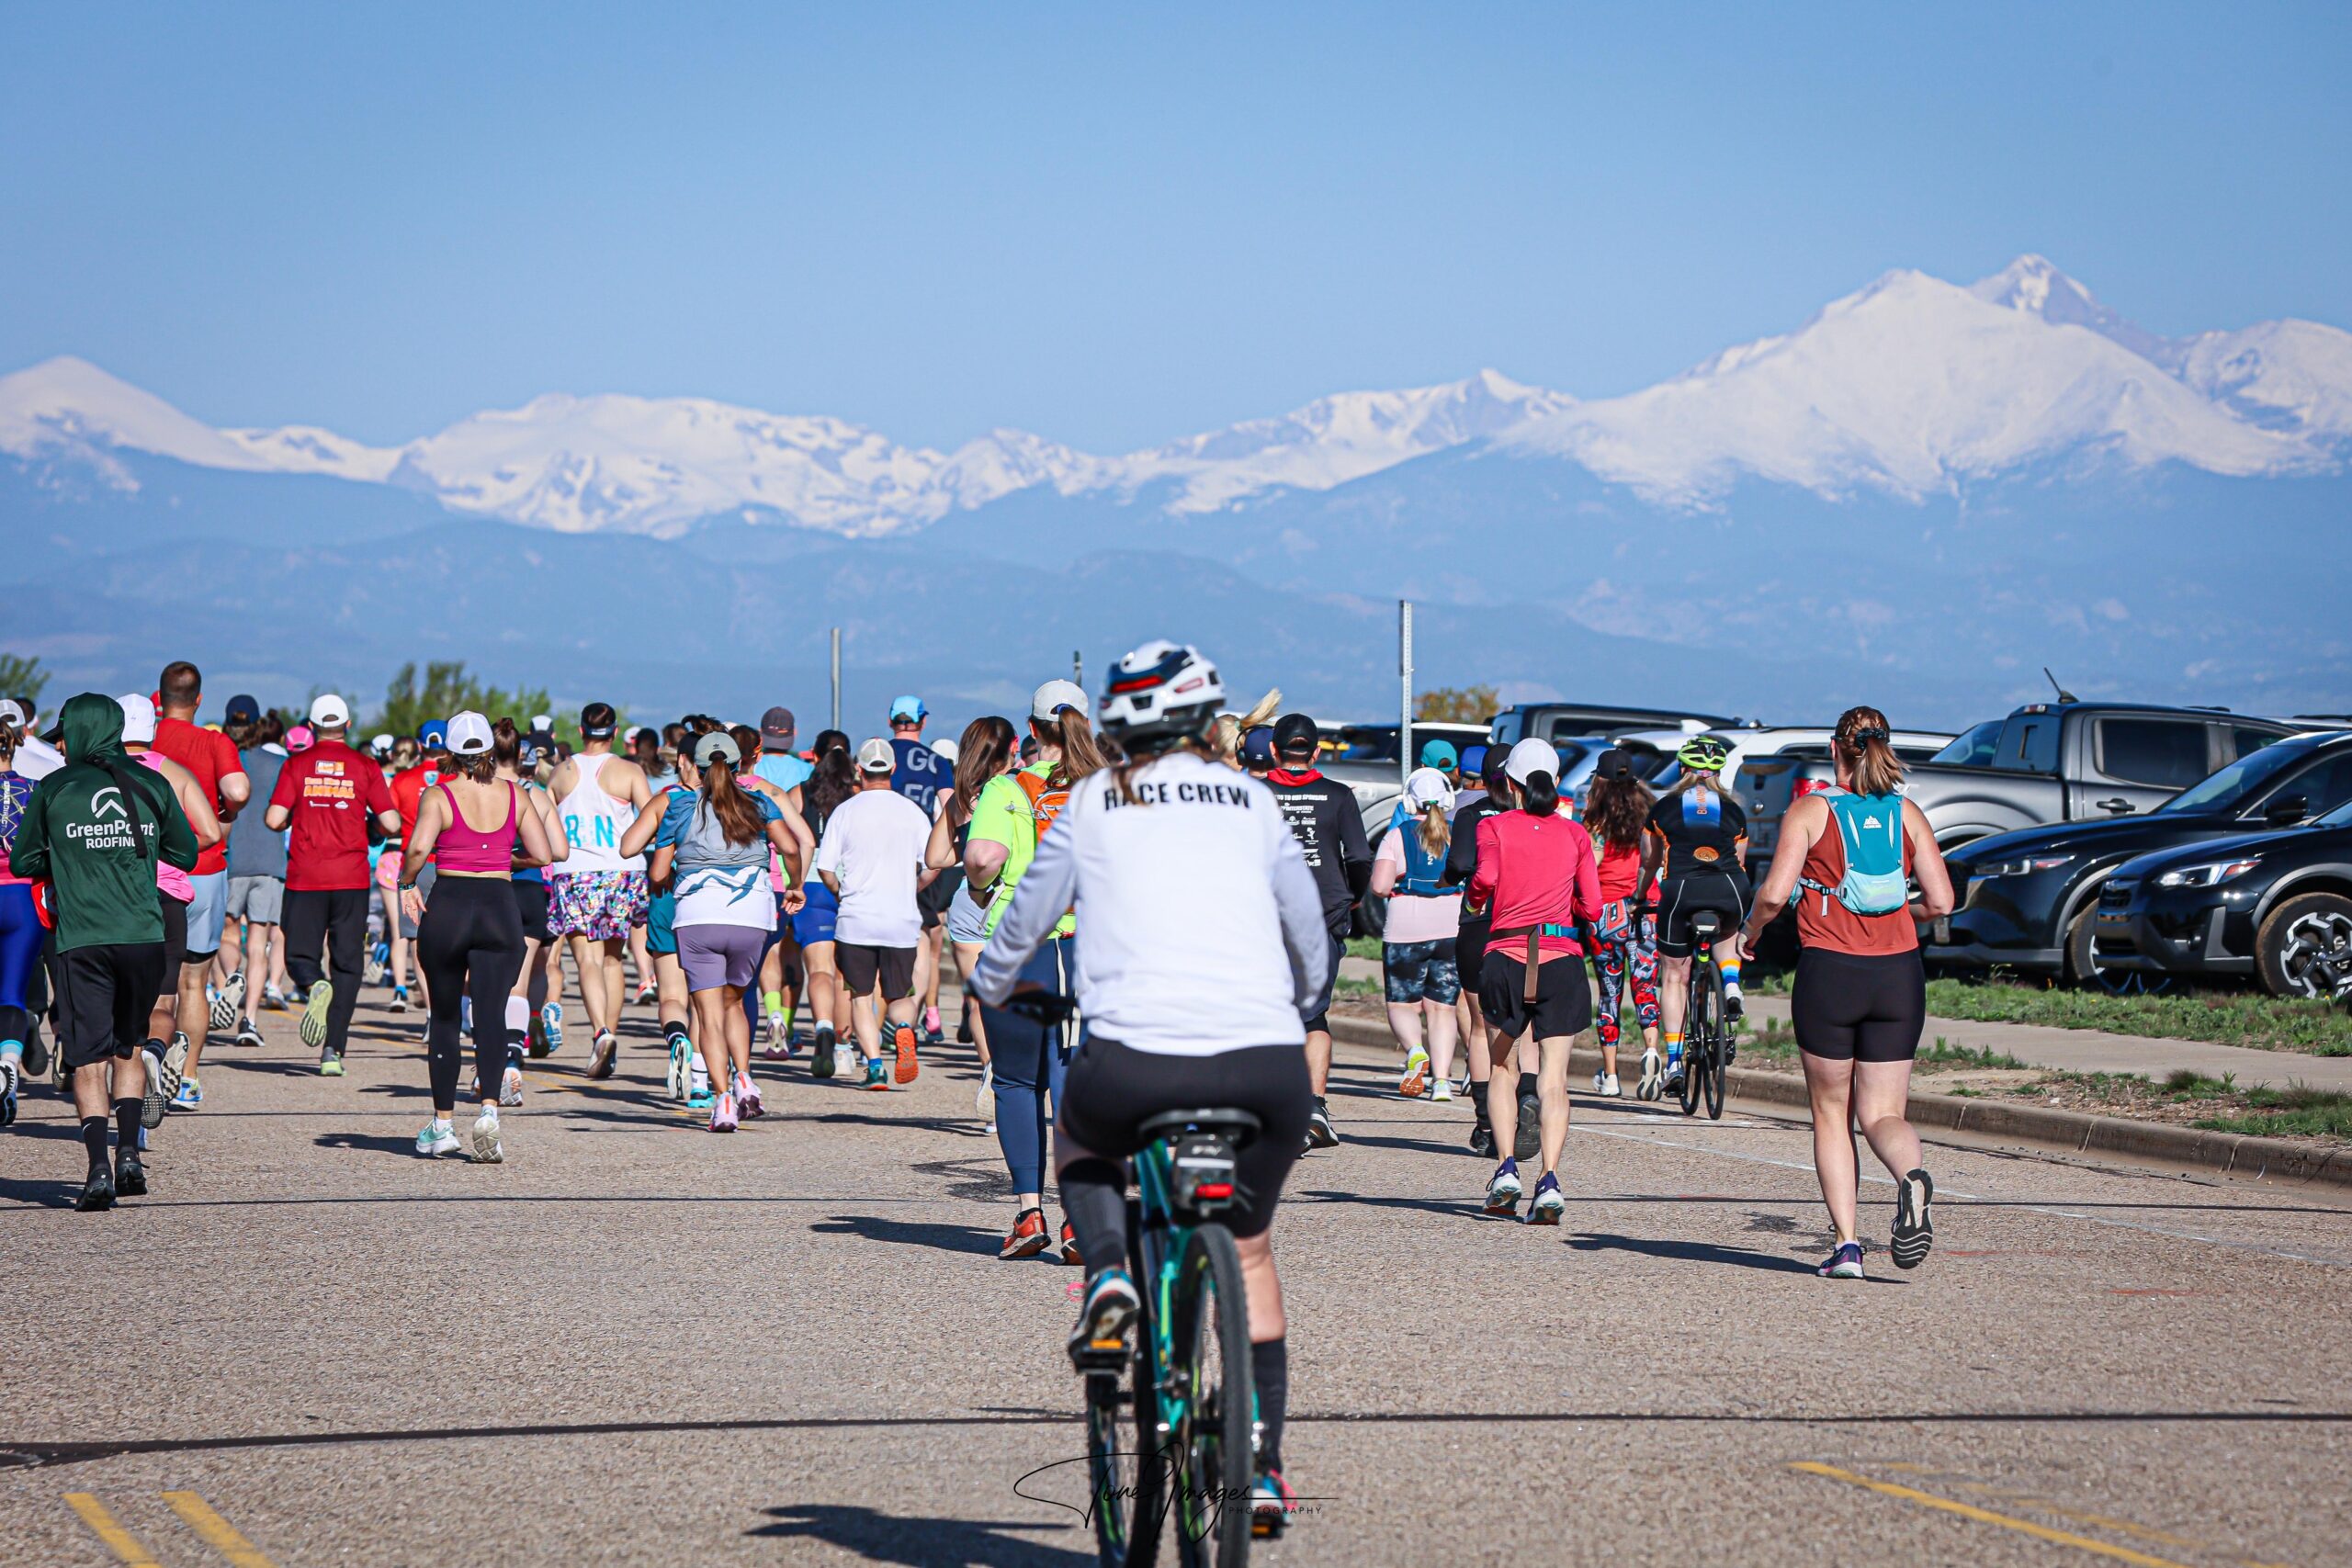
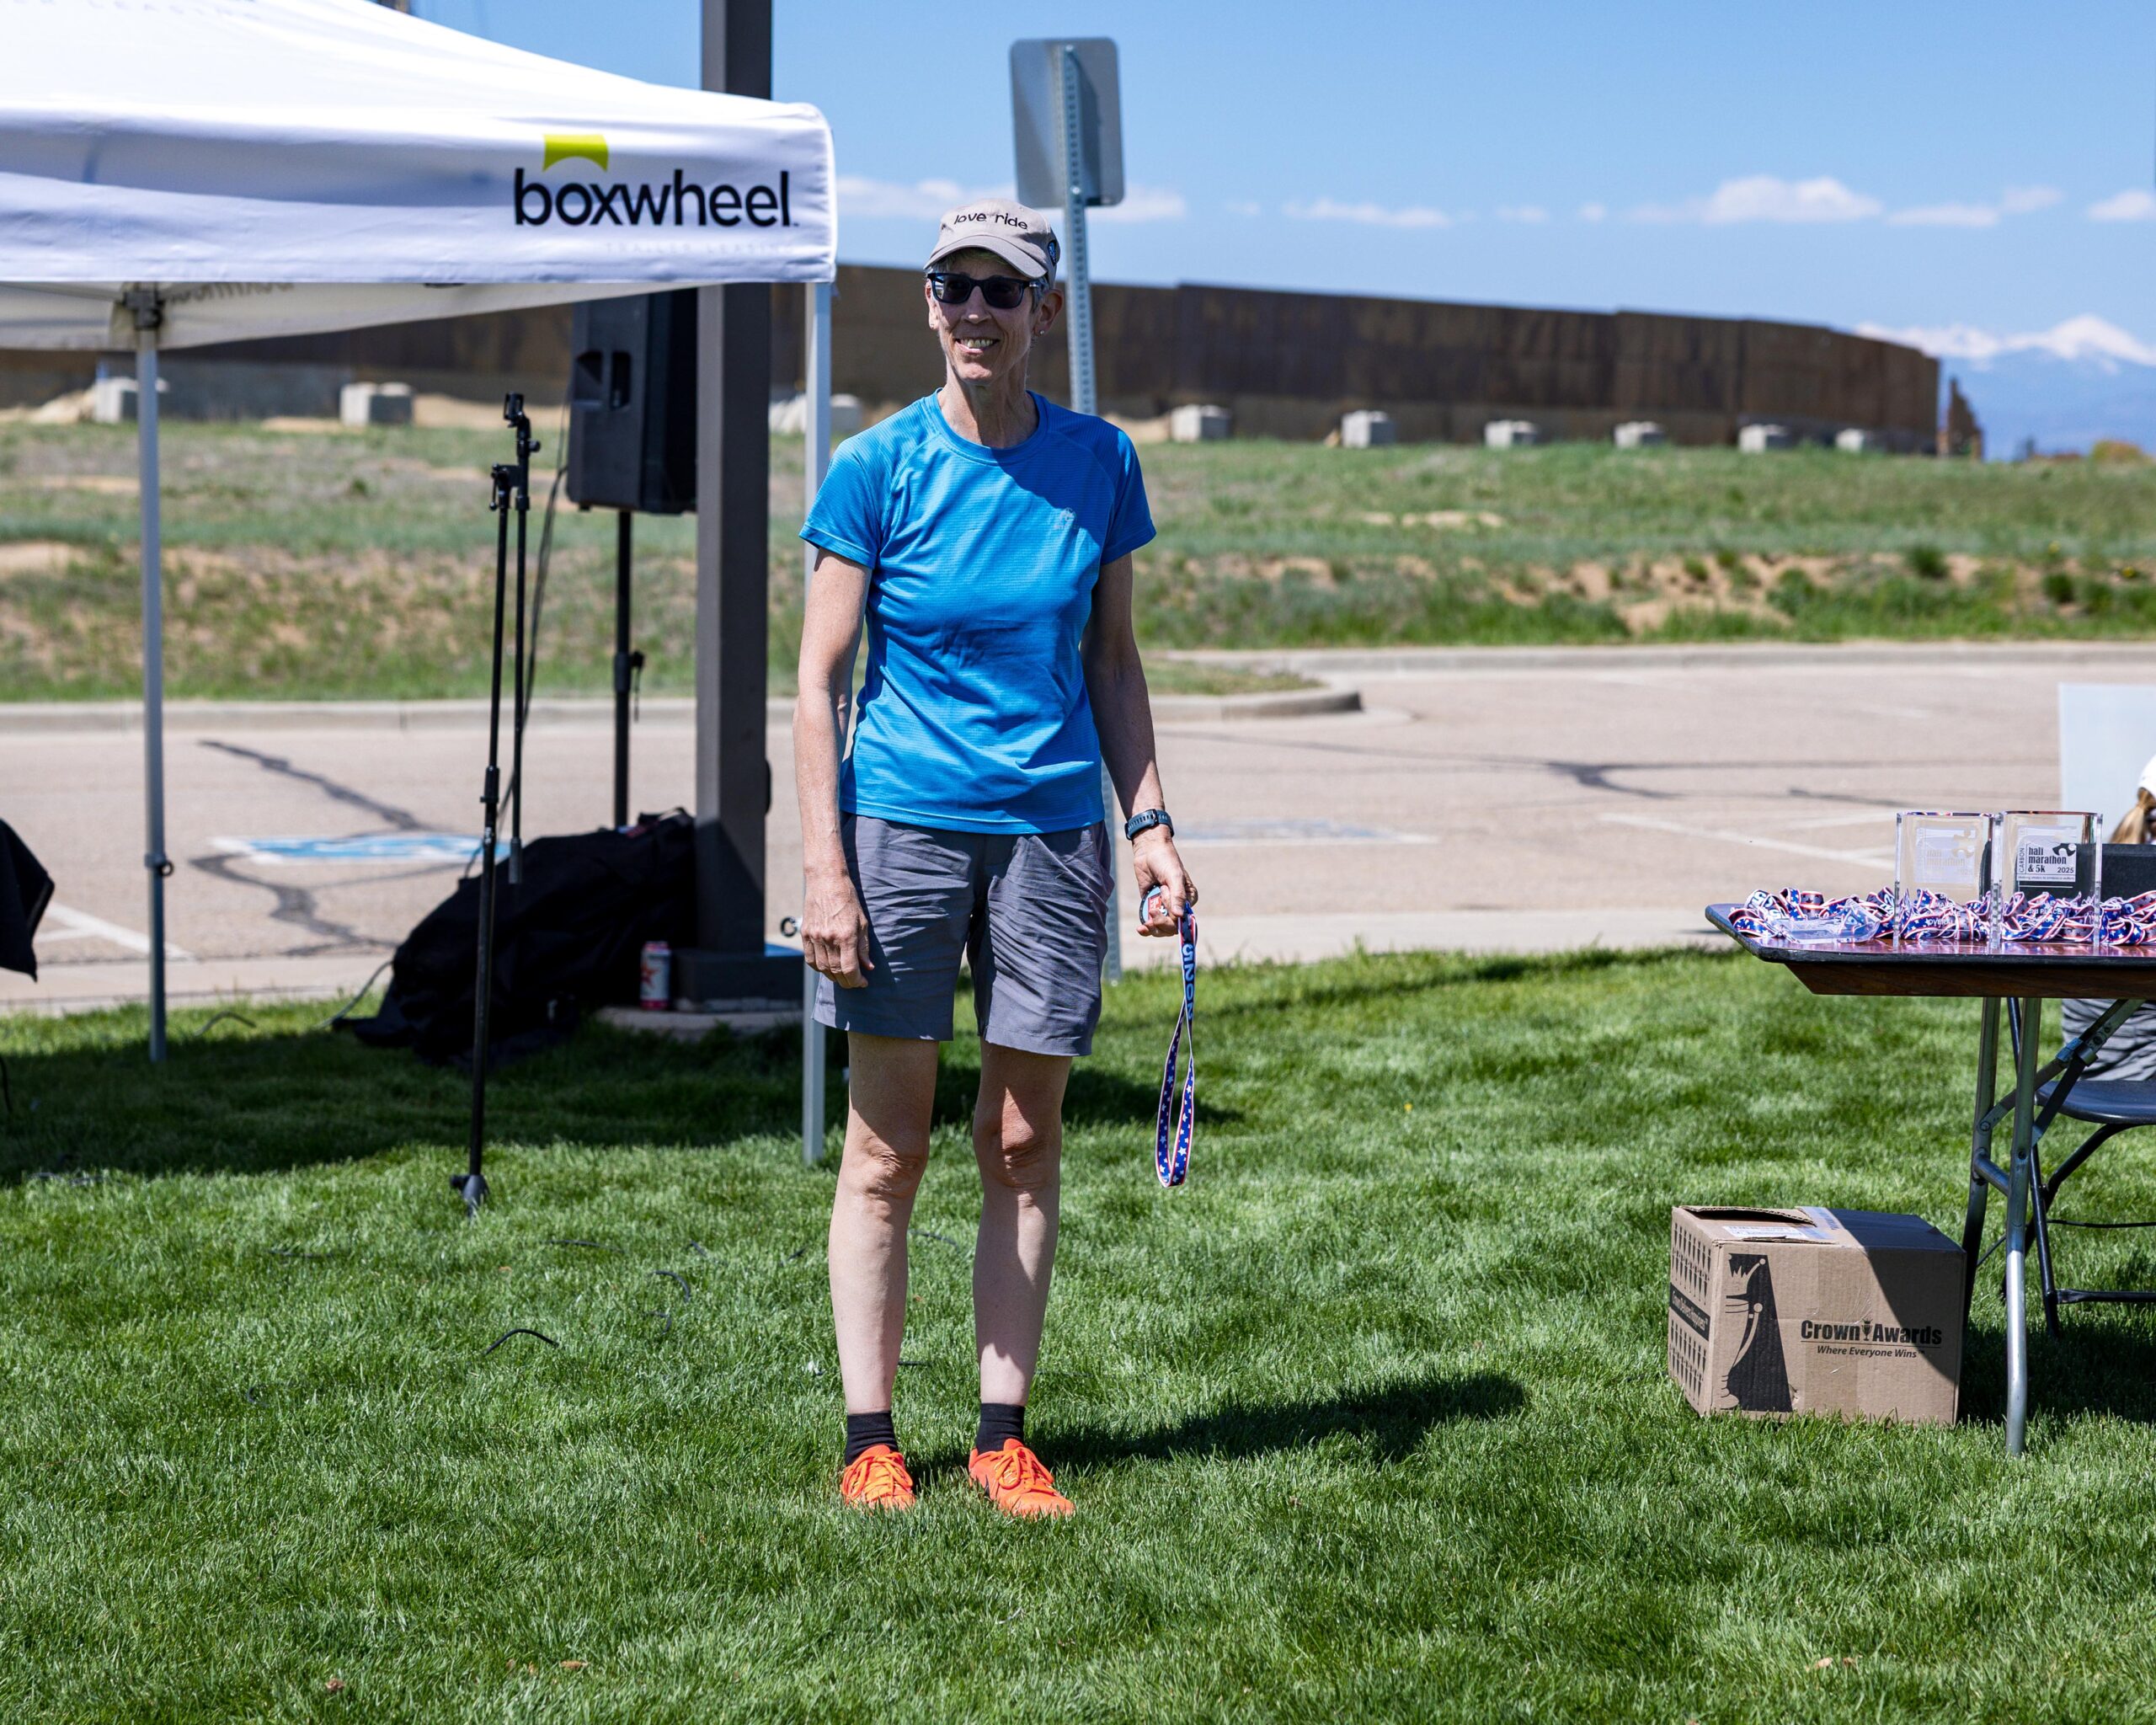
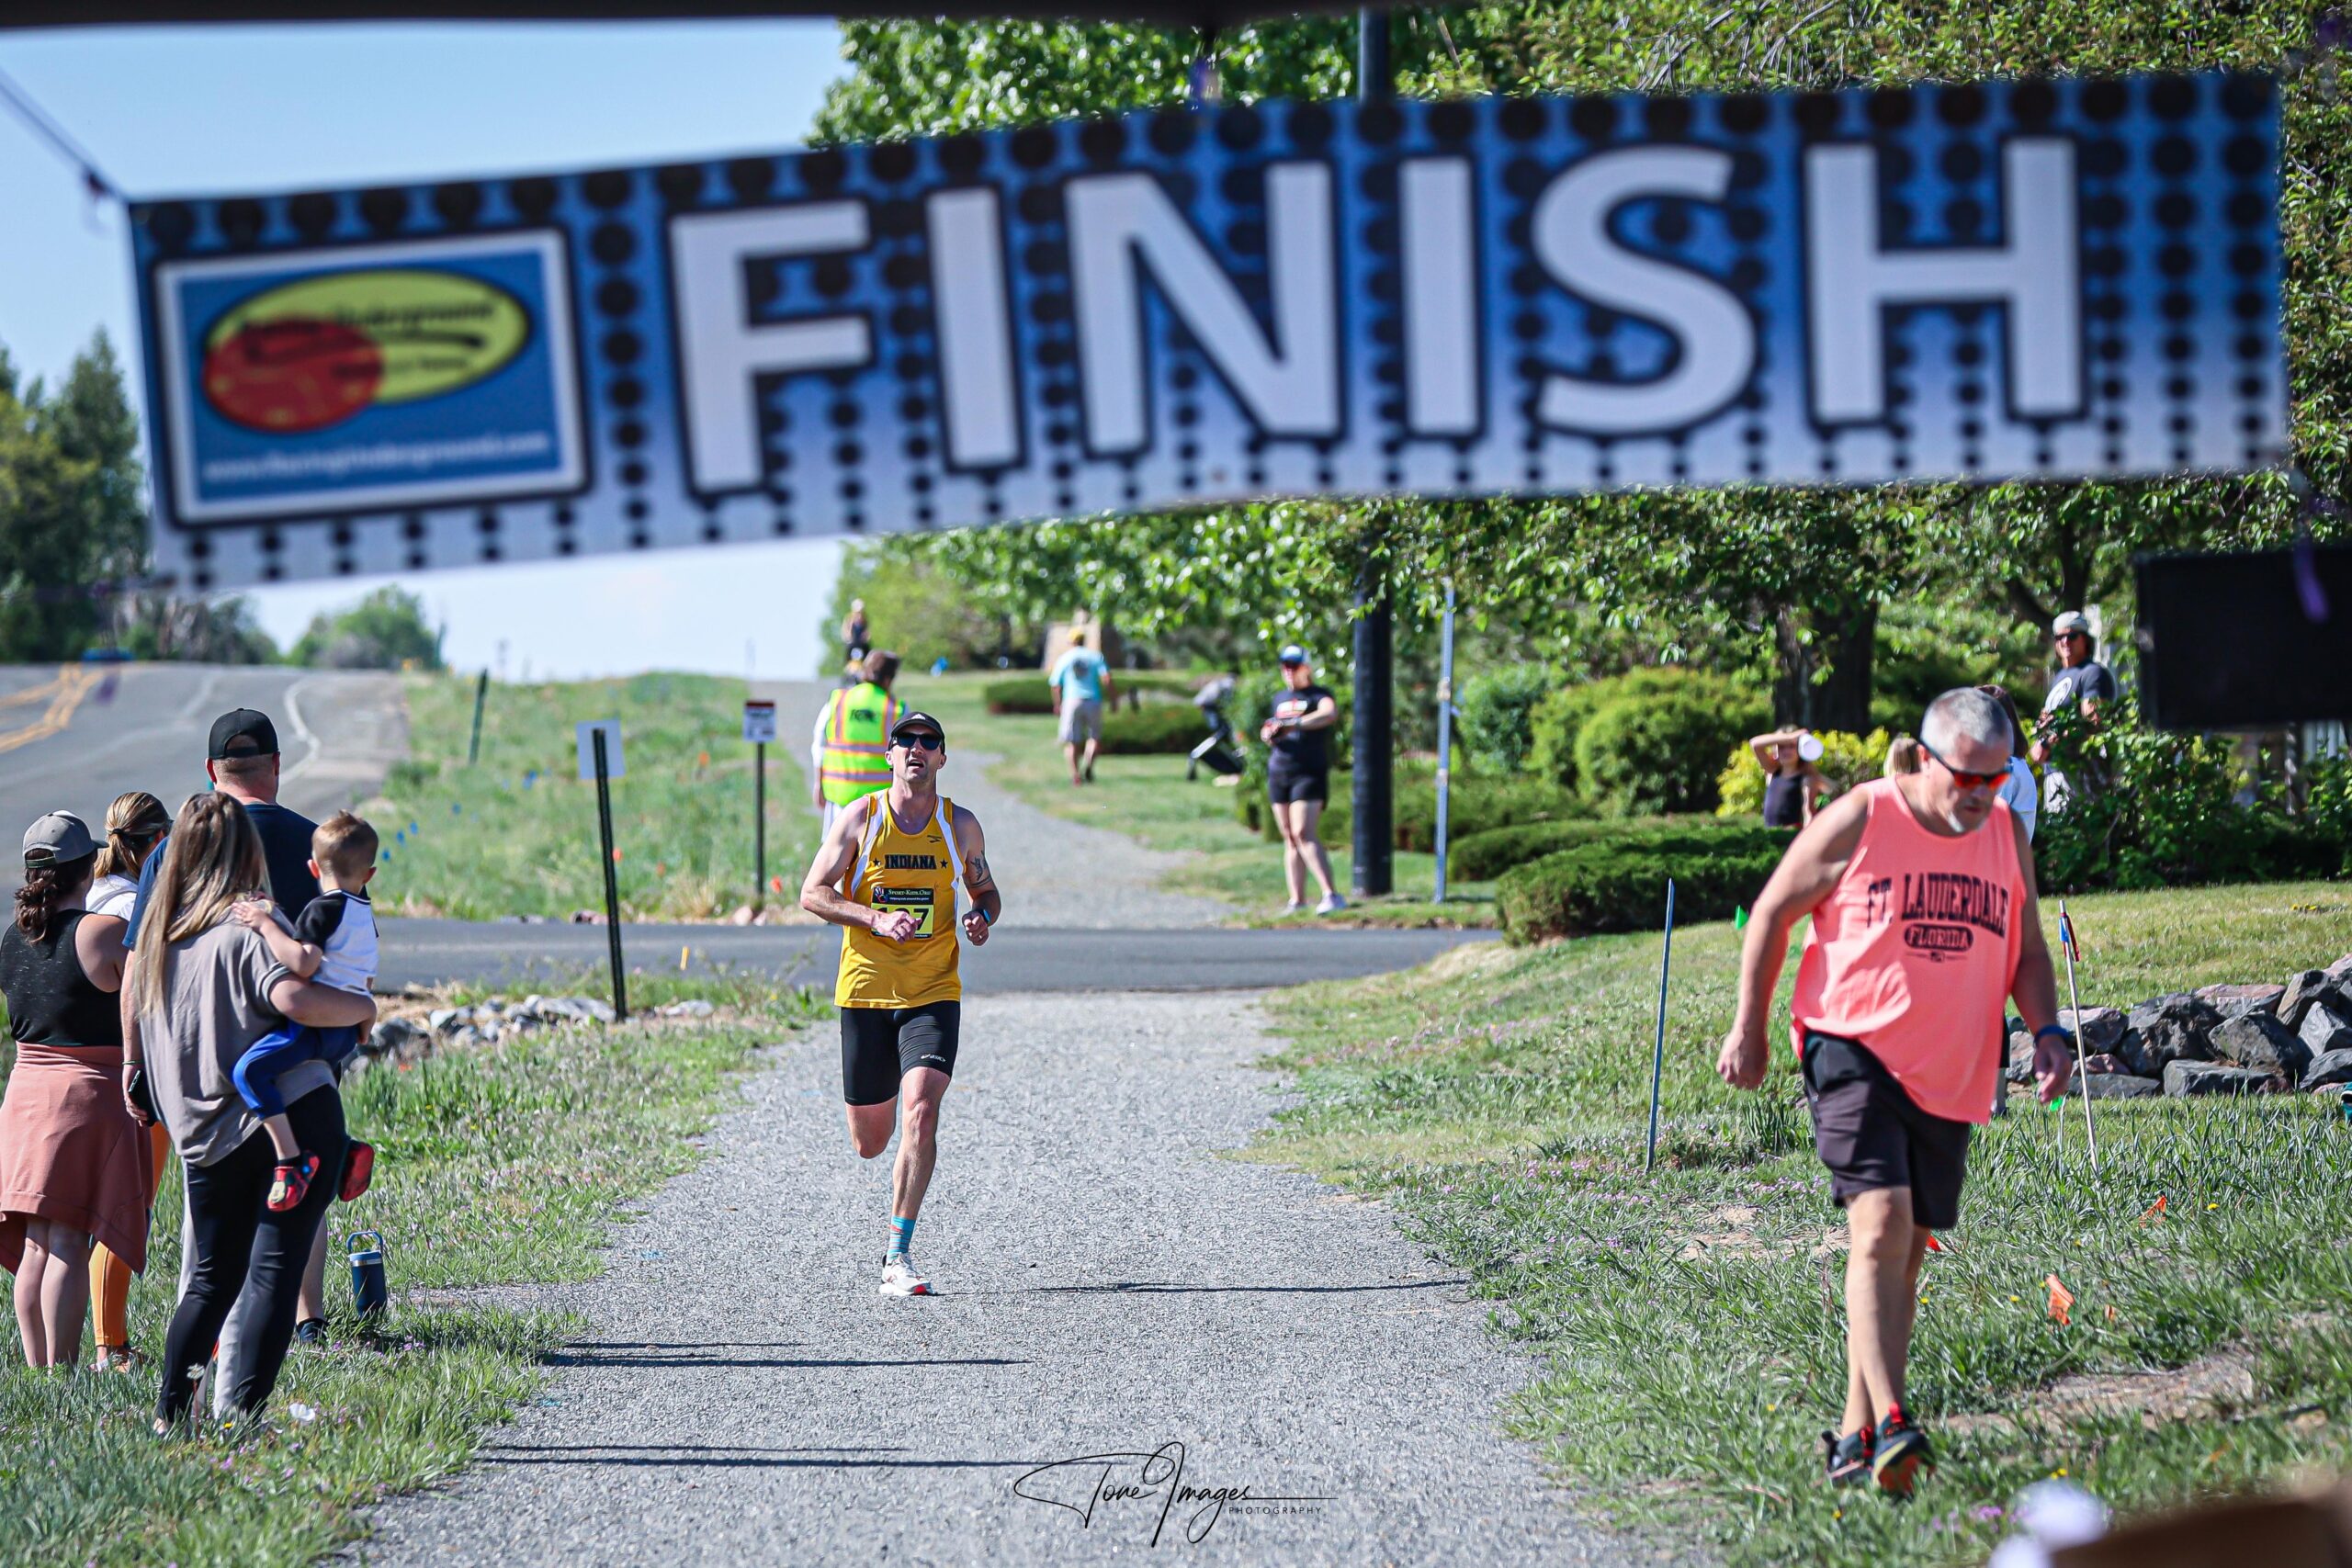
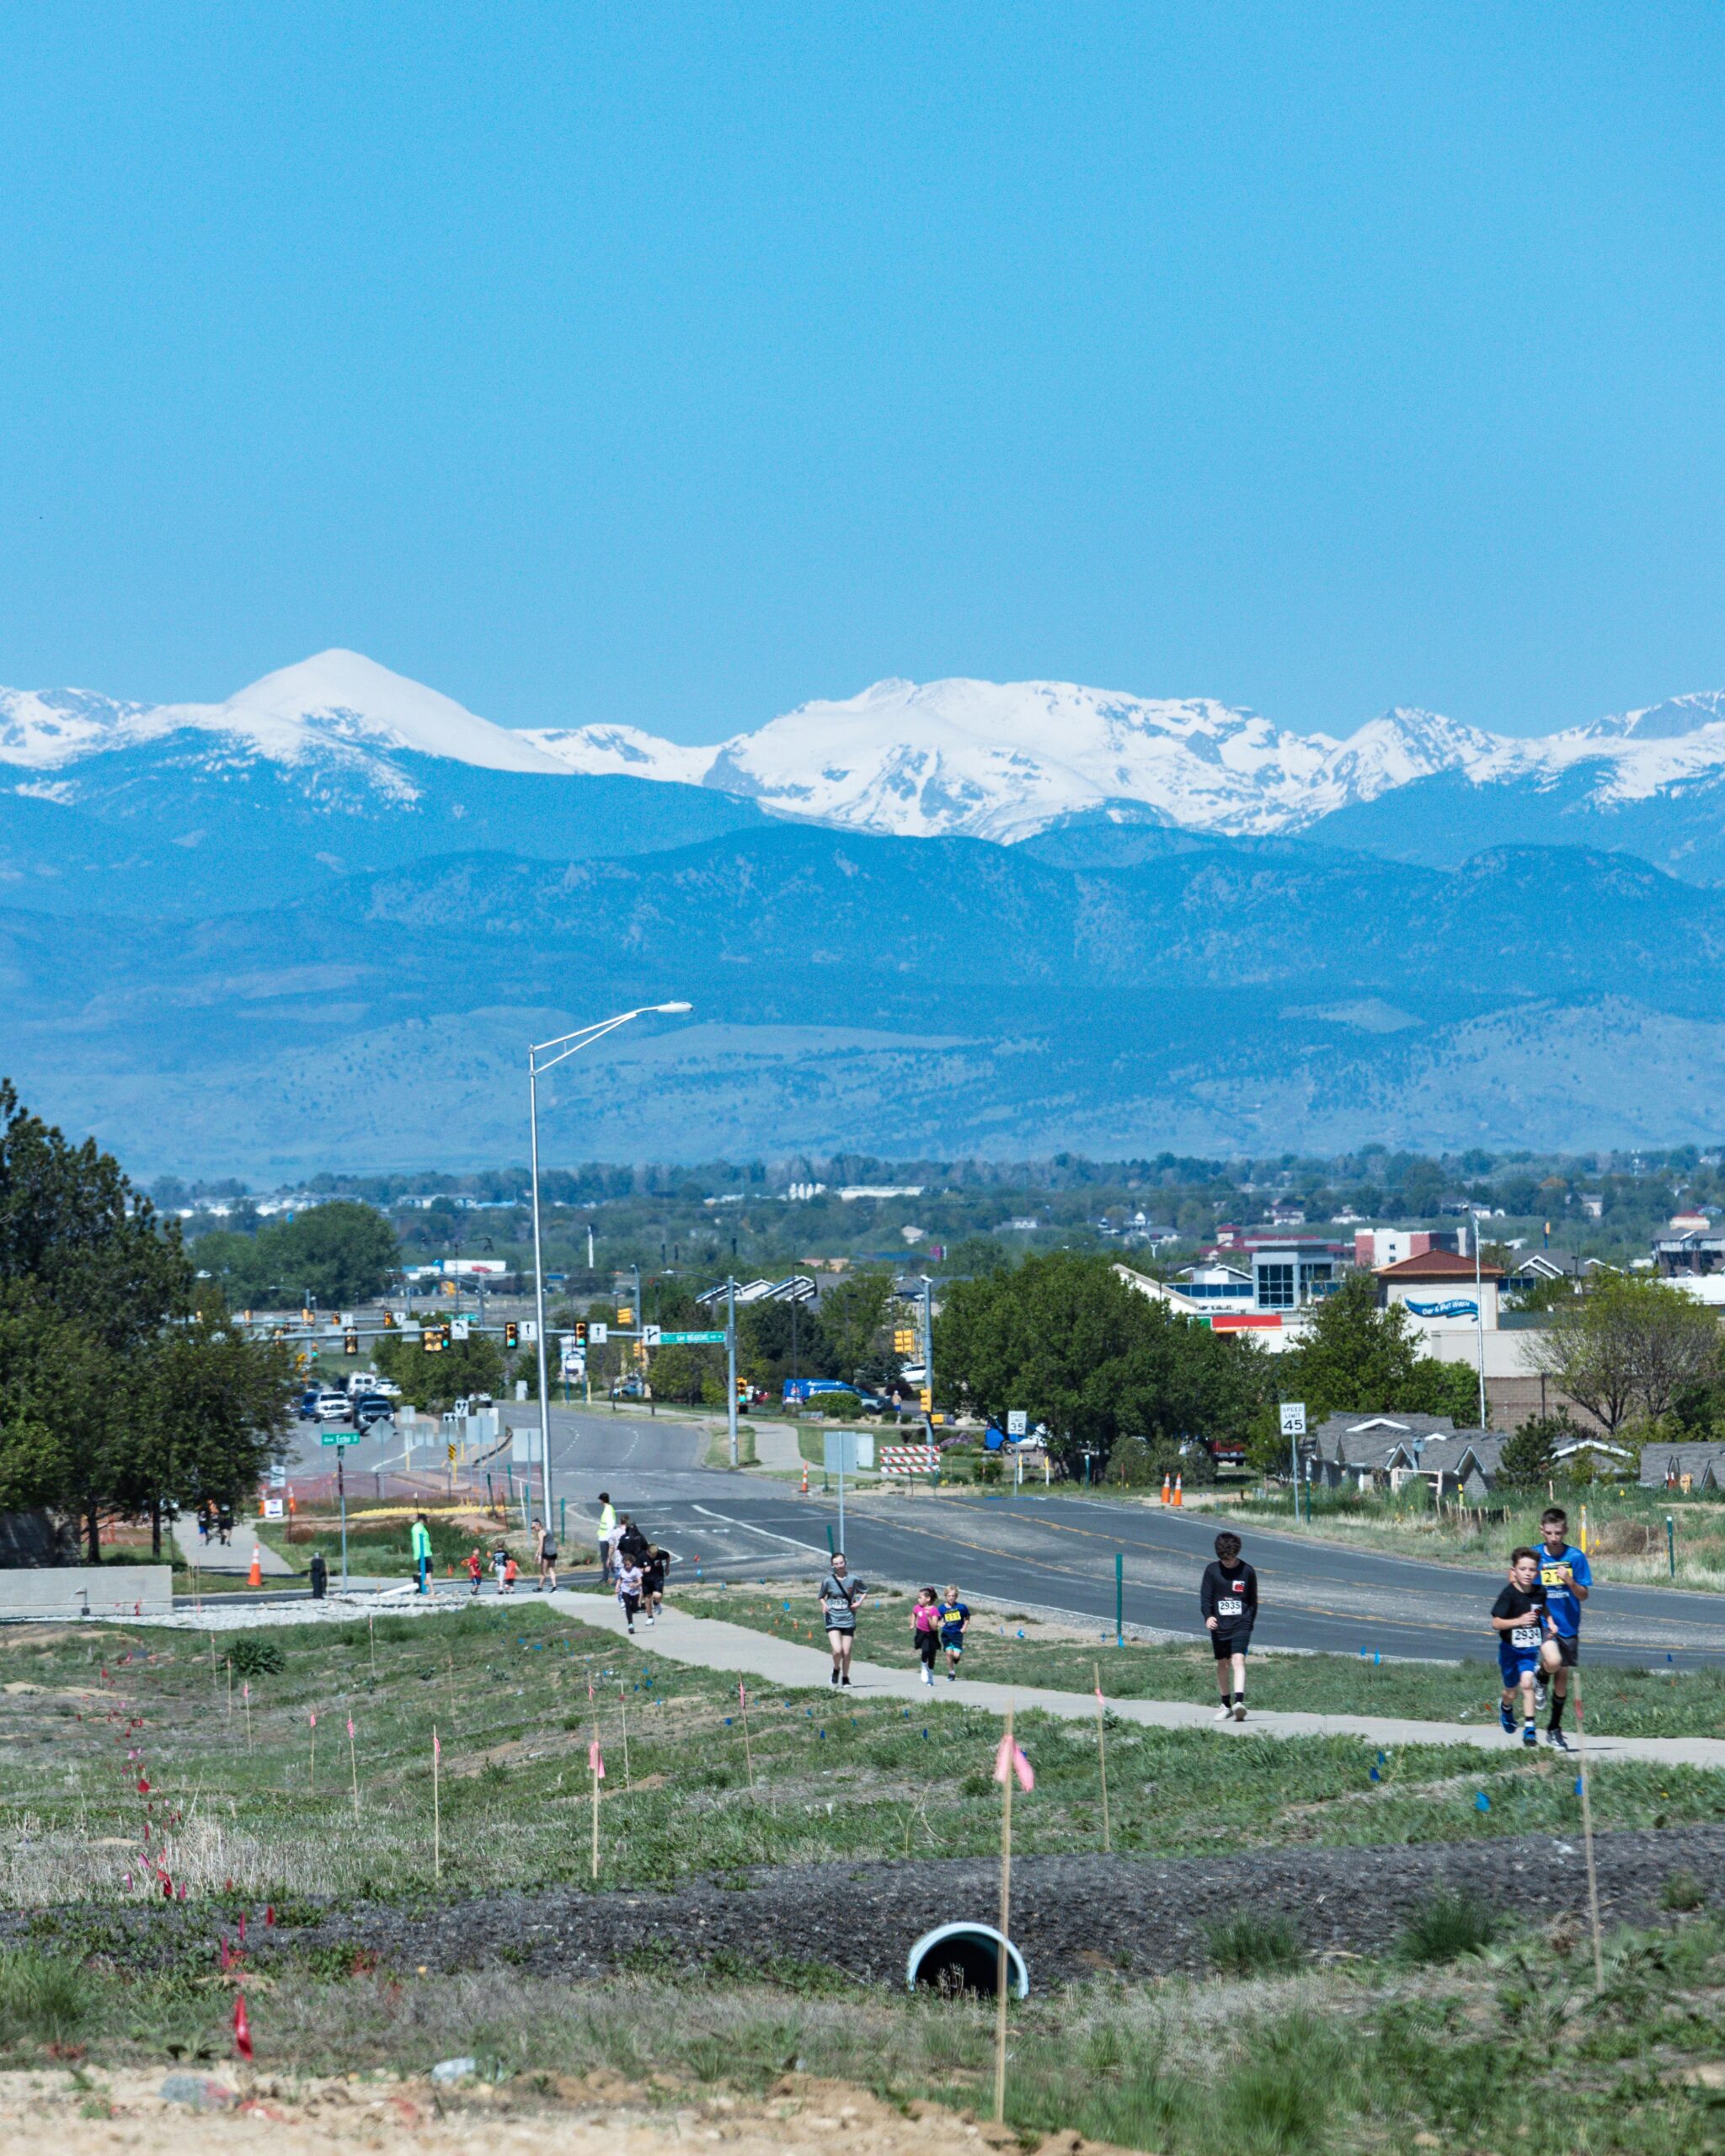
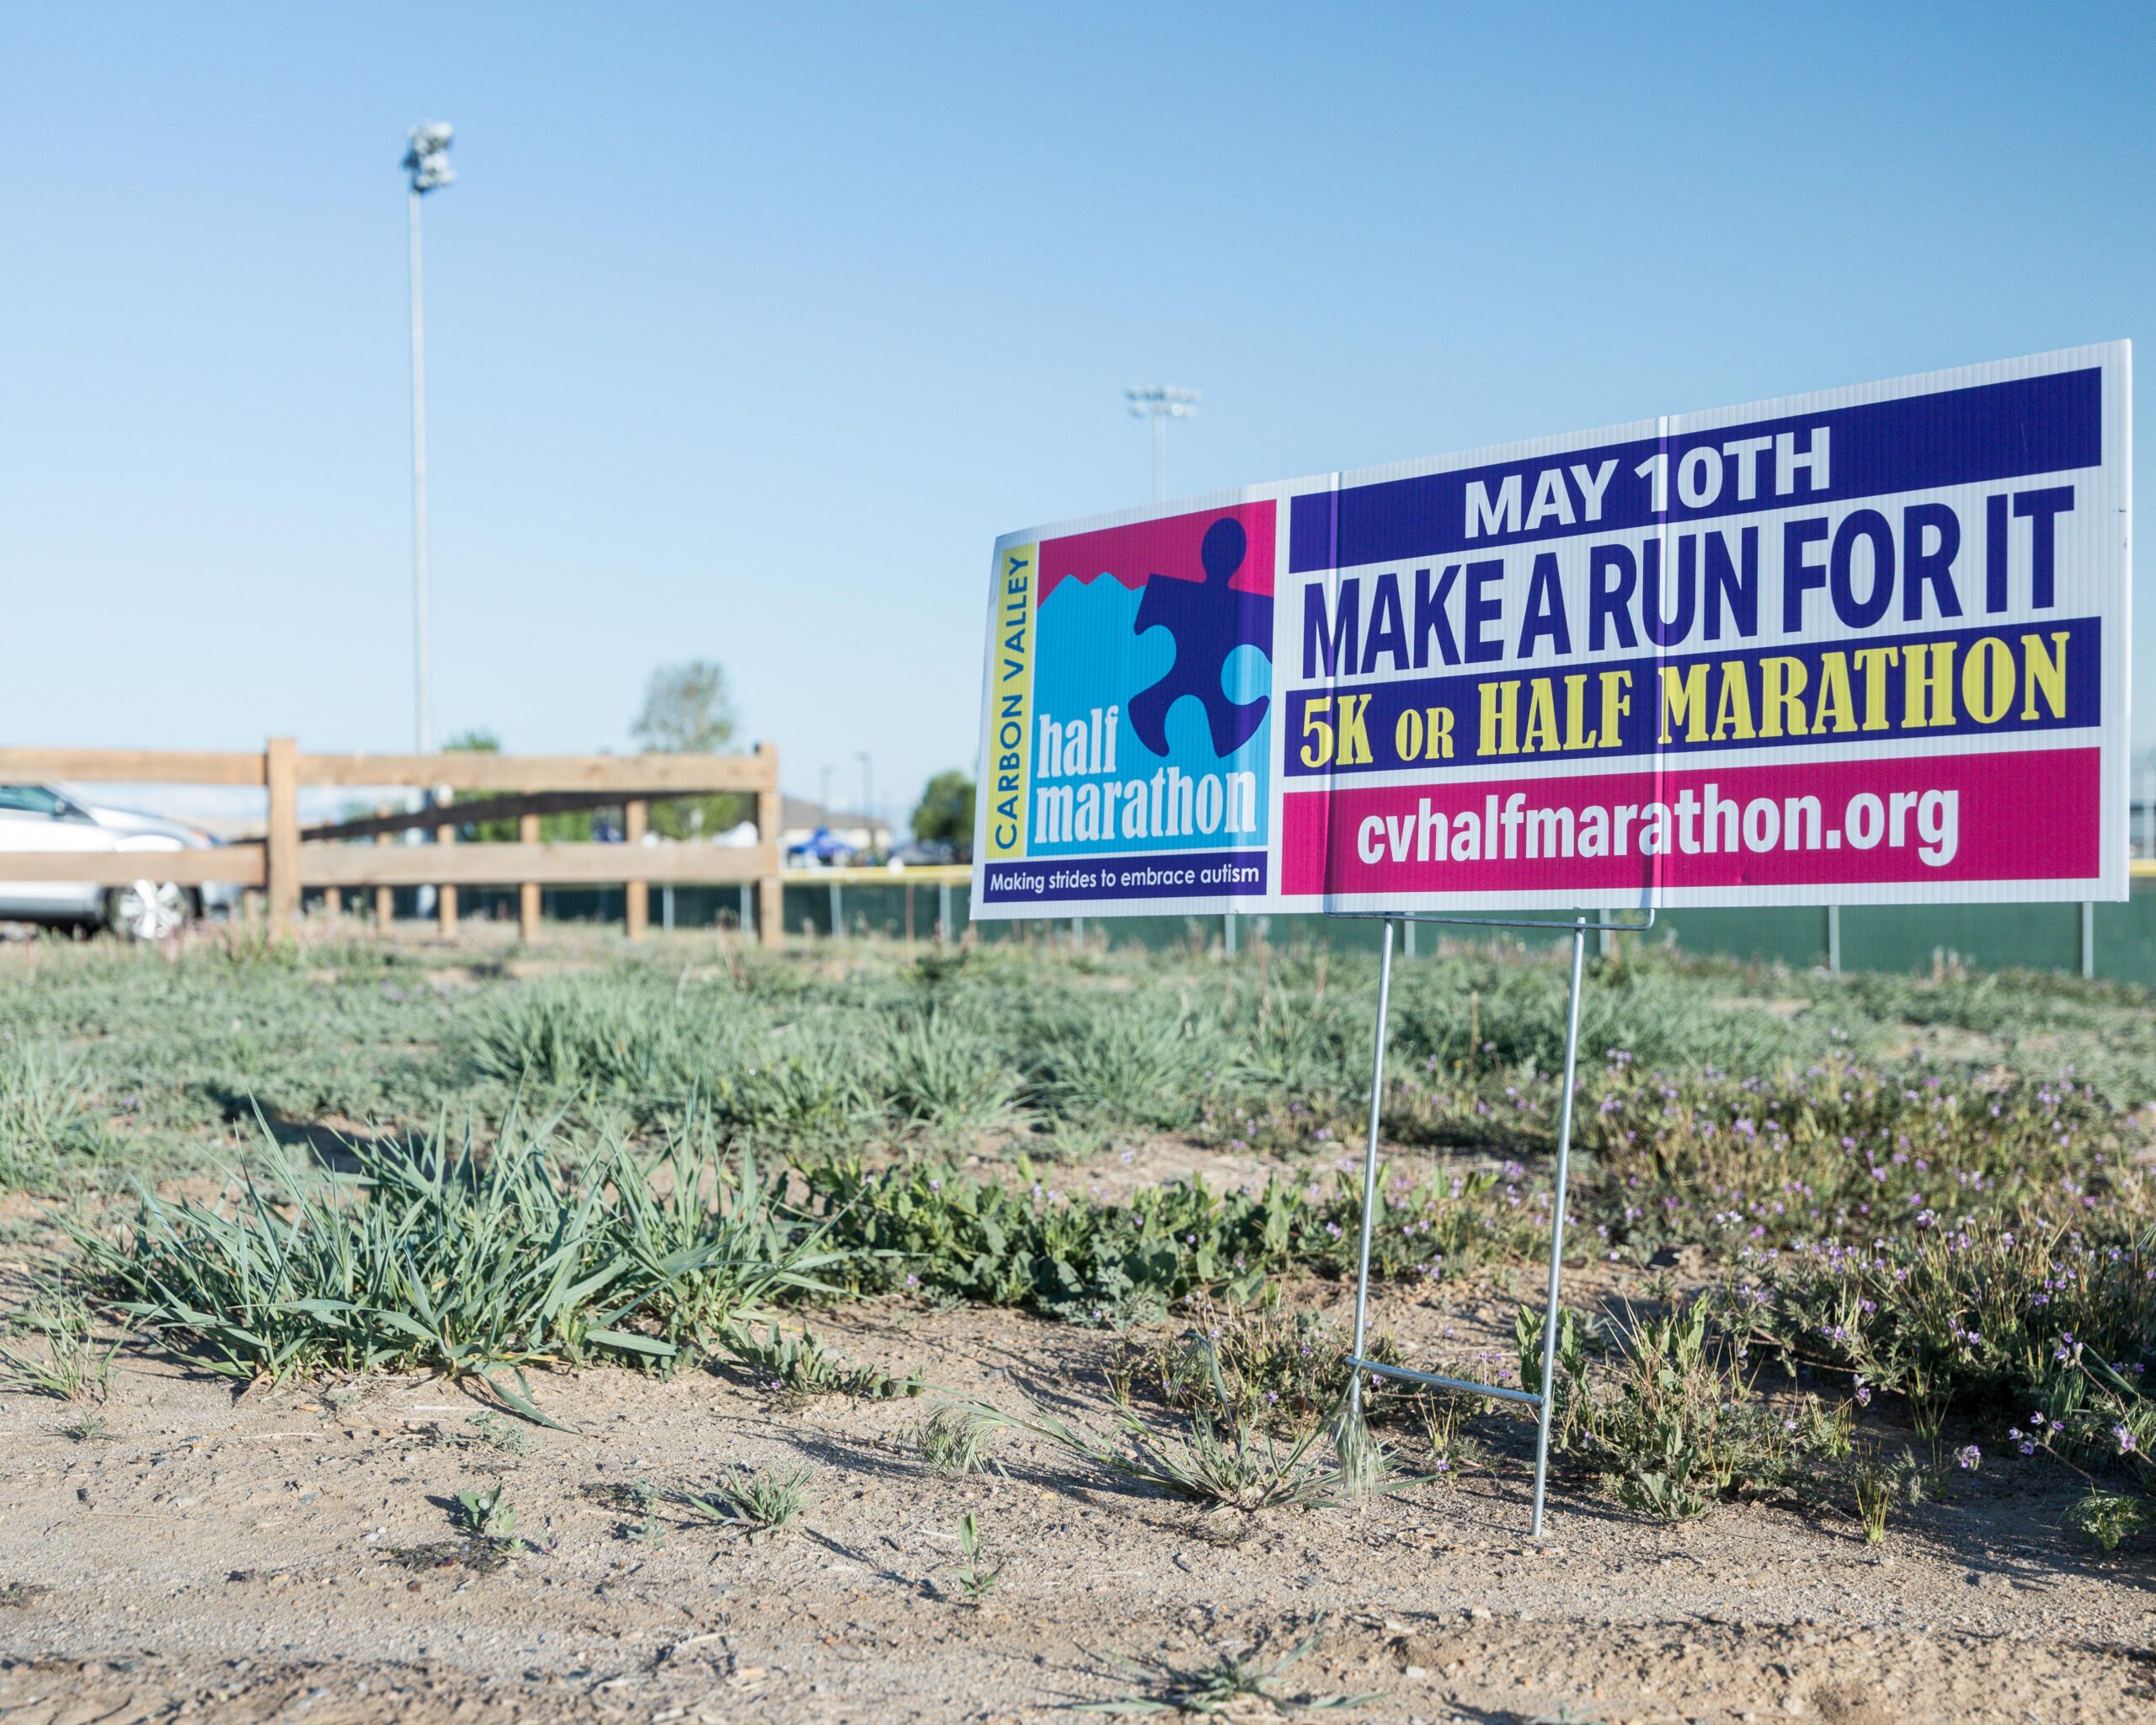
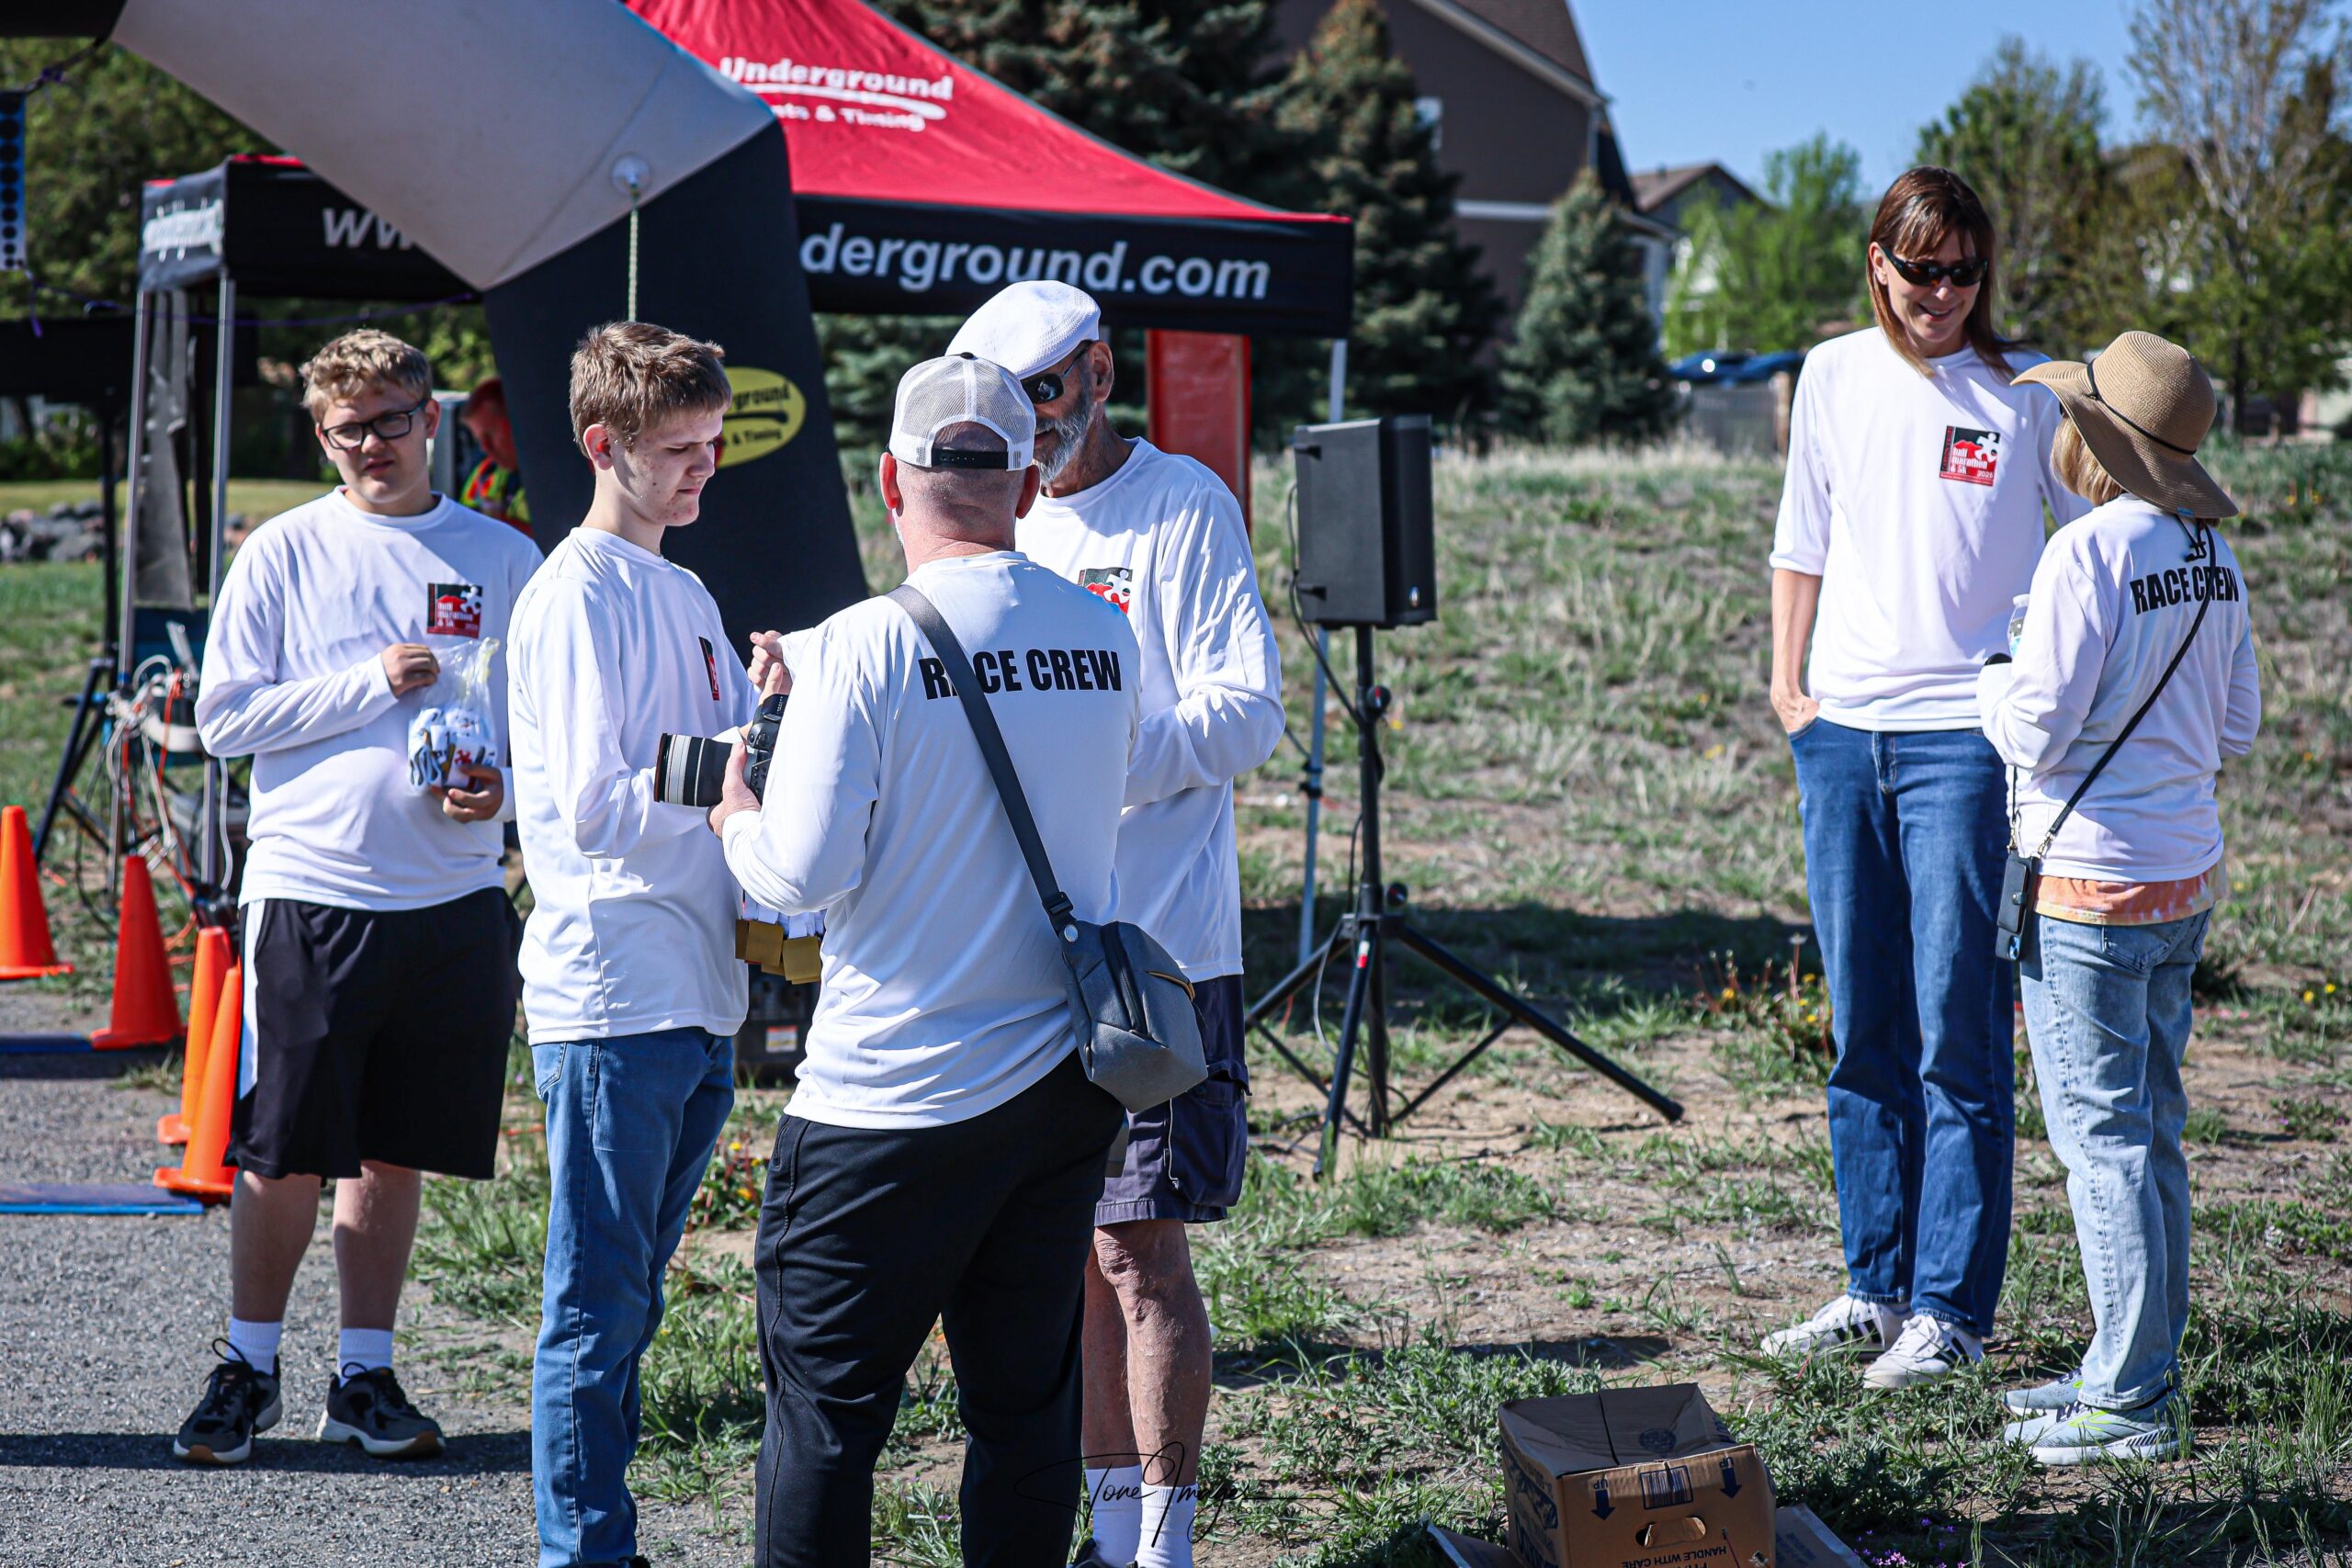
Photo Gallery 2
Gallery 2
Click here for Gallery 1